- This topic has 1 reply, 2 voices, and was last updated 11 years, 6 months ago by .
-
Topic
-
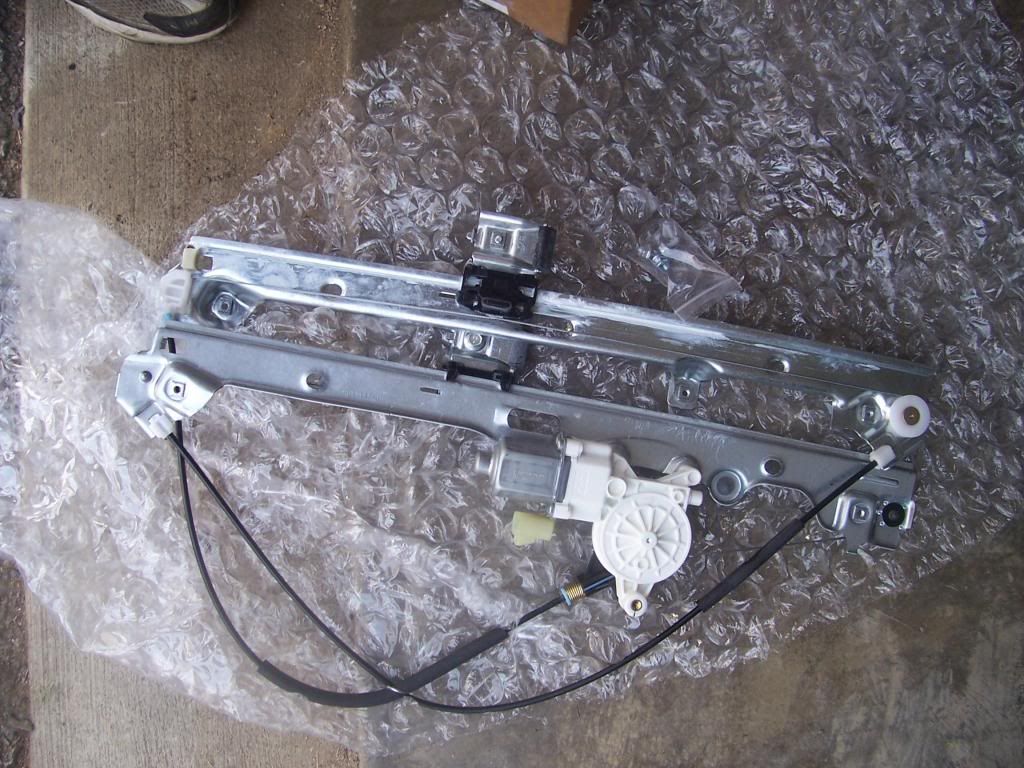
The Power window on this 2000 GMC Sierra went out a few months ago and I just haven’t had time to get around to it. So two days ago I ordered a new regulator with motor for $39.99 with free shipping on Ebay… It showed up today… Quick shipping!!
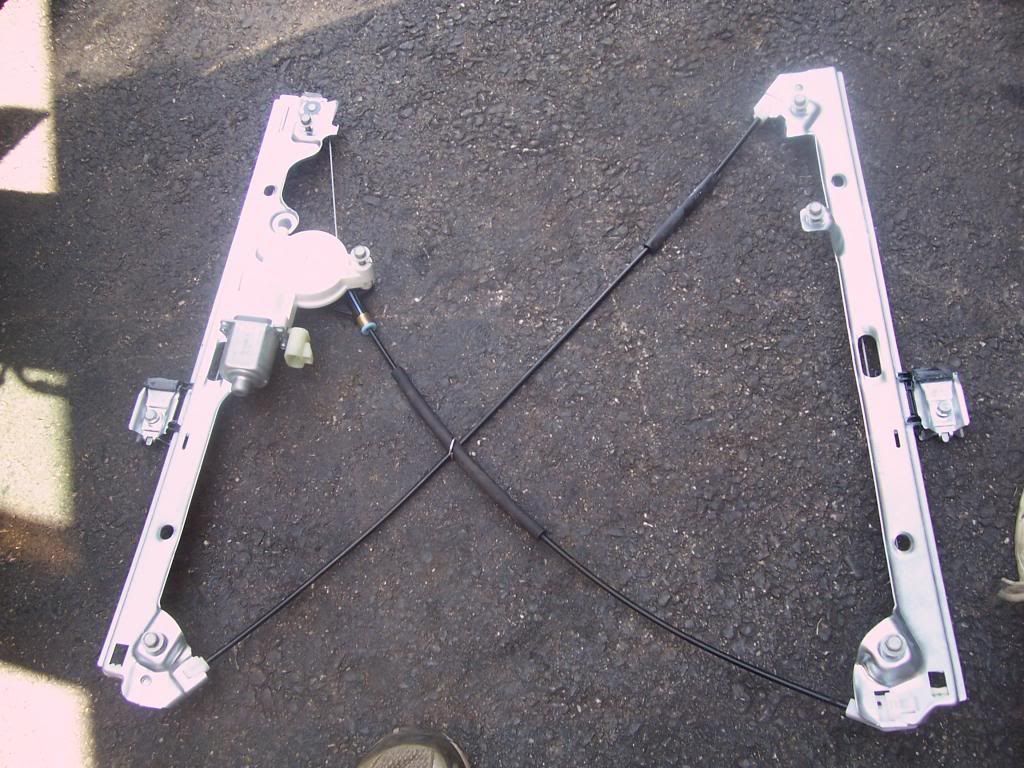
Here it is out of the box

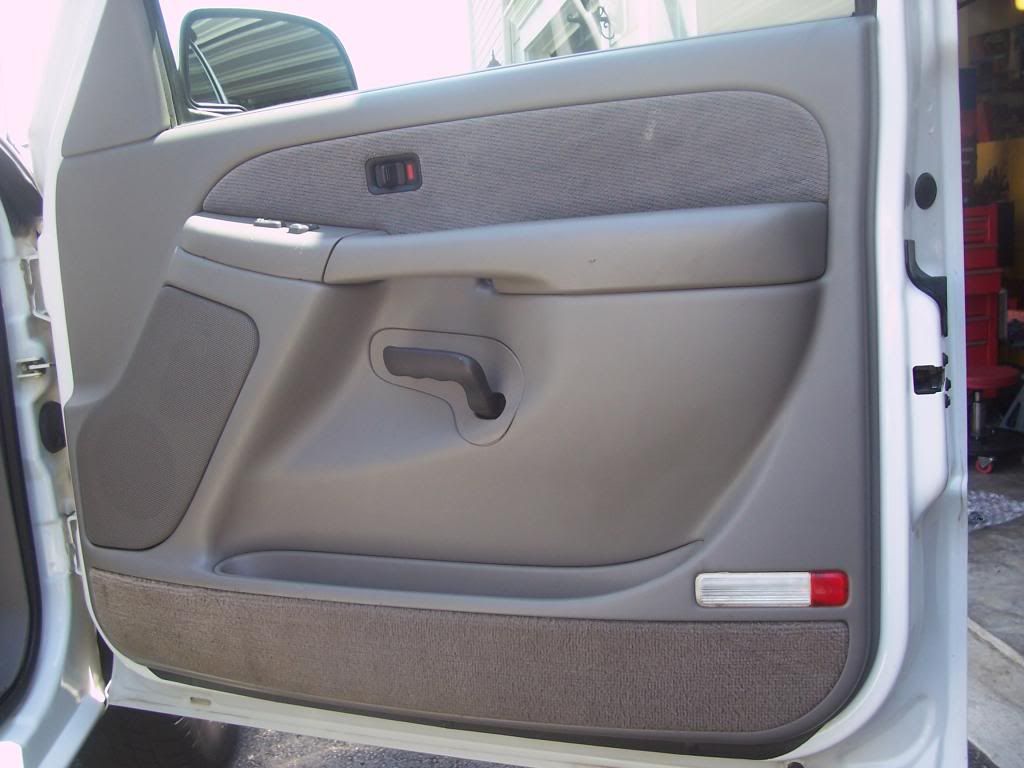
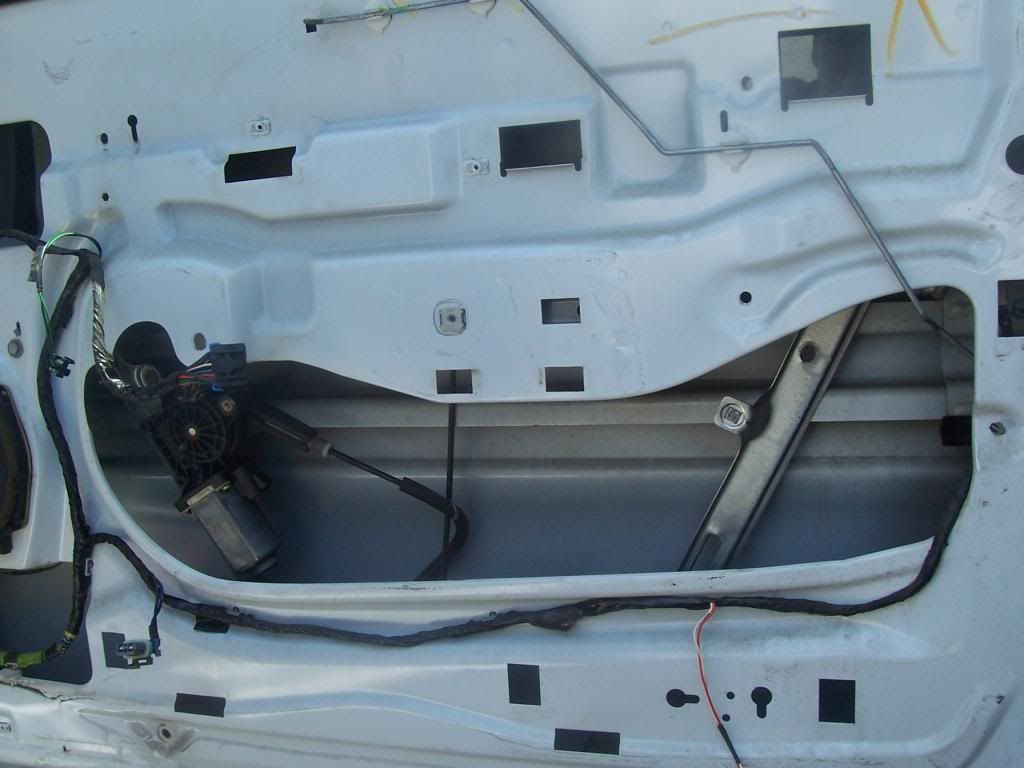
And the door I will be replacing it on.

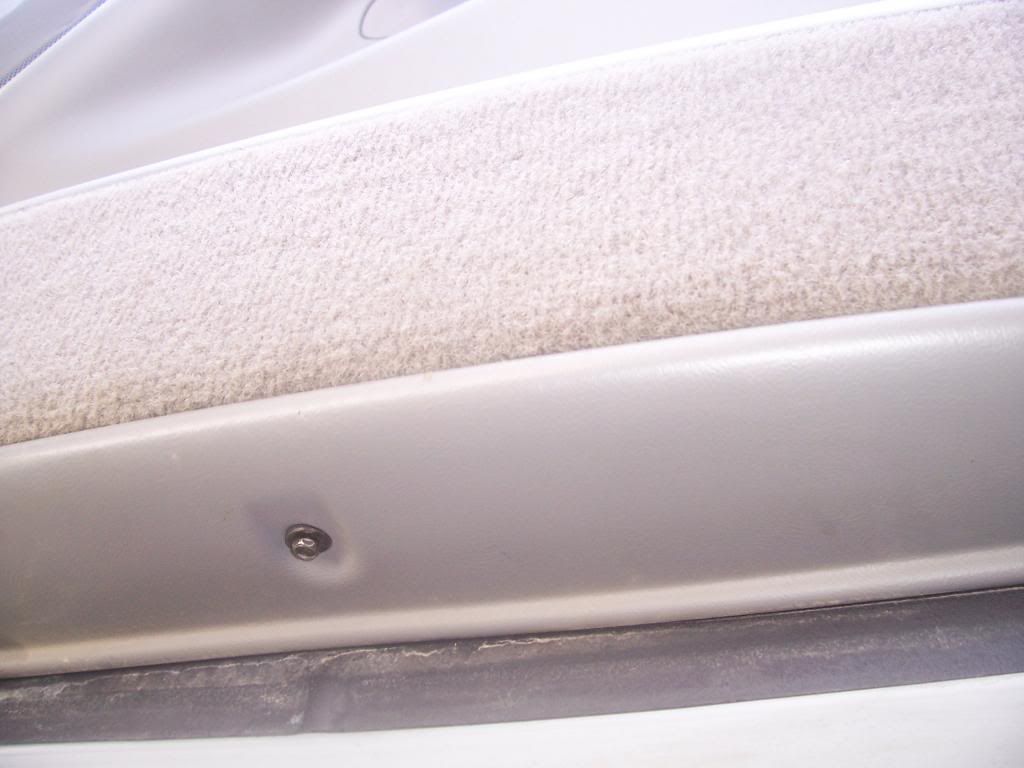
First off is a 7 millimeter screw on the bottom of the door panel that holds the door pocket in place.

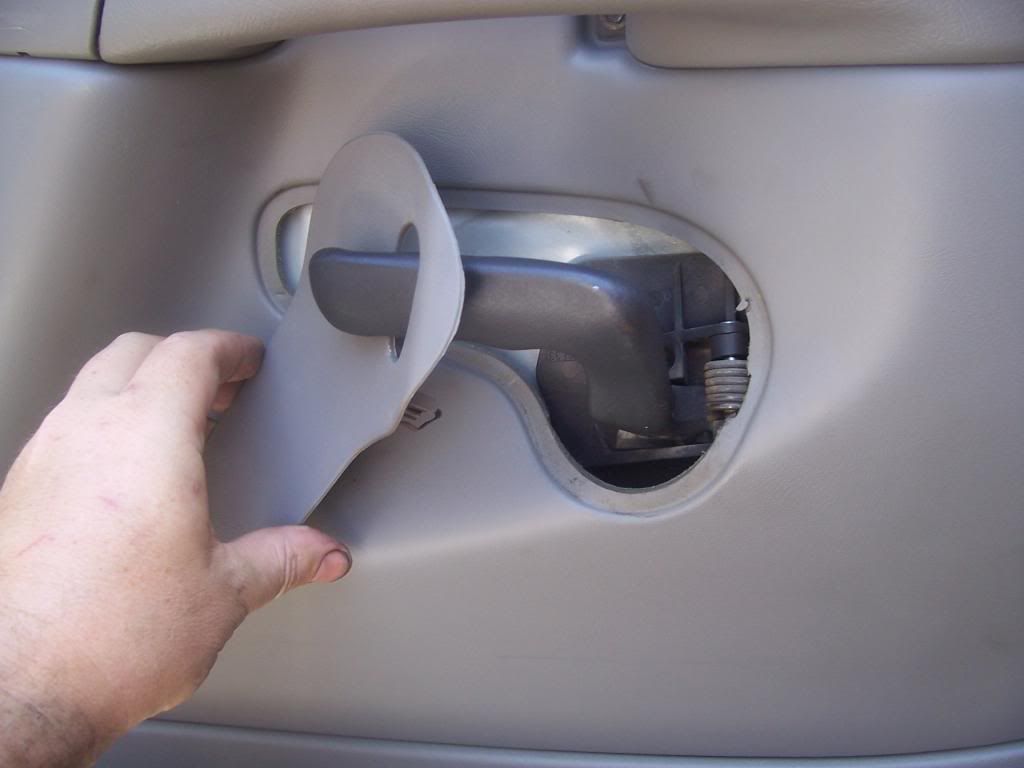
Then with a small flat tip screwdriver, remove the plate around the door handle

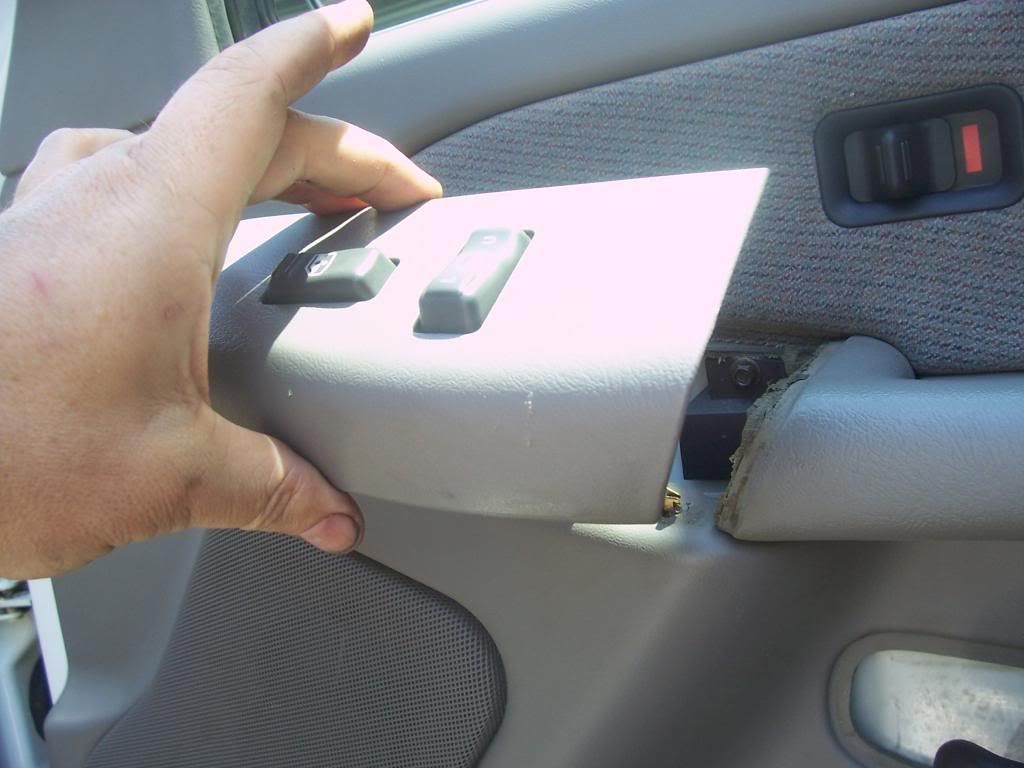
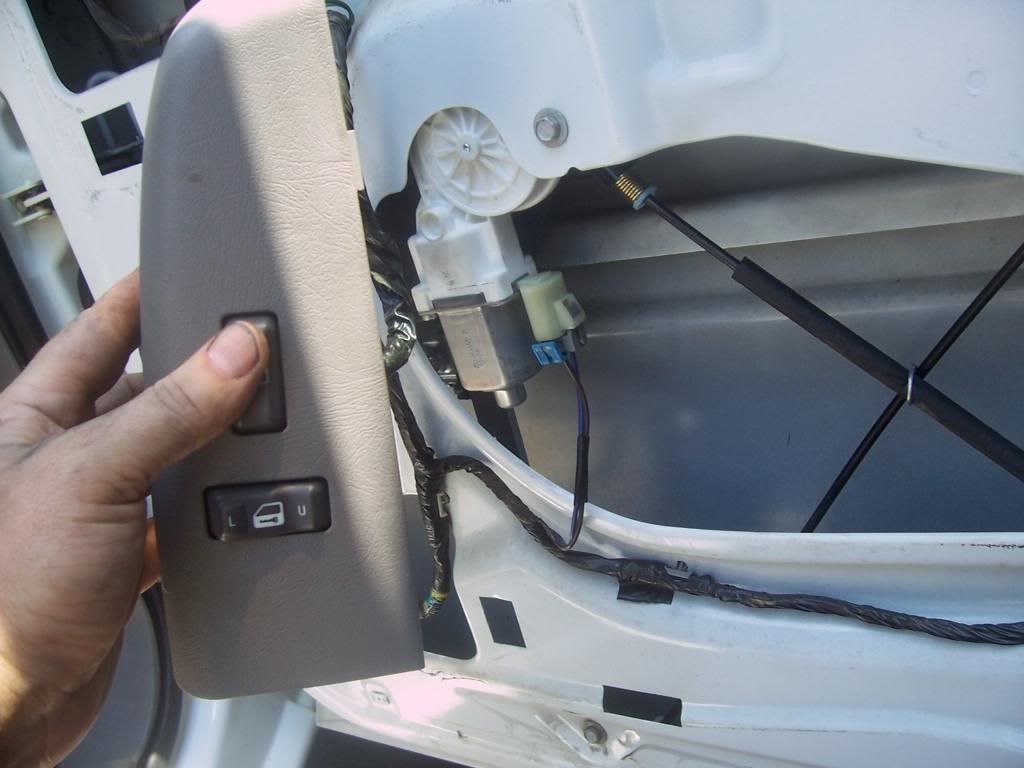
Then pop off the switch cover with a small flat tip screwdriver

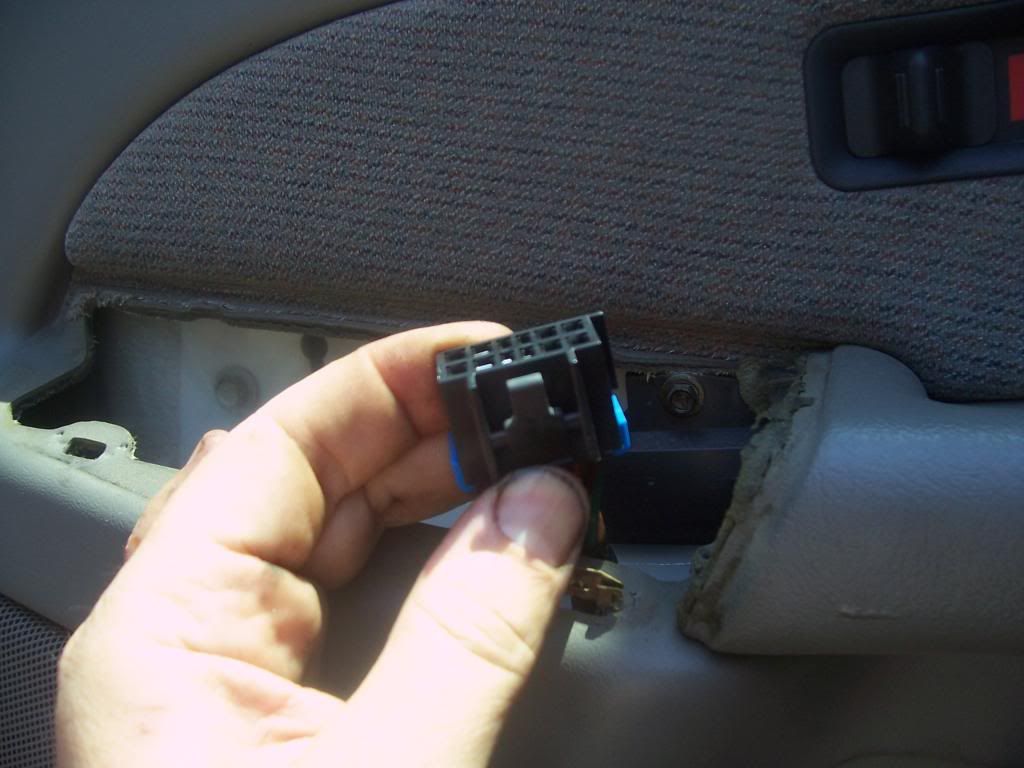
Unplug the electrical connection to the switches and place the switch cover aside.

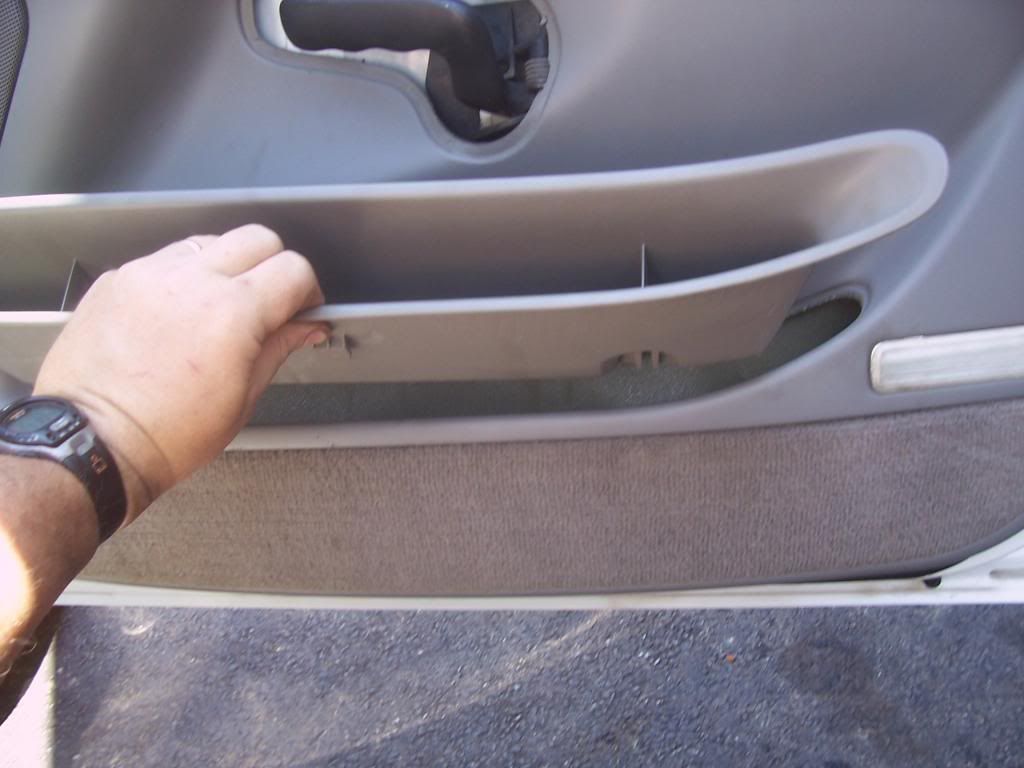
Then remove the door pocket assembly

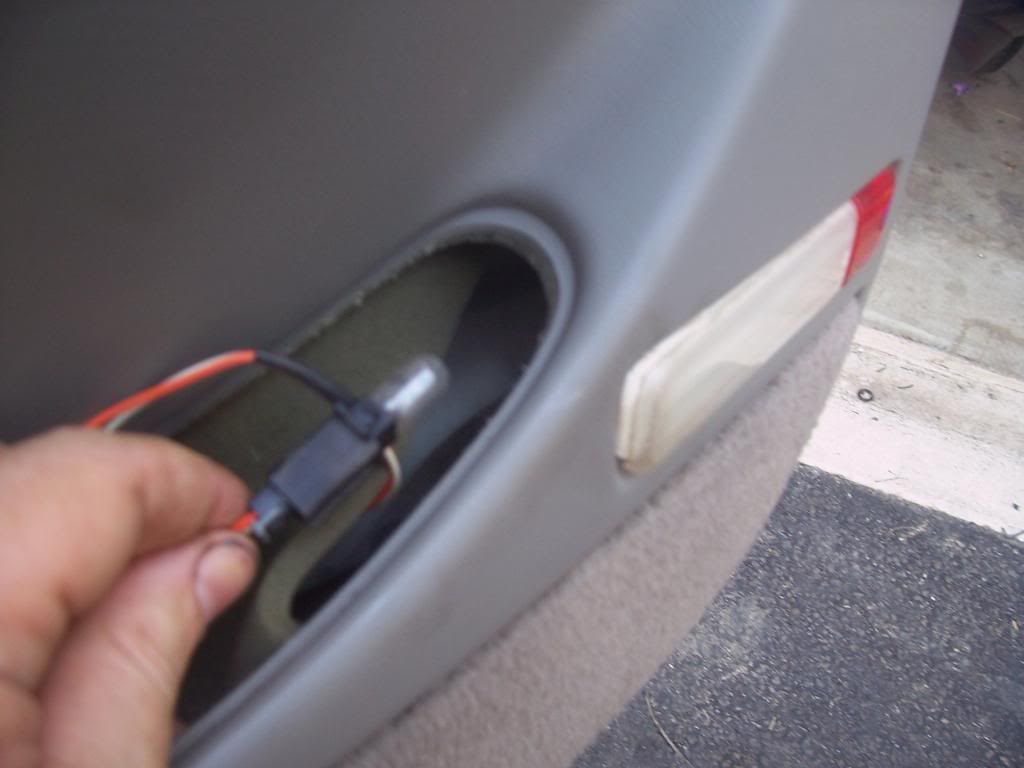
Then unplug the light from the lower side light assembly

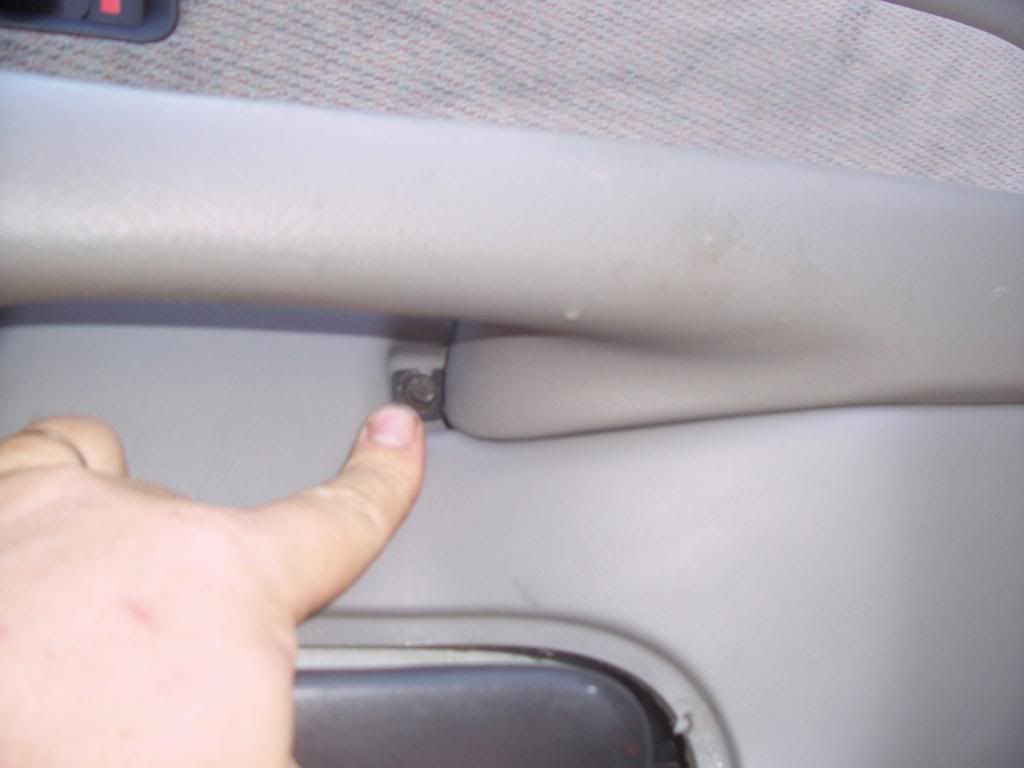
Then remove the 7mm bolt under the armrest…

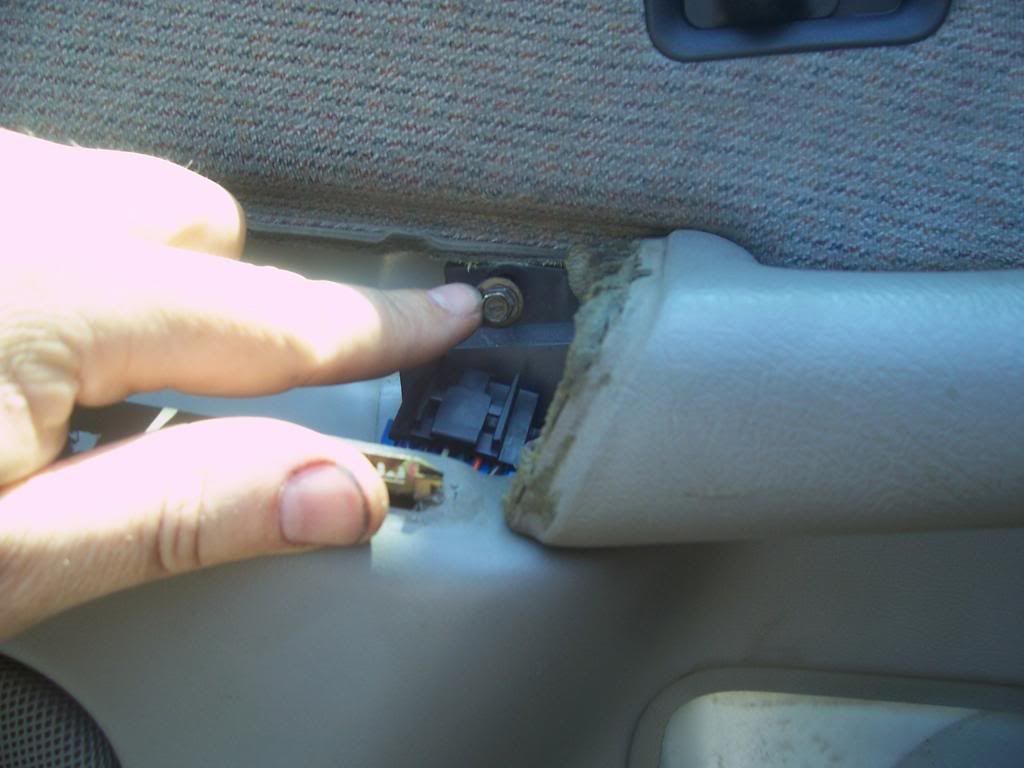
Then remove the other 7mm bolt that is behind the switch assembly

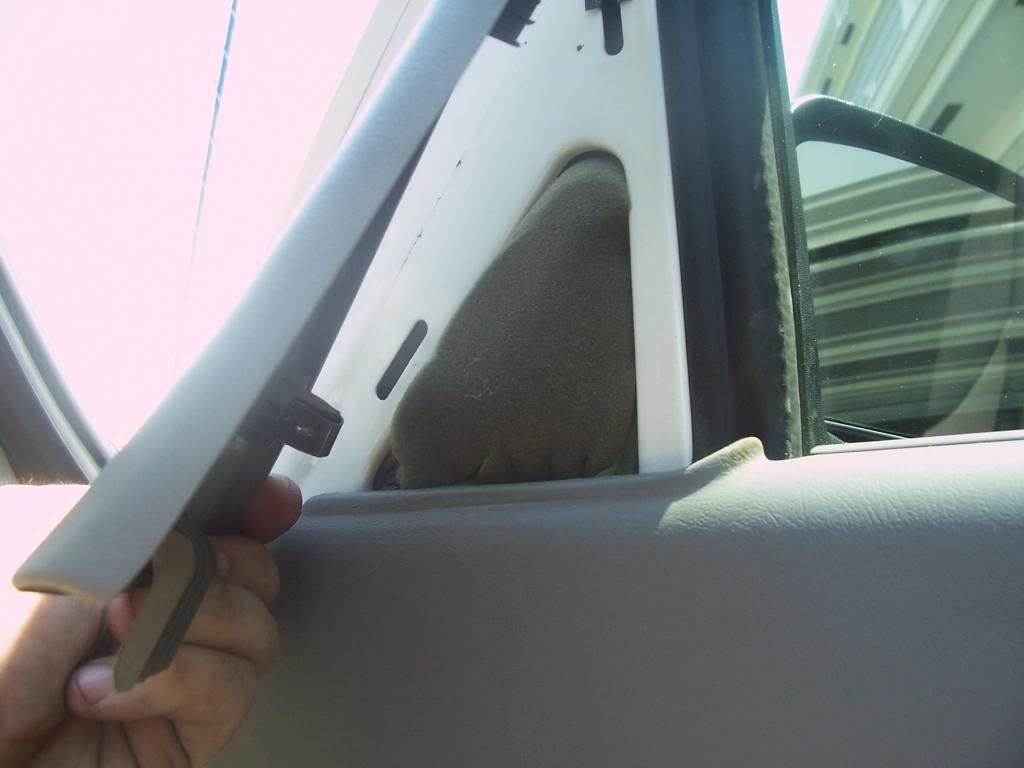
With a small screwdriver, pop off the upper plastic triangular cover

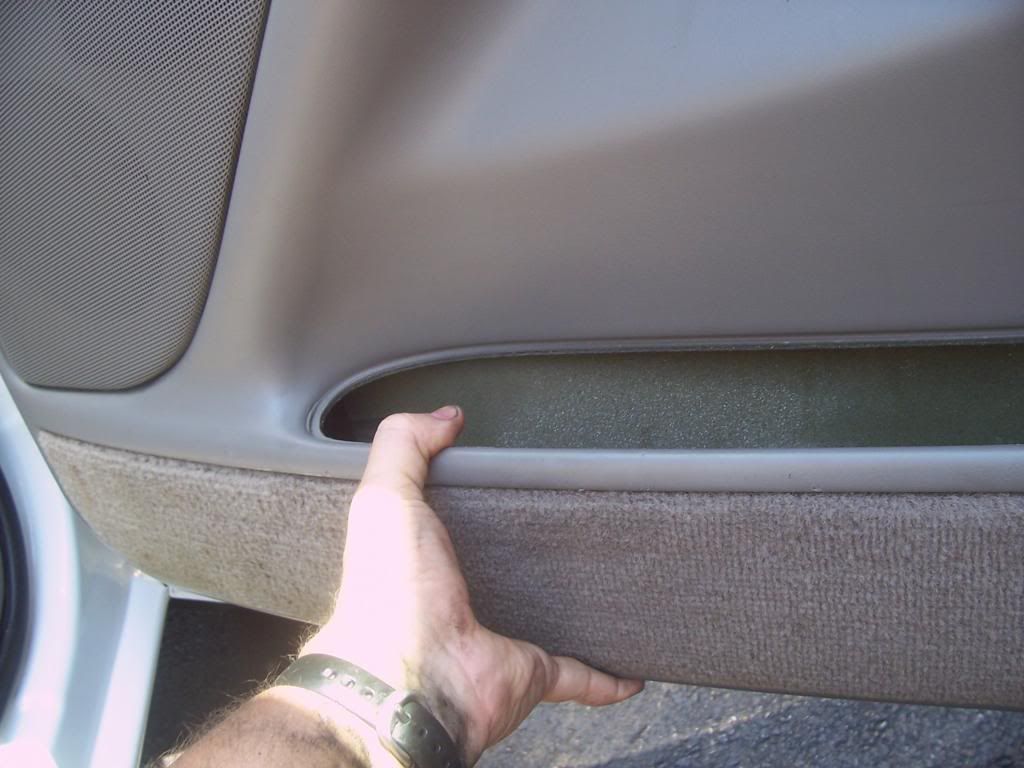
Then grab the door panel and push up and out at the same time

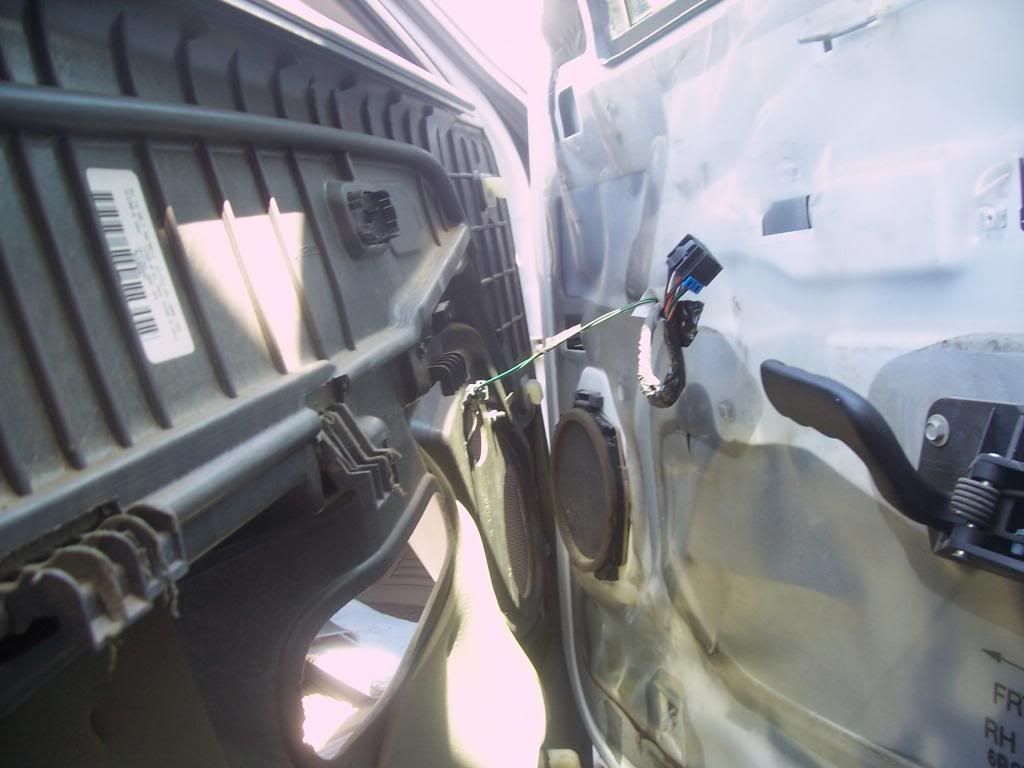
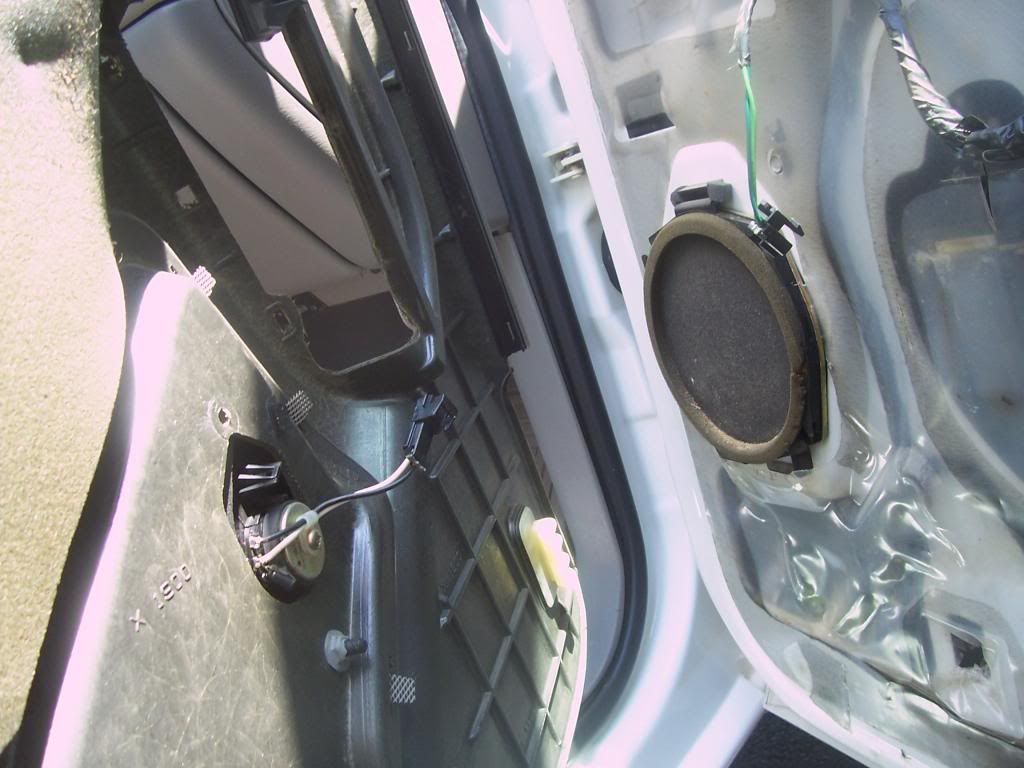
The door panel will then come off… Be careful, the speaker wire is still attached

Disconnect the speaker wire

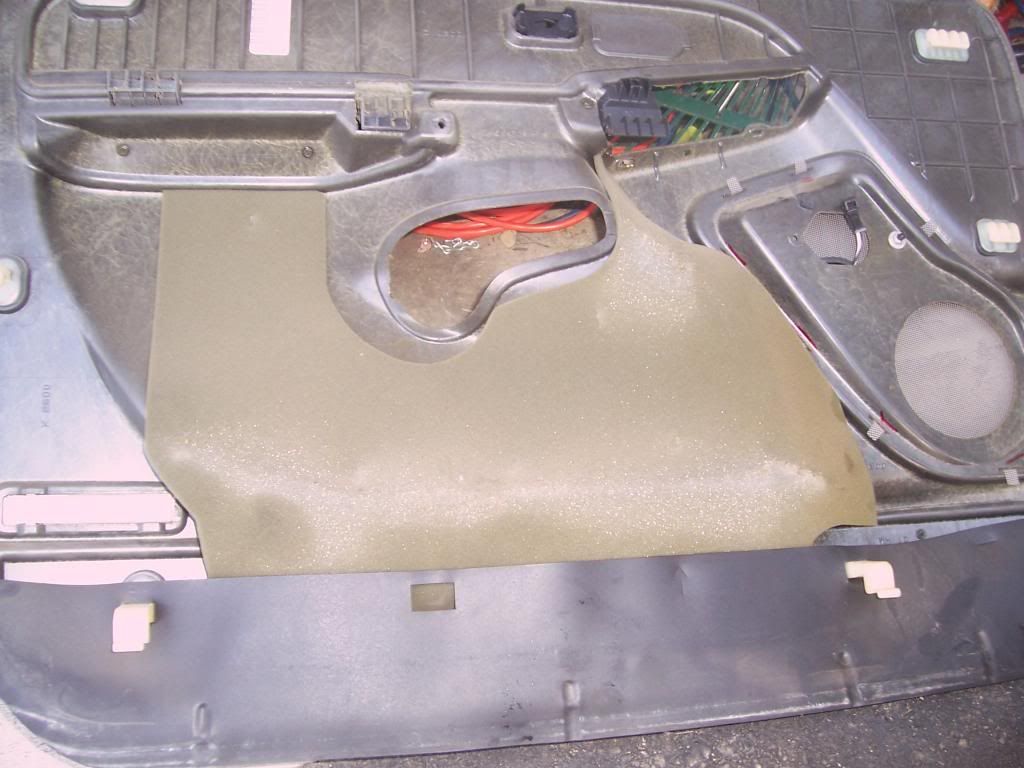
Remove the door panel and place it aside

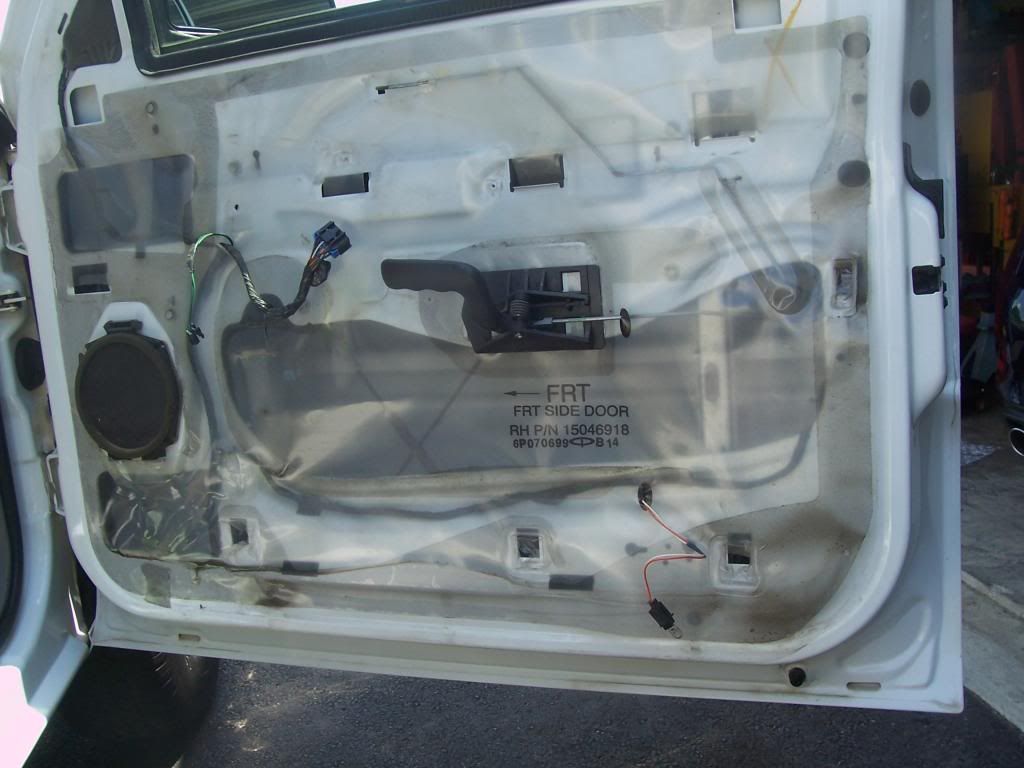
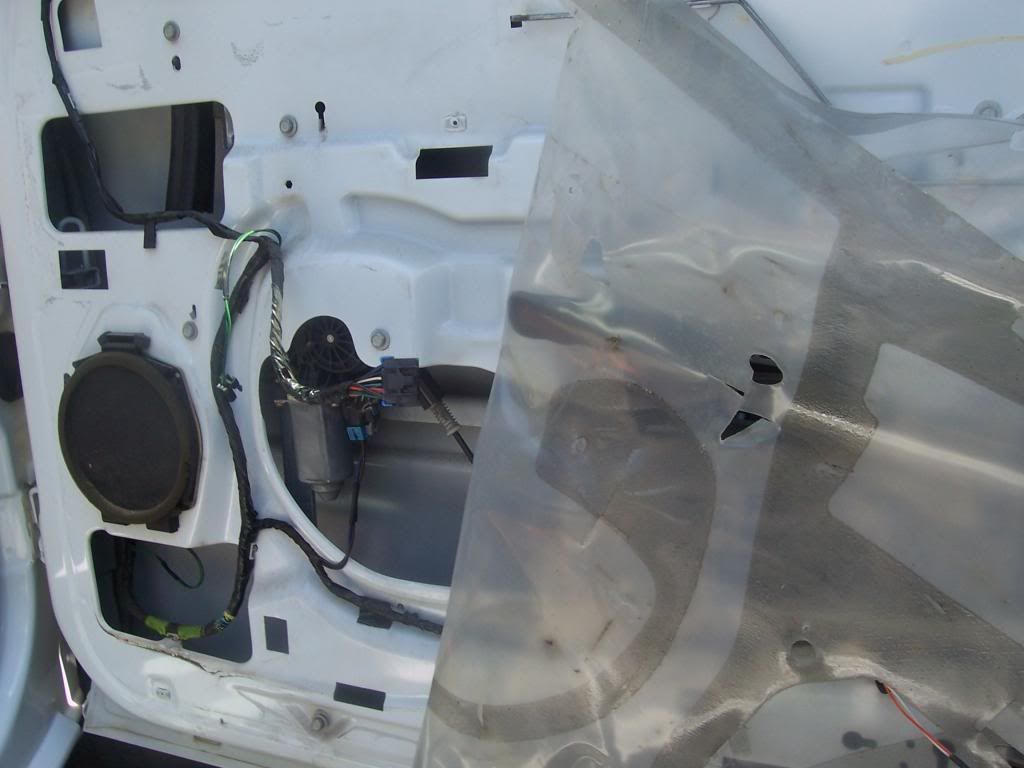
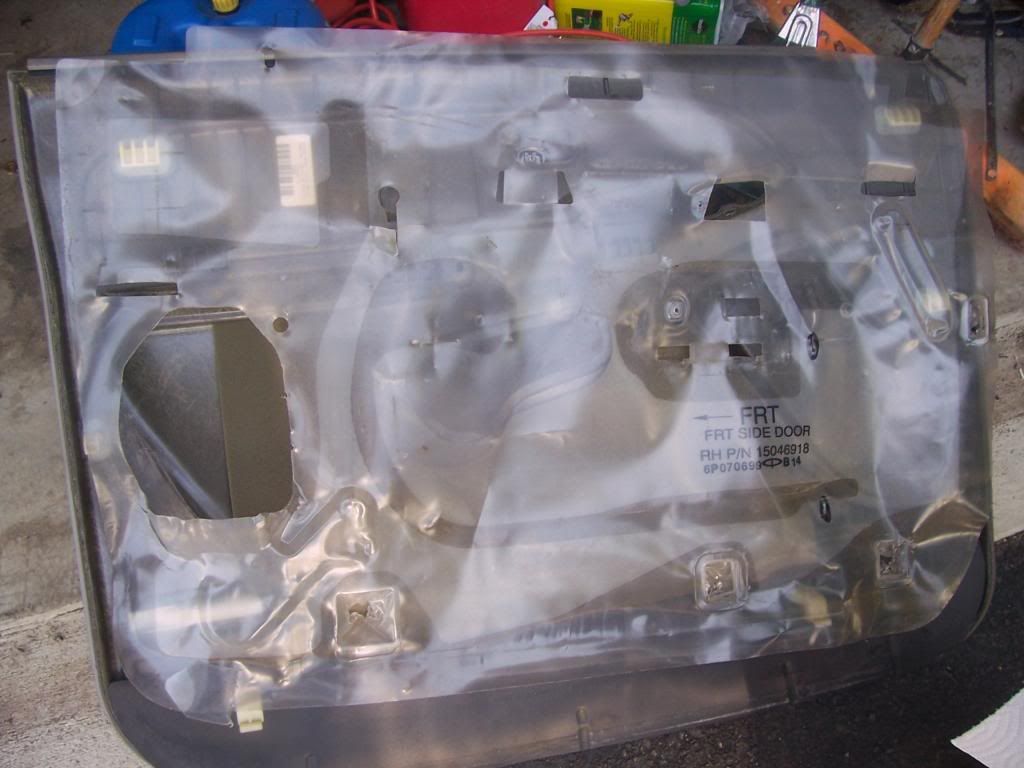
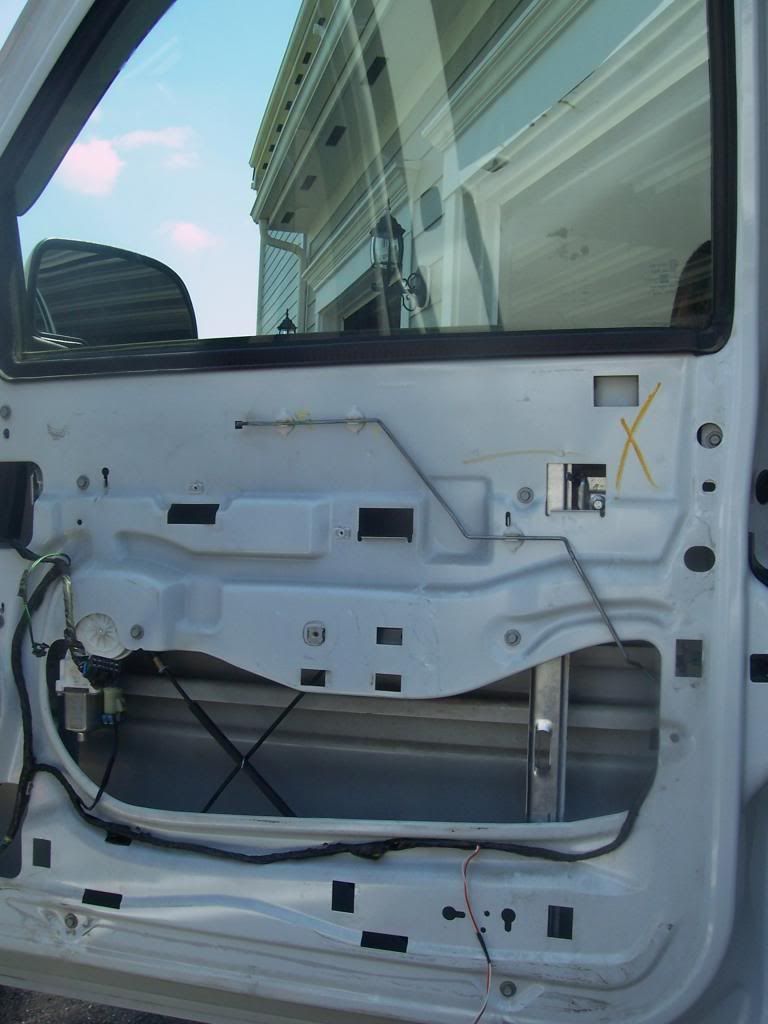
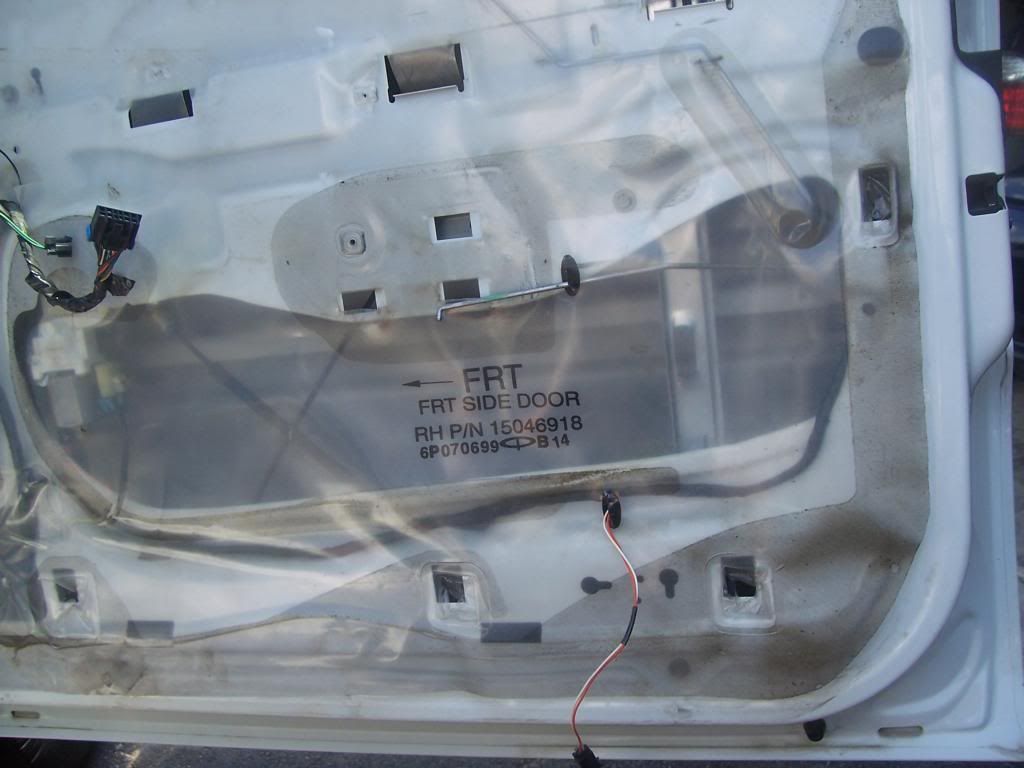
What you are left with now

Carefully peel back the moisture barrier

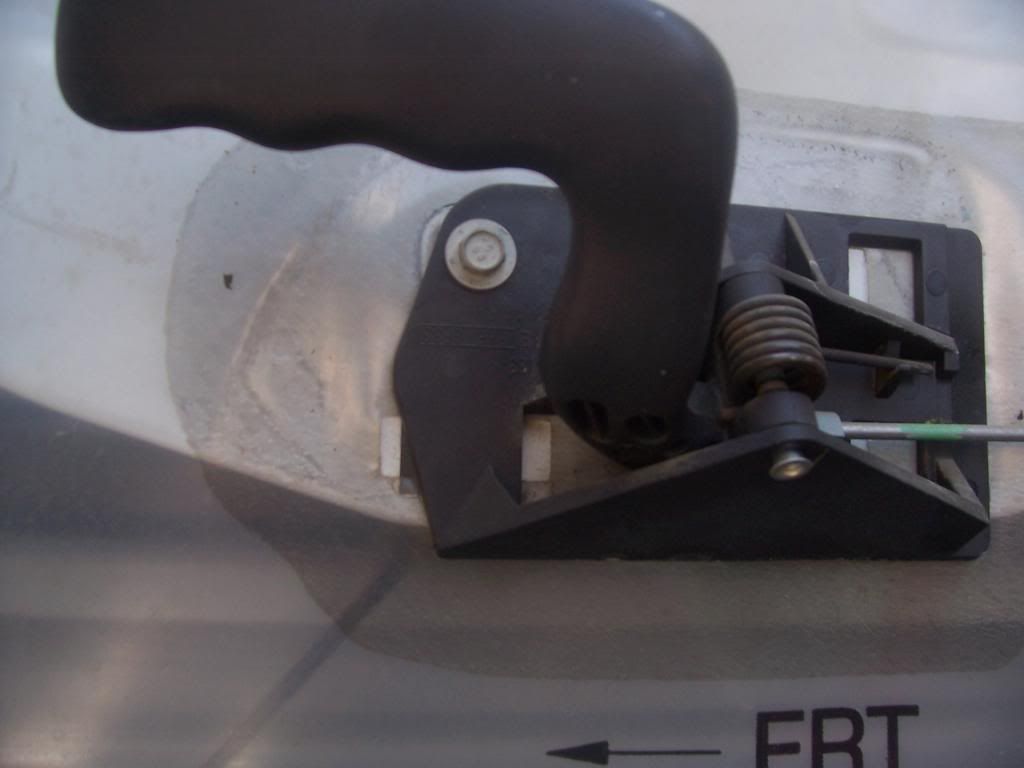
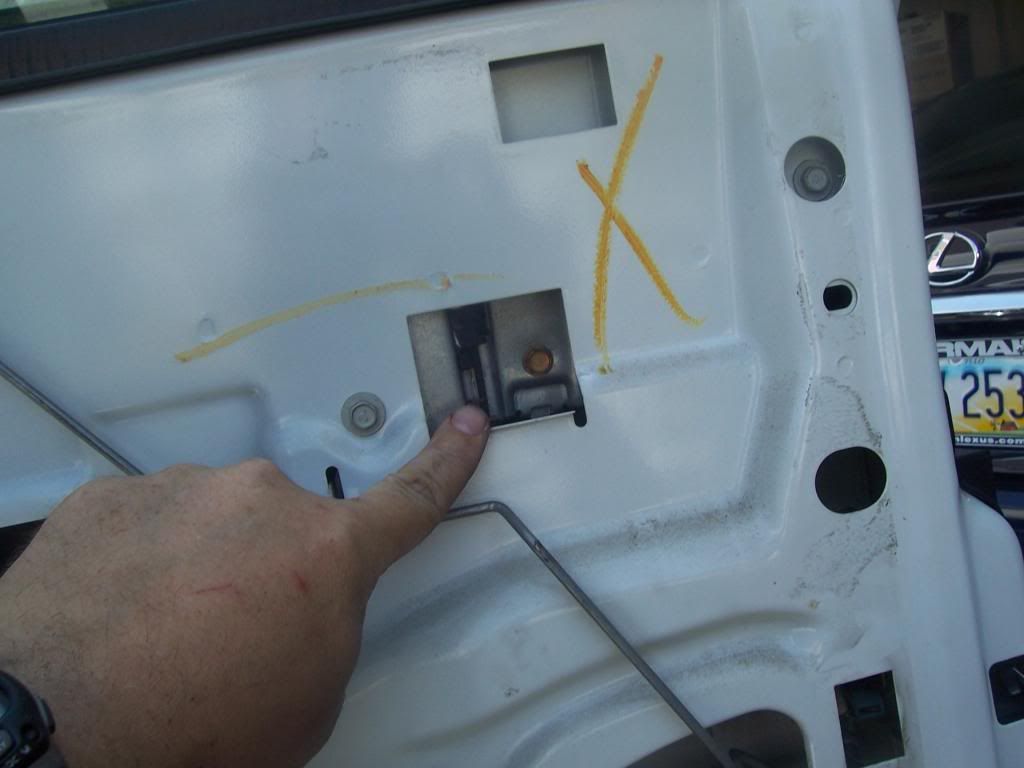
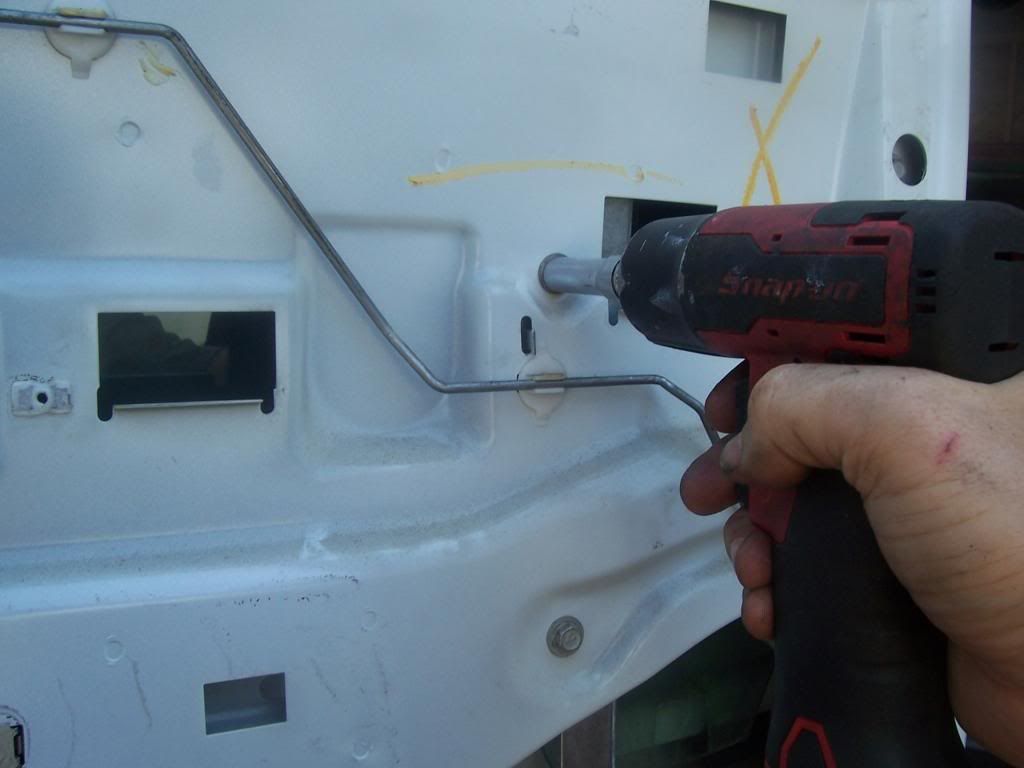
Remove door handle assembly here with a 12mm socket and slide the assembly to the right.

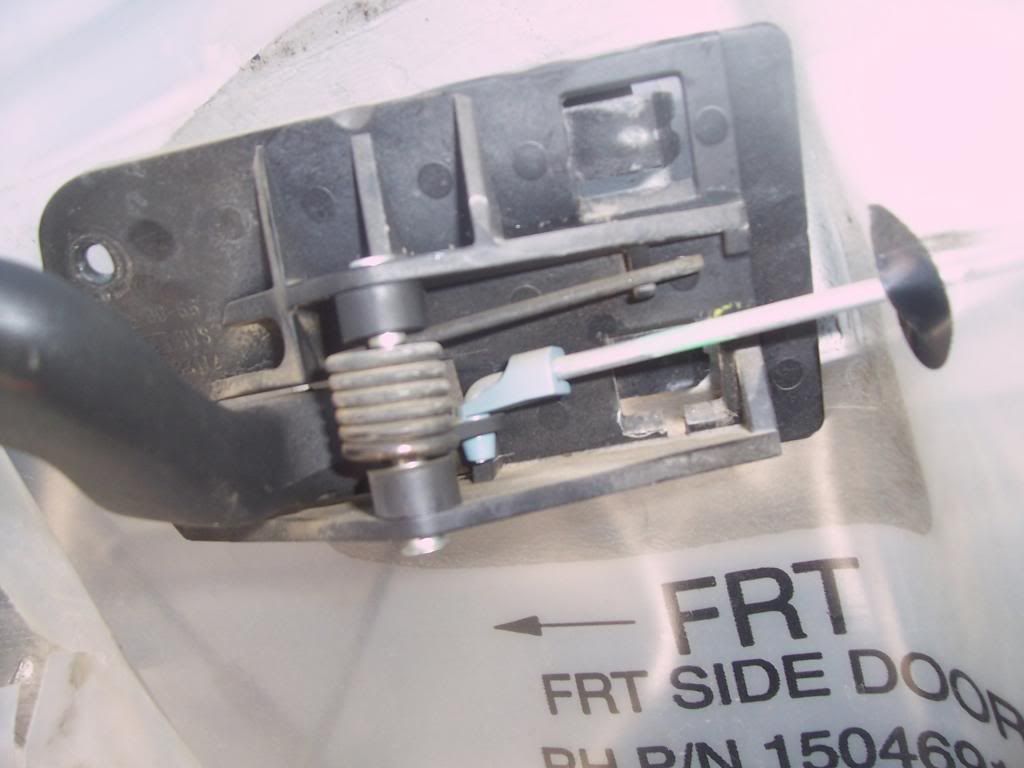
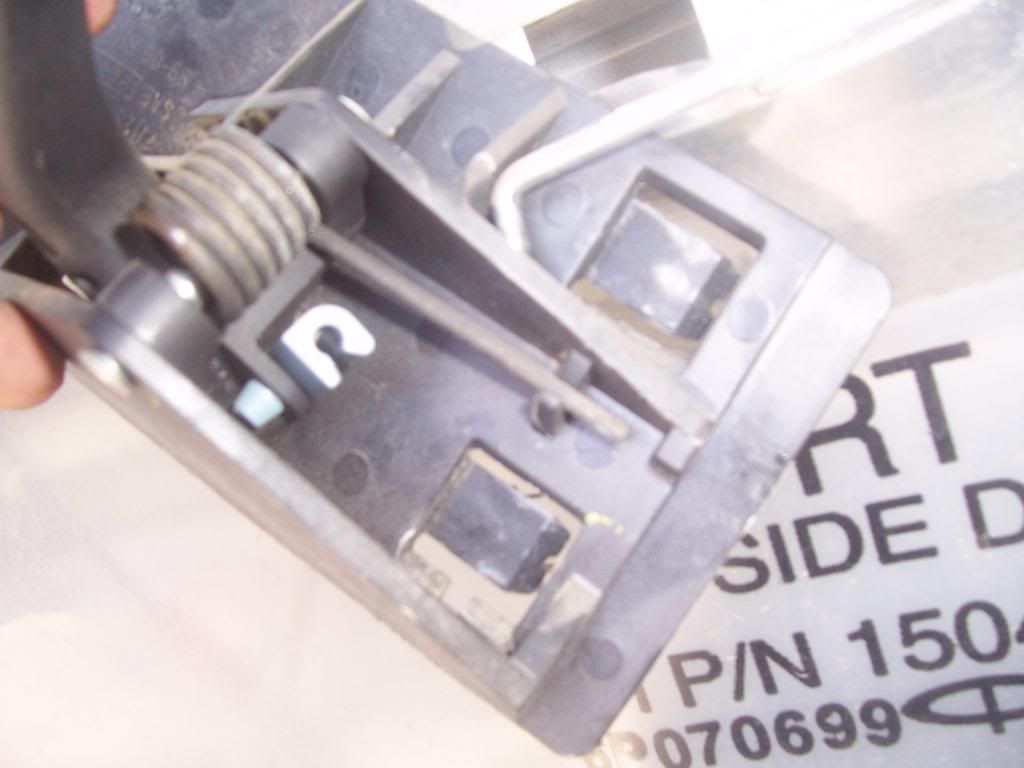
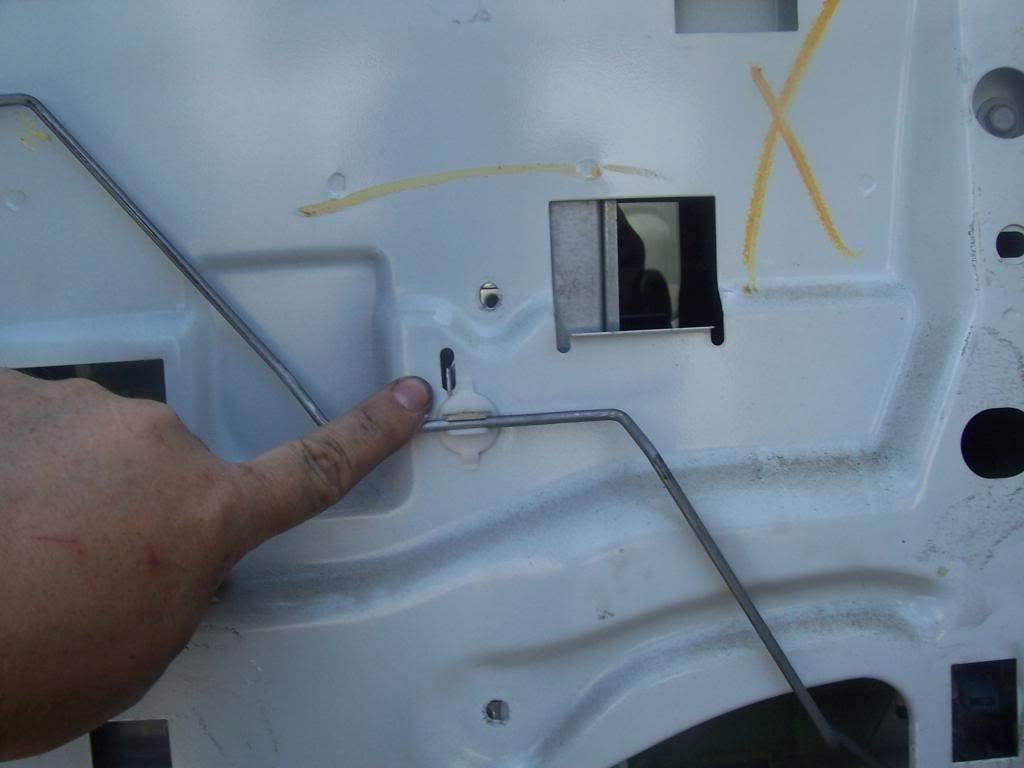
Remove the bar from the door handle assembly here with a small flat tip screwdriver. Set aside the door handle assembly.


Remove vapor barrier and place aside.

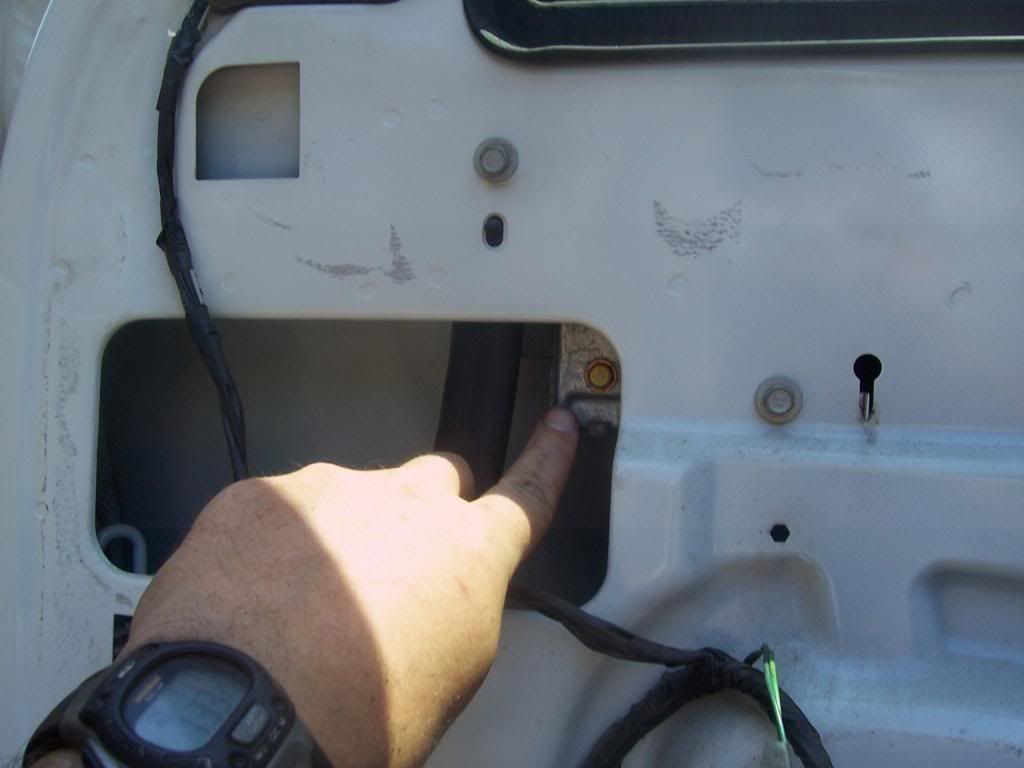
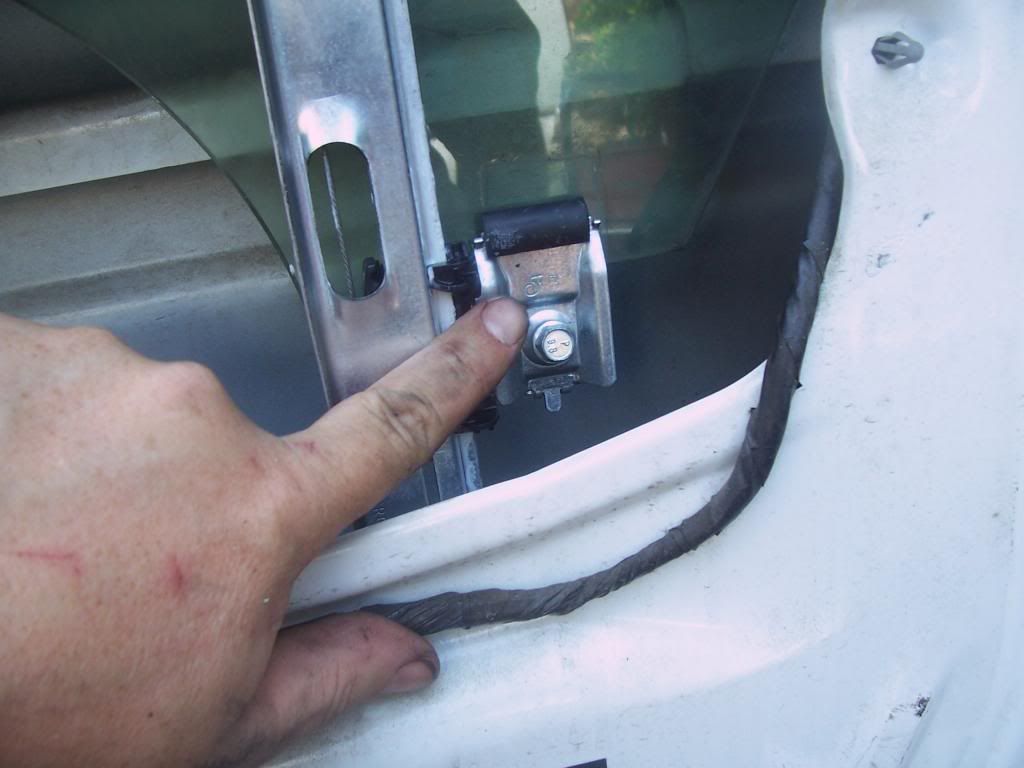
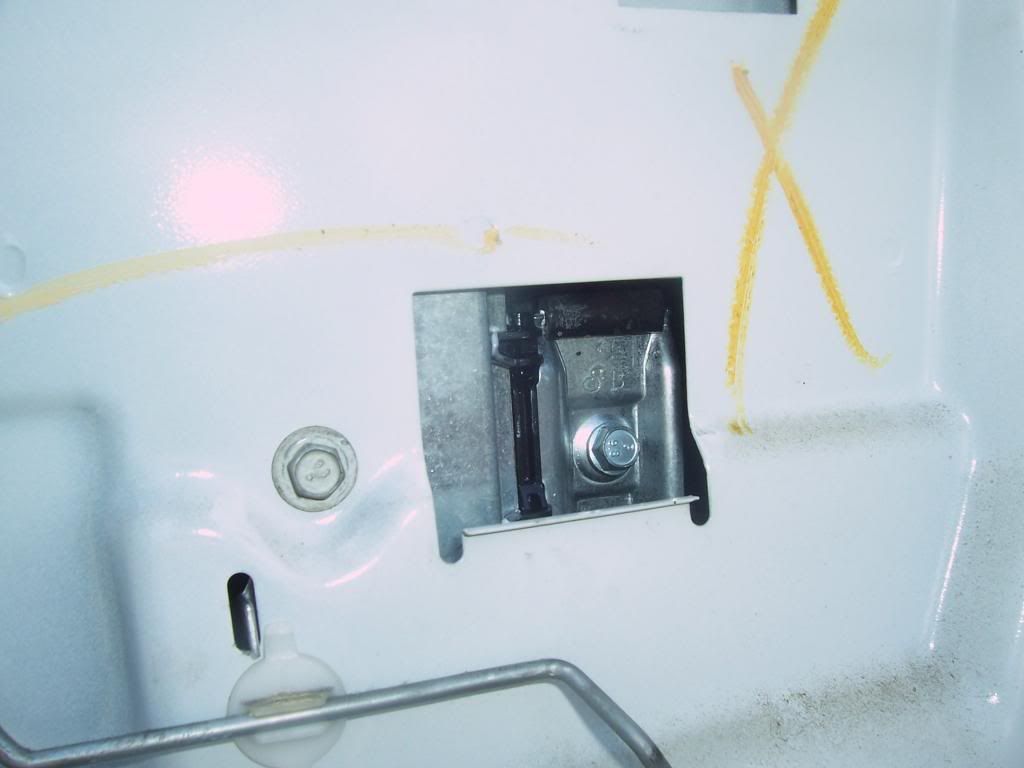
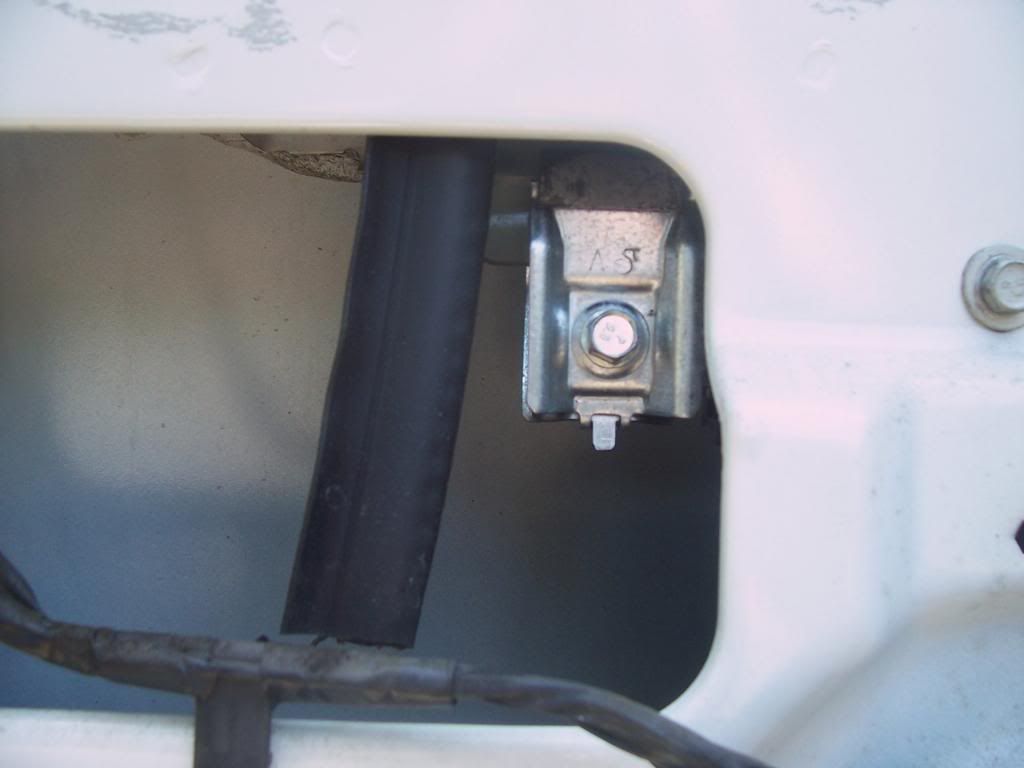
The window will have to be up to remove the old regulator, so I was fortunate that it was stuck in this position. There are access ports for the two 10mm bolts which hold the clip that secures the window in place. Just loosen these bolts.


Remove the electrical connector going to the motor.

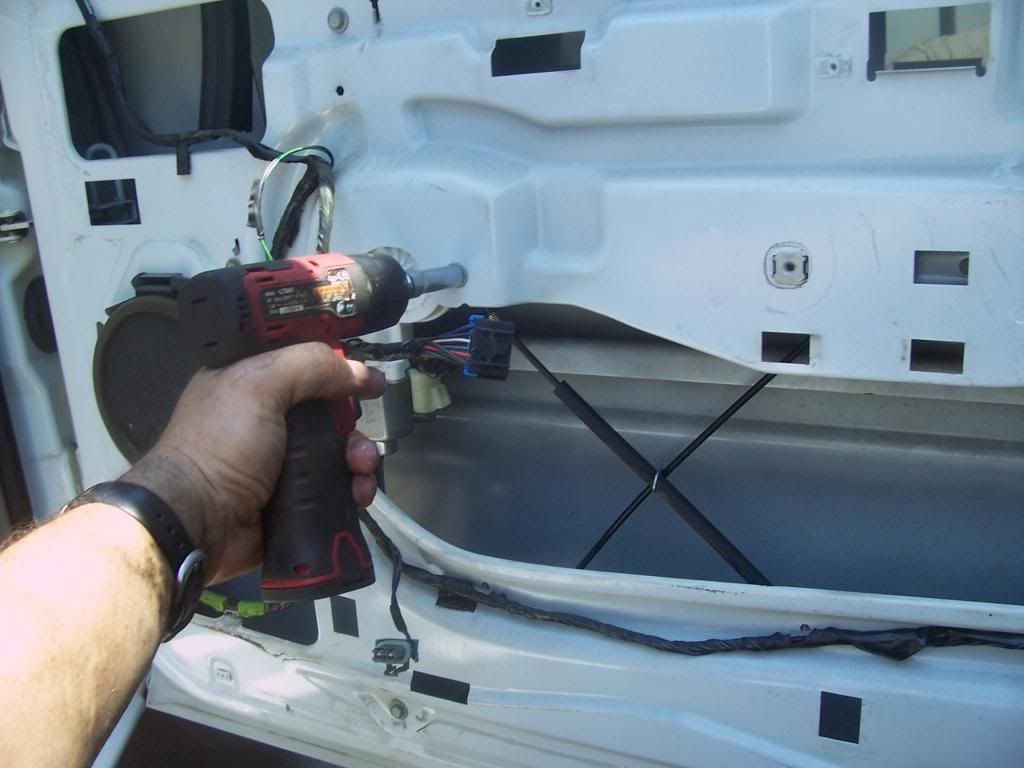
Next take off the 10mm bolts holding regulator on… There are three on each side… Note, do not let the window fall… I had friction which held the window in place, but a friend could help hold it in place for extra security.

The new regulator in position in which it will go in (note when I removed the bolts from the old unit, I put them on the new one) This is not necessary but I just did it.

Drop the old regulator to a horizontal position and pull it out through the access area.

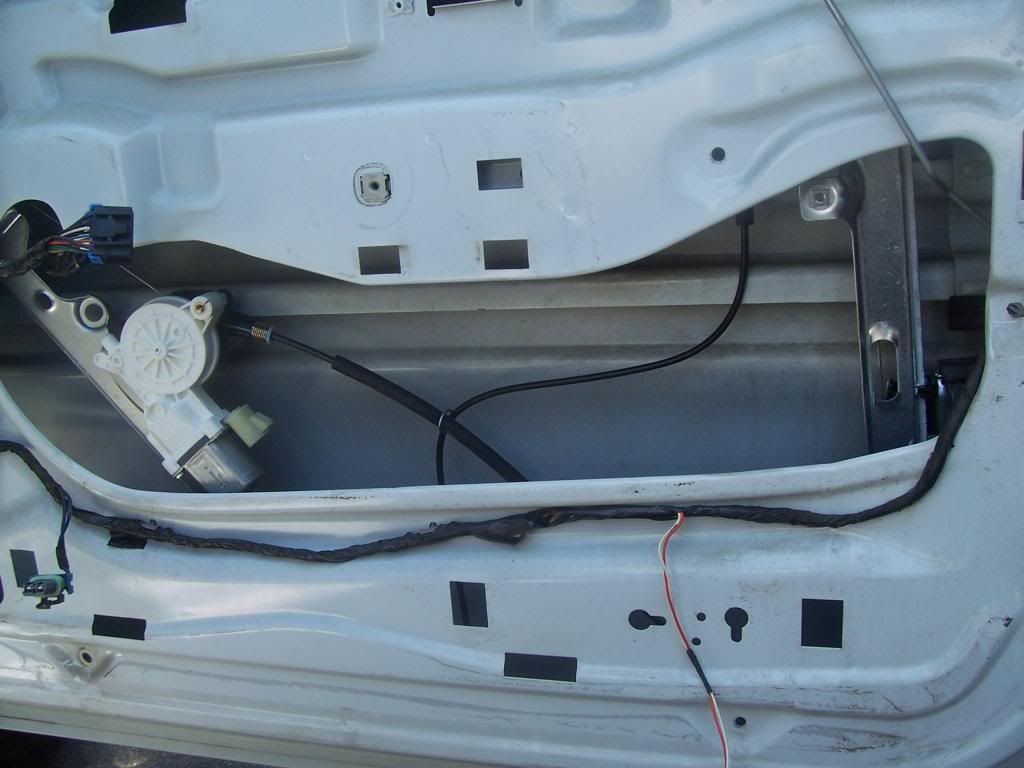
Put the new one in the same way you go the old one out.

Put the new regulator slides in vertically… This is a nice touch that GM did with a slot to hold them in place until you get the nuts in… Put the nuts in loosely and only tighten after you have all three on each side…


When I put this in, the regulator was in a lowered position. Put the window into the slots and slightly tighten the 10mm nuts. Do this on both sides

Put the switch back onto the electrical connector and put the key in to turn on accessories. Then press the window to go up slowly…

When the window moves up, move it to where you can see the access ports again… Ensure the window is on straight and tighten down these bolts… Note you see a dirty area where the old regulator was attached…. My clips were smaller than the OEM so there it doesn’t look like it is all the way on, but it is, and it is on straight more importantly…


Window is attached and the regulator is in place. Remove the switch assembly…

Put vapor barrier back on, ensure you have it lined up correctly or you can have reassembly issues…

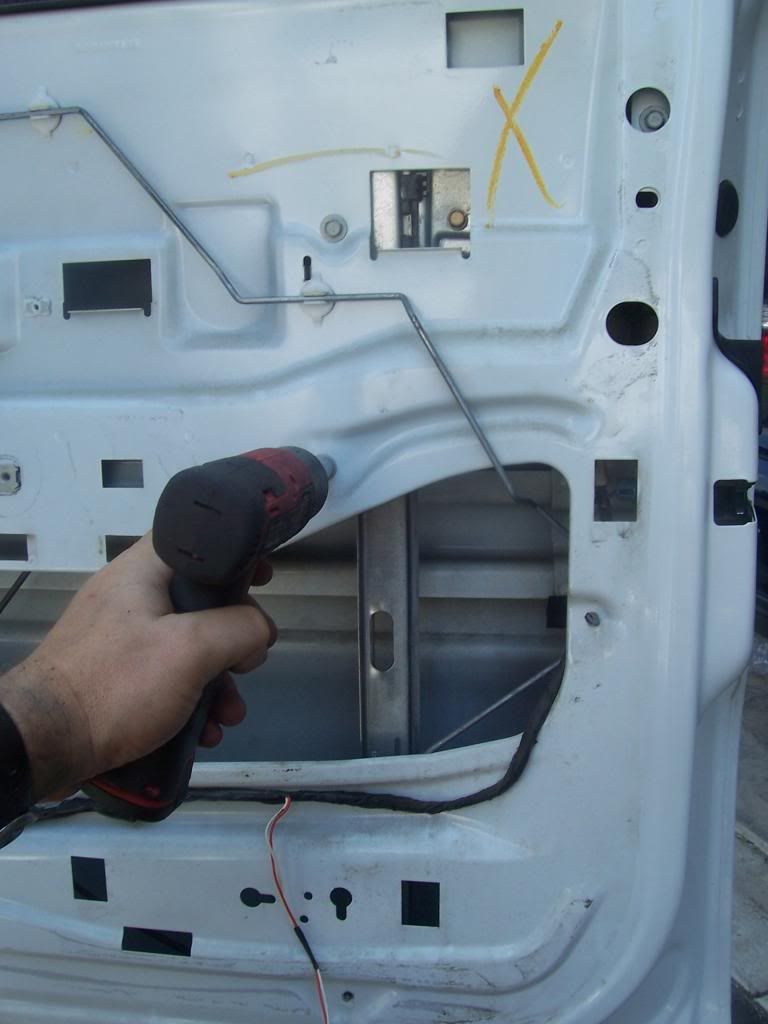
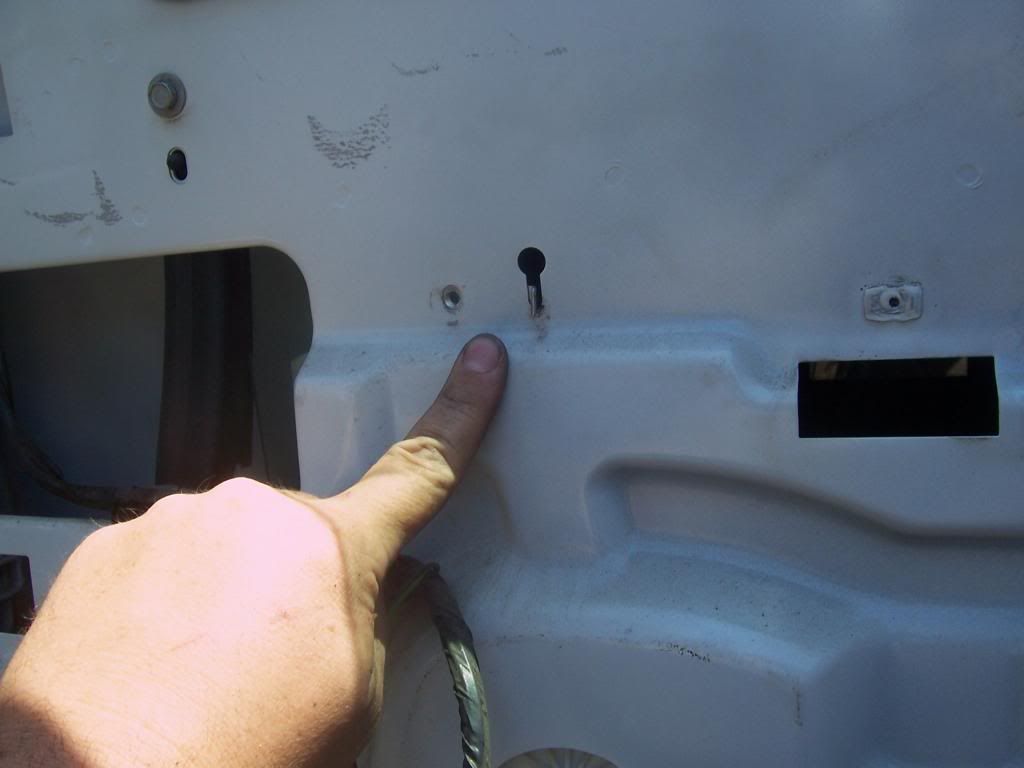
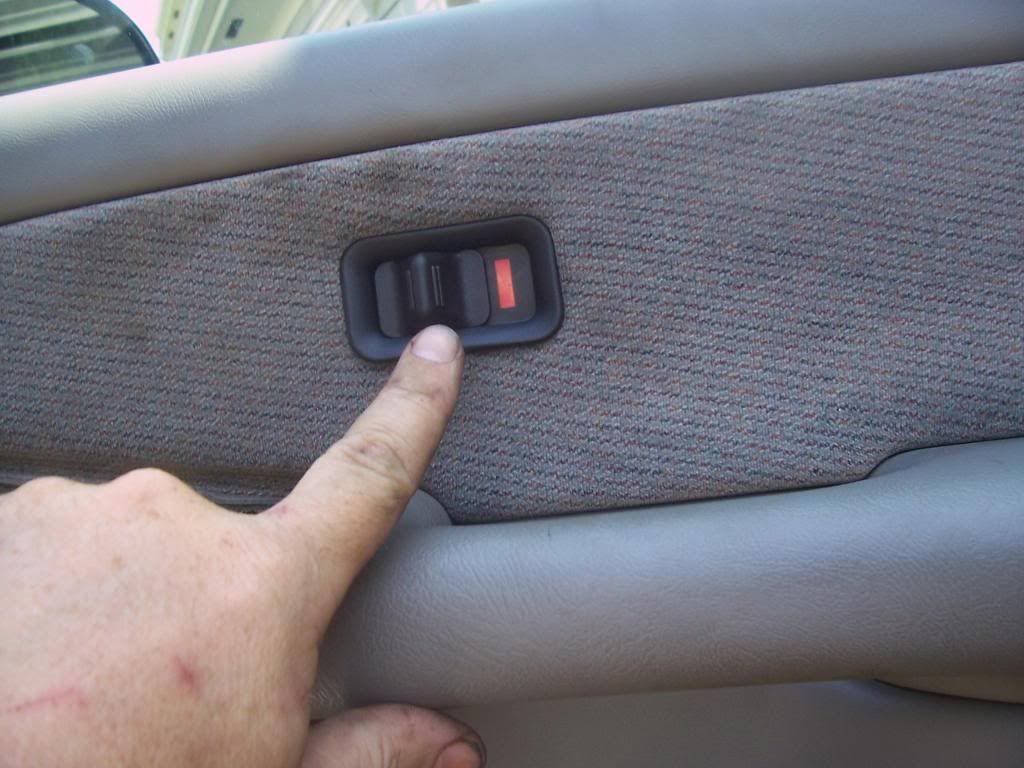
Ensure you get the lock switch lined up with the rod behind it. This will not work correctly if you don’t have it lined up right… You can pop out the switch if you want to make it easier…

The rest is reverse of what has been covered…
Cheers!
Karl
- You must be logged in to reply to this topic.
 Our Address
