Menu

TOYOTAKARL case: GMC Sierra Rear Main Oil Seal

Home Forums Stay Dirty Lounge Repair Central-The ‘How To’ Forum TOYOTAKARL case: GMC Sierra Rear Main Oil Seal

  • Creator
    Topic
  • #537514
    A toyotakarlIts me
    Moderator

      History: So as not to limit myself too much to Toyotas I occasionally step out and work on other cars. Today’s case is a 2000 GMC Sierra 6.0 liter with 4L80E Transmission. This Sierra has been an absolute workhorse. It was purchased in 2006 for $7000. It had 170k miles on it and the only issues were the fuel gauge sending unit (common problem for GMs of this period). That was a fun replacement, had to drop the tank. Hopefully will be a long time before I have to do that again. It also needed a simple tune up…. New fuel filter, new plugs, new wires and a fuel system cleaning. Did that all myself in 2006 and have essentially have done nothing but oil changes since then.
      Fast forward to now with 230k miles on it and it needs some work. I always end up working on other peoples cars, so now that I have some downtime, I will take care of this truck the way it deserves. It can use another tune up and needs a window regulator for the passenger side (all of which I hope to post in the future). Also it has a terrible oil leak. The rear seal on the transmission is also seeping transmission fluid.

      So today I began work on the truck to get it right. It is around 95 degrees in the shade here today in Central Ohio so I am doing this work in pieces.

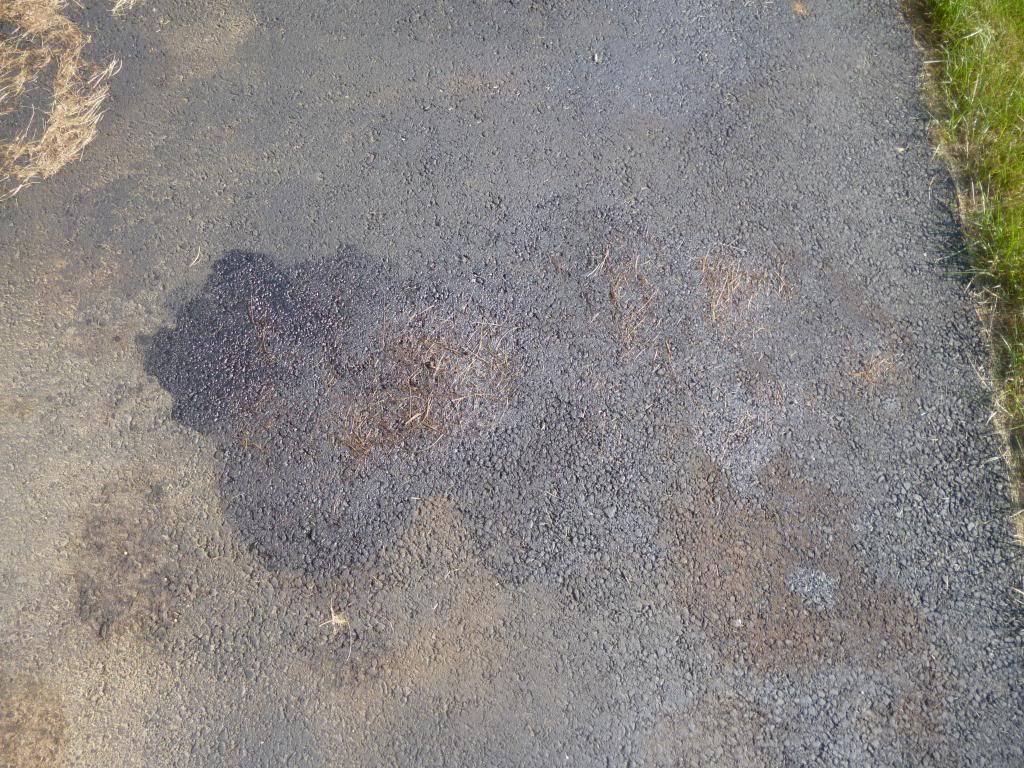
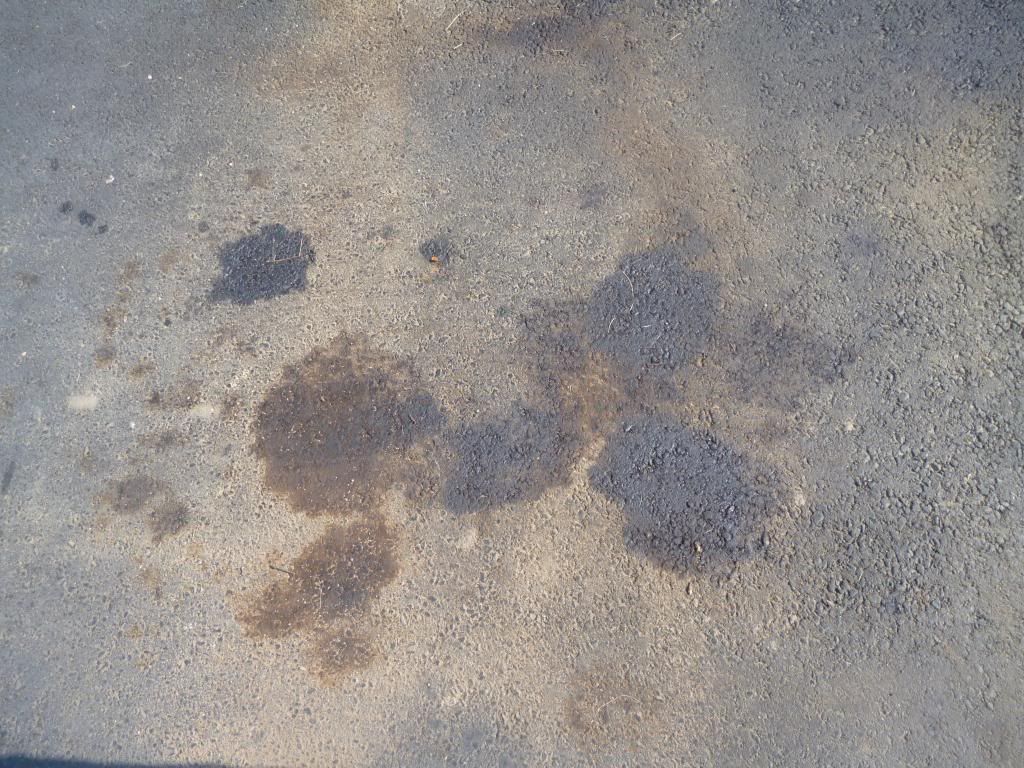
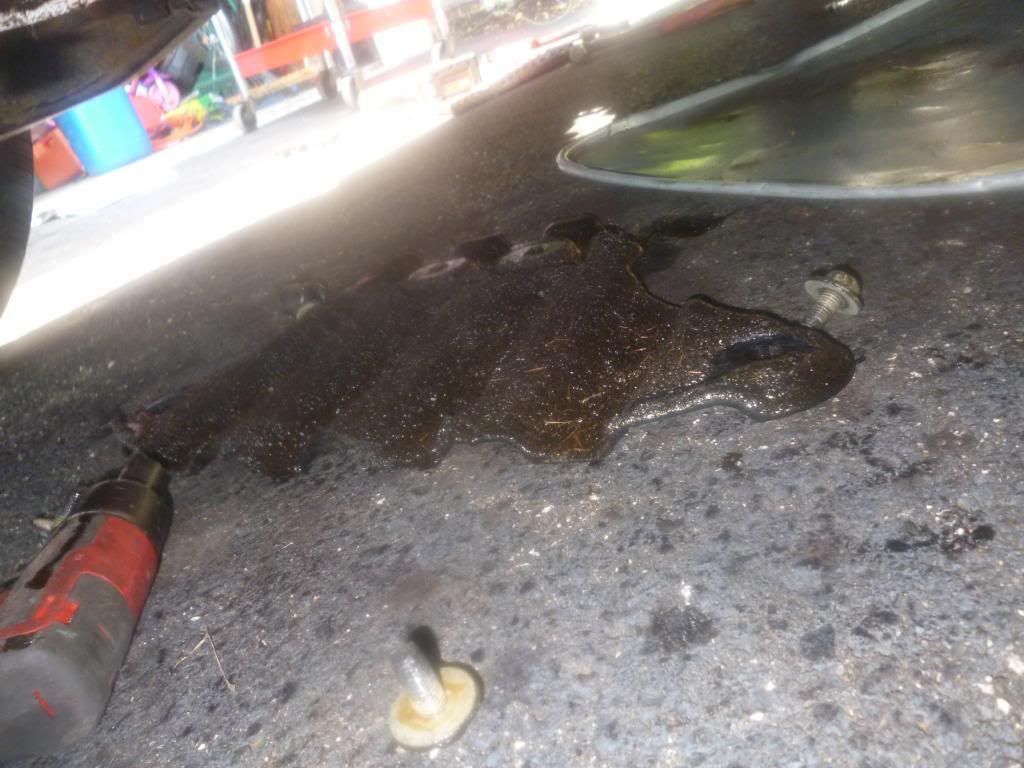
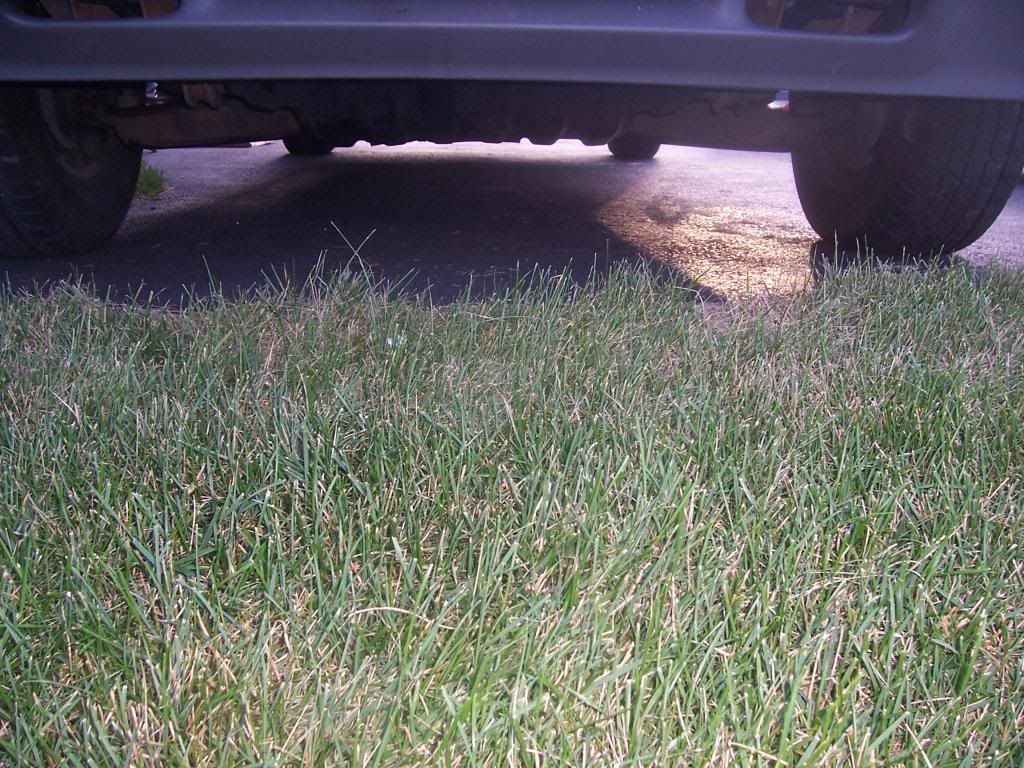
      Here are pics of my driveway… Not good

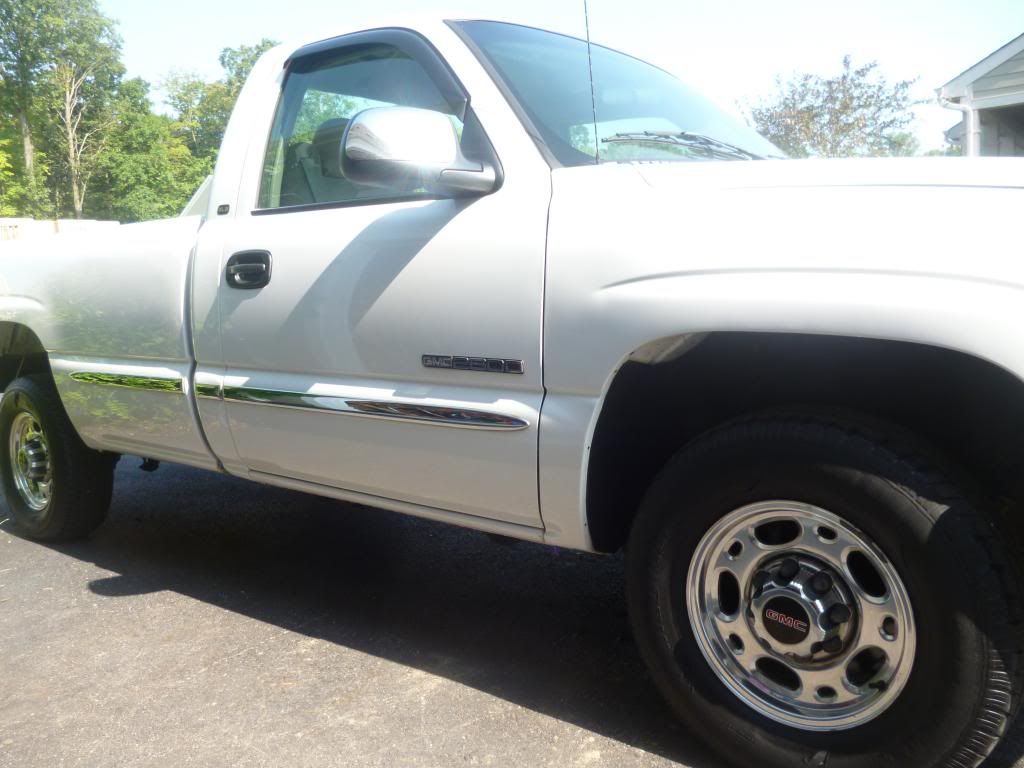
      The 2000 GMC Sierra…. Still looks good for a 13 year old truck…

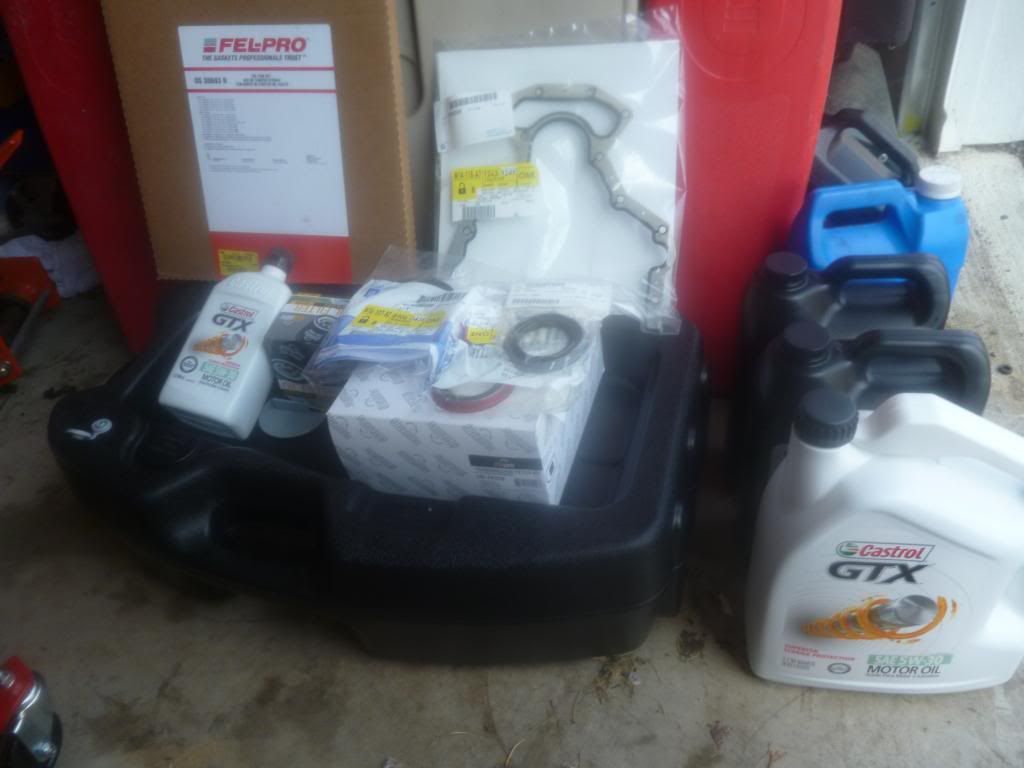
      The parts required to do the job…

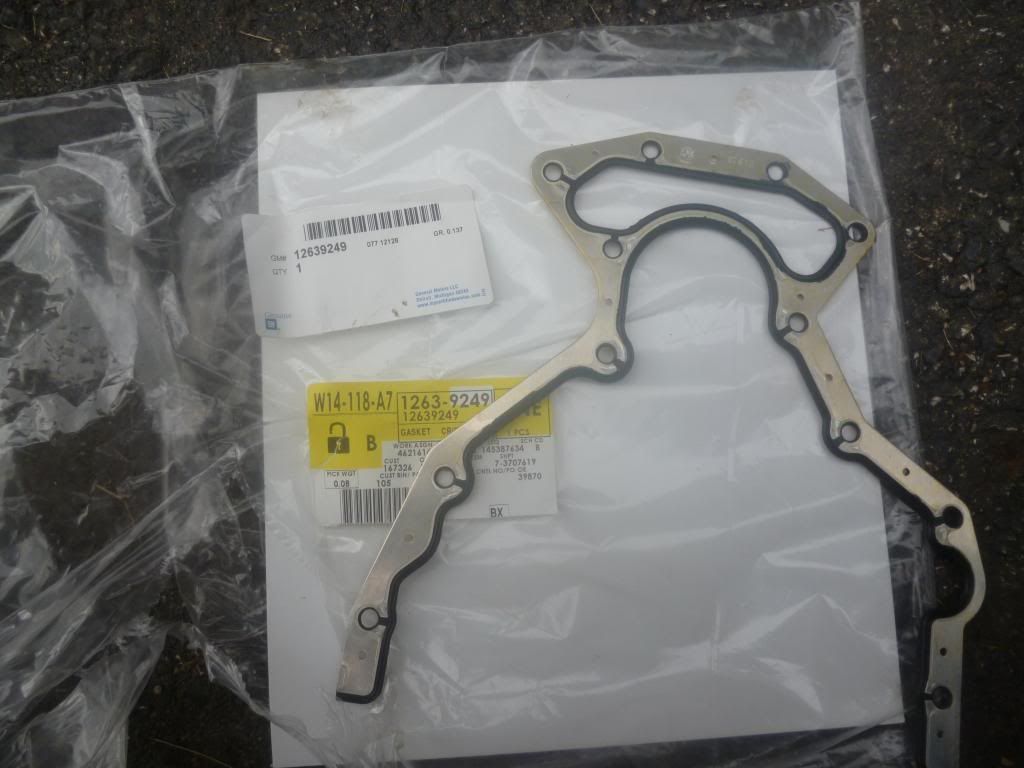
      I will be replacing the rear main seal and the seal for the housing and the Transmission pump seal (while I am in there) and the output shaft seal. Also the oil pan will get a nice new gasket and the transmission will get a new filter and gasket.

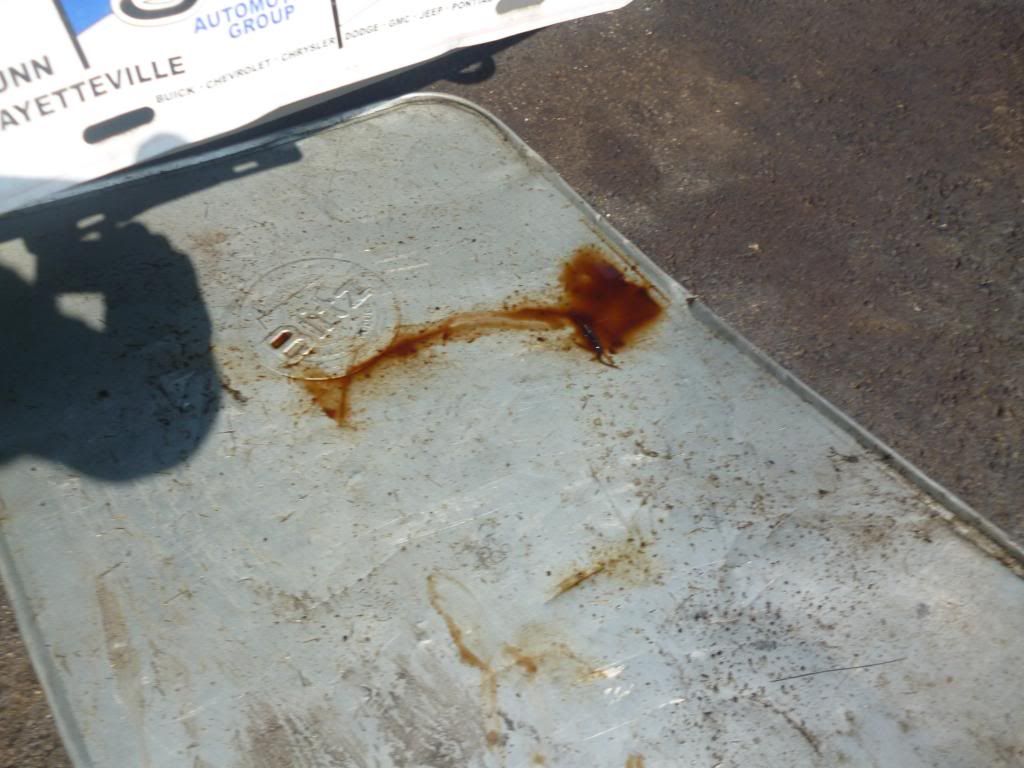
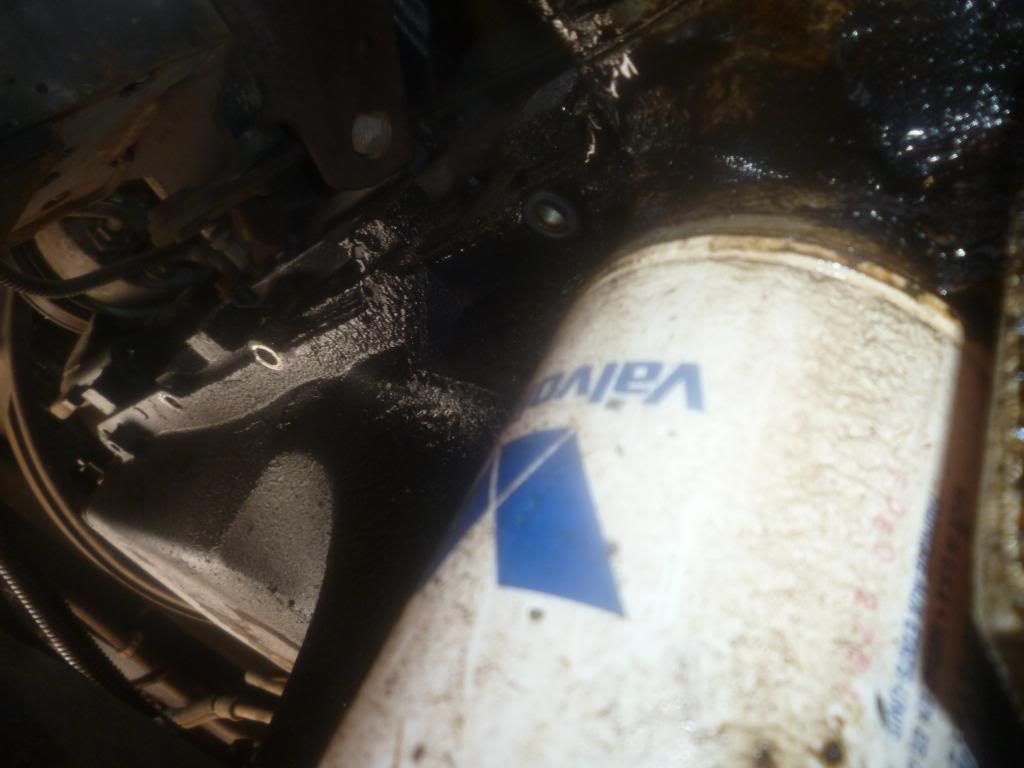
      This is the drip pan after putting it under the truck for one night.

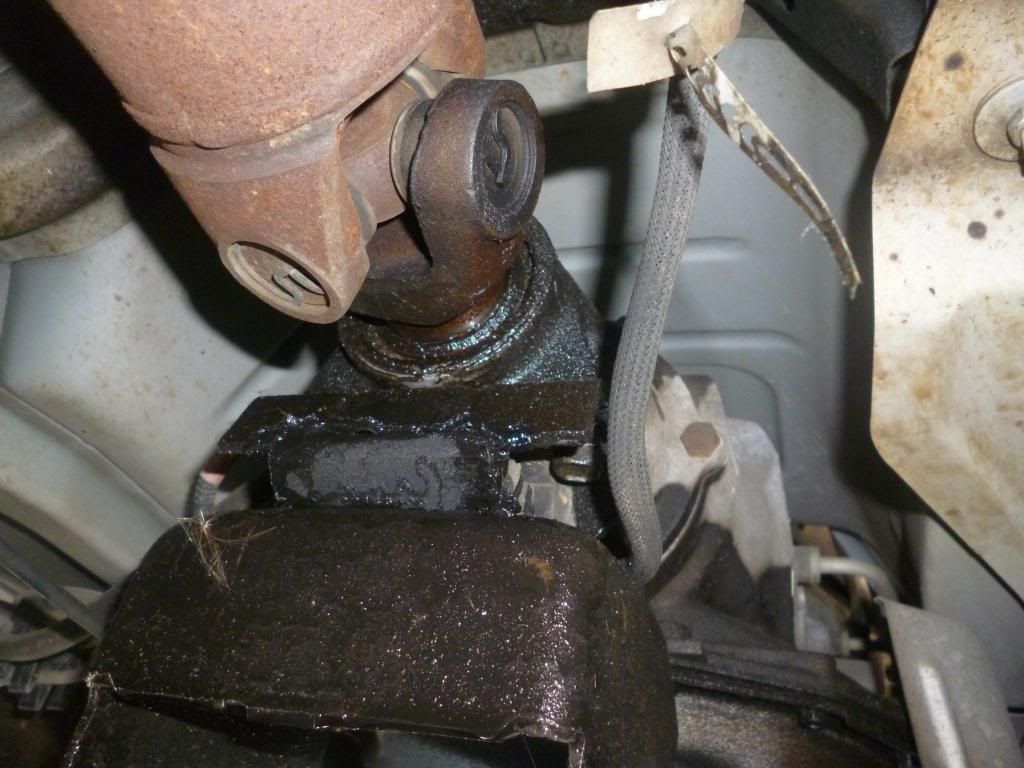
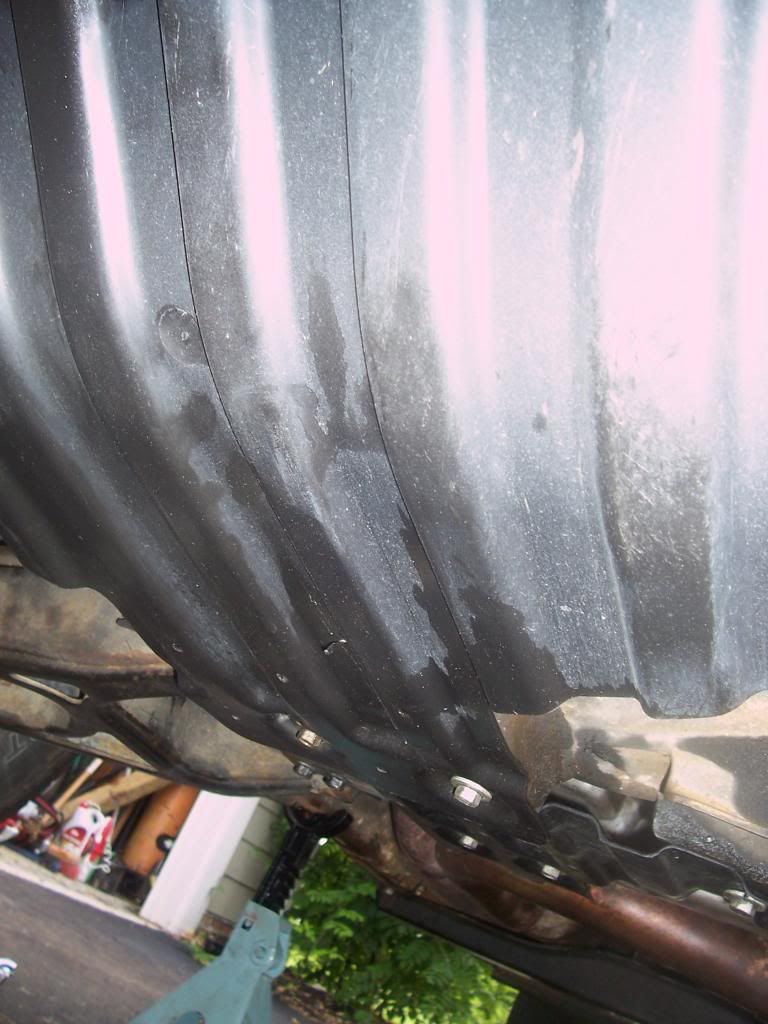
      The seeping at the output shaft seal

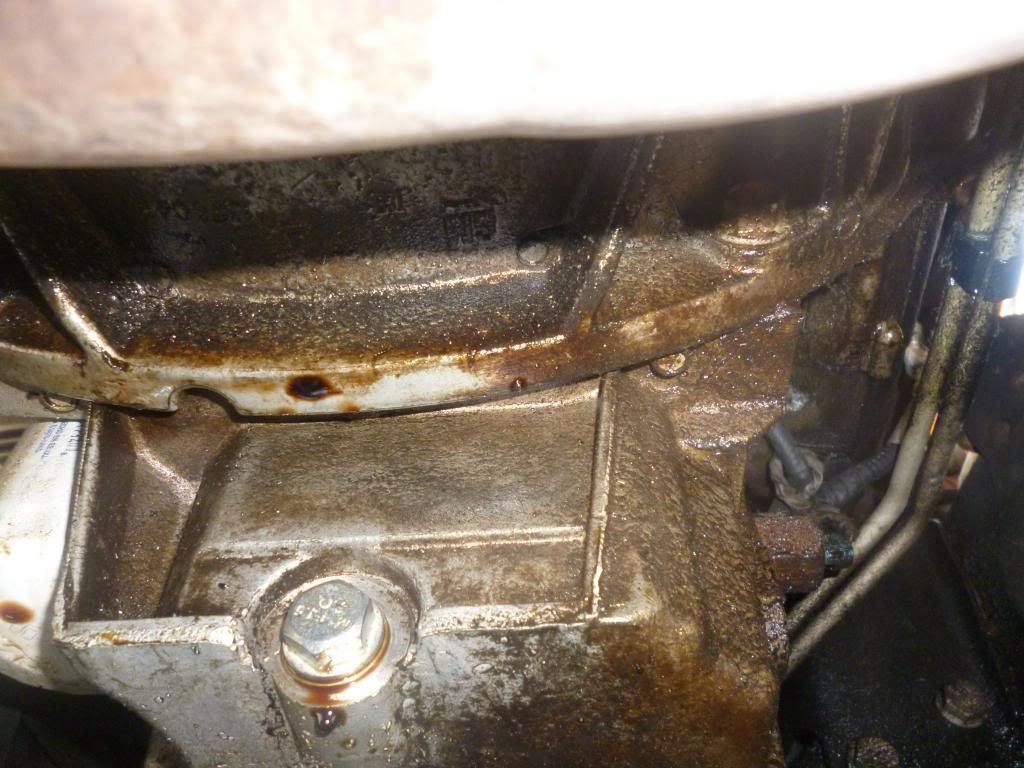
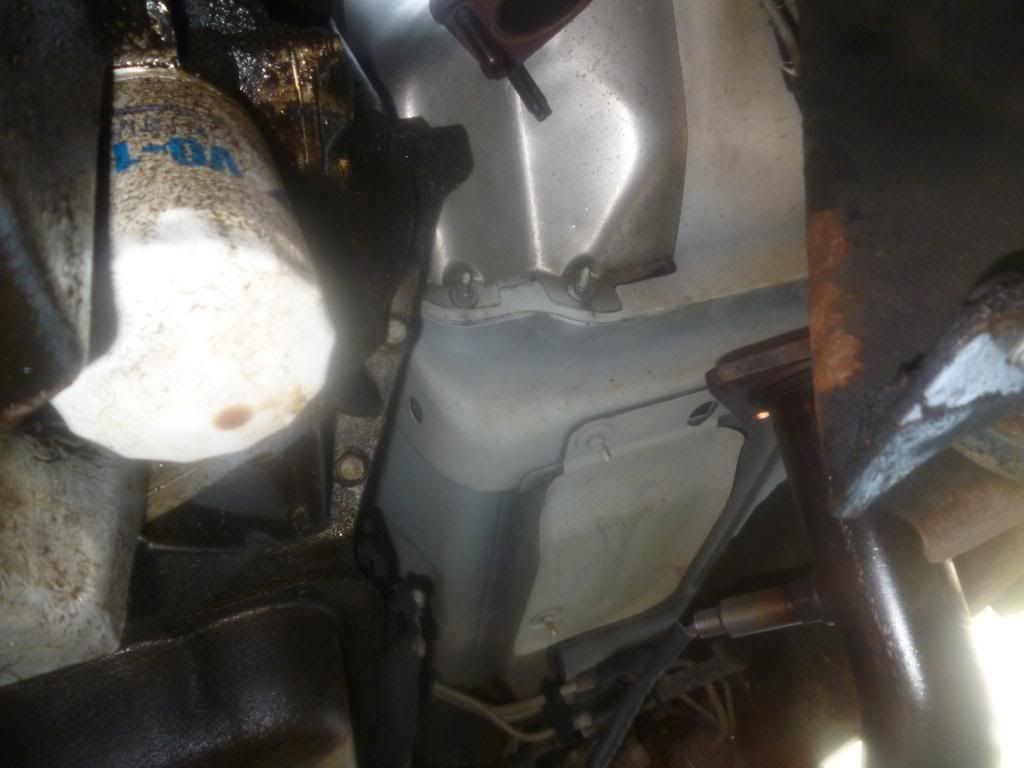
      The leak at the flywheel cover

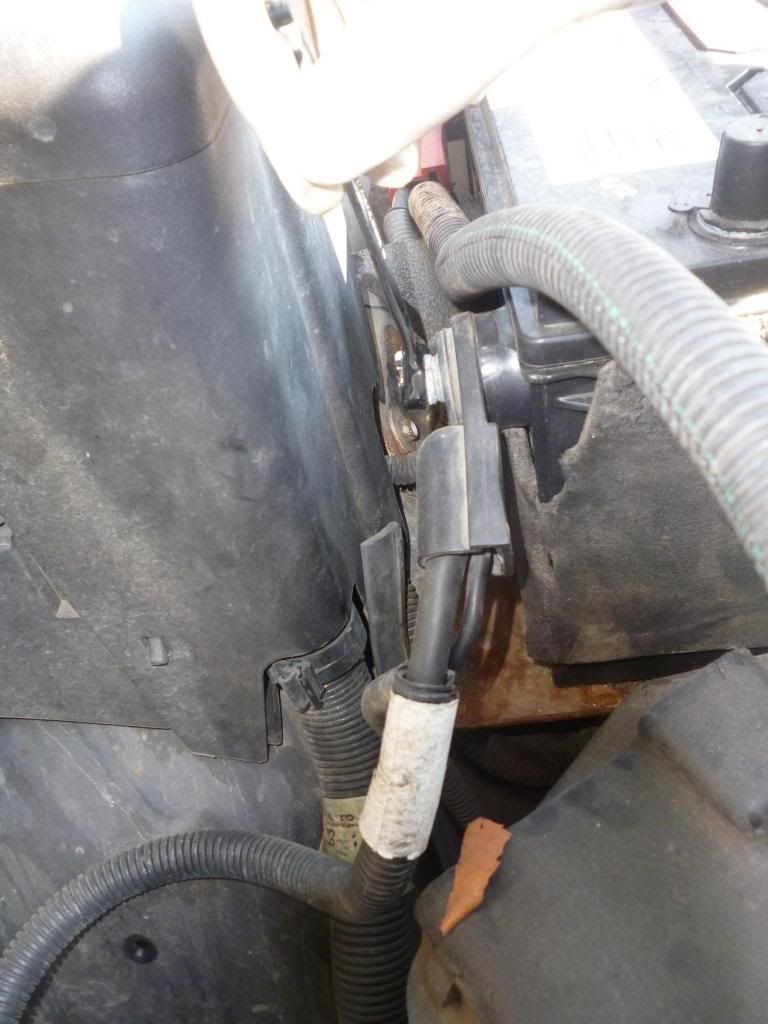
      First I set the Parking brake and removed the negative battery cable.

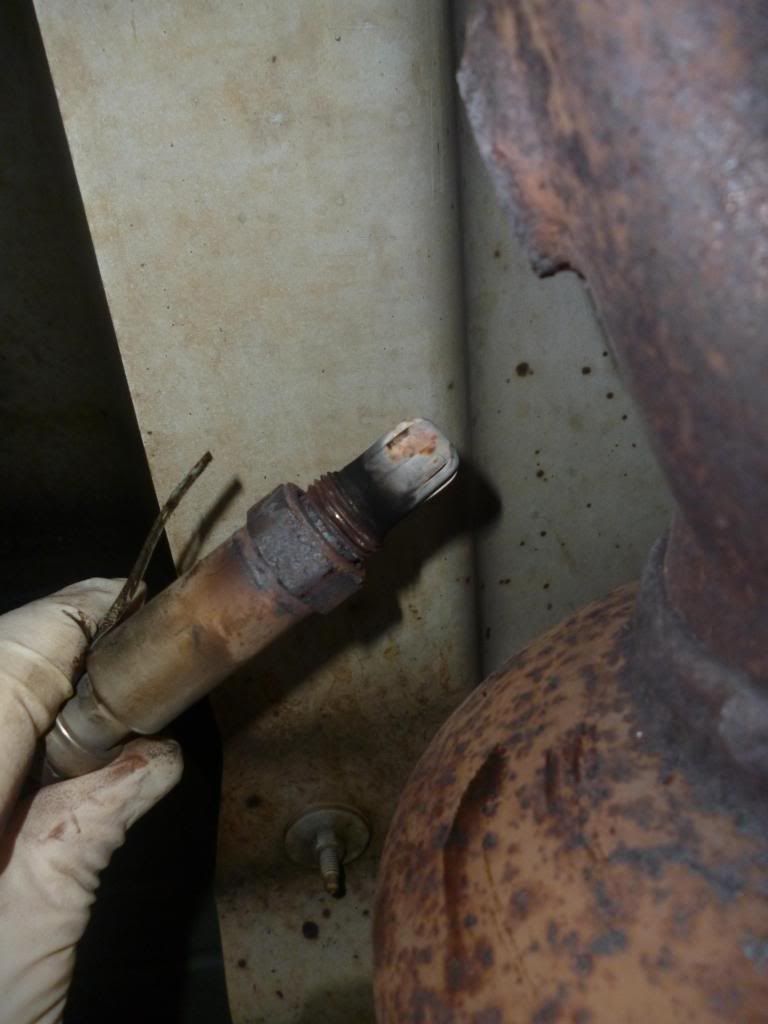
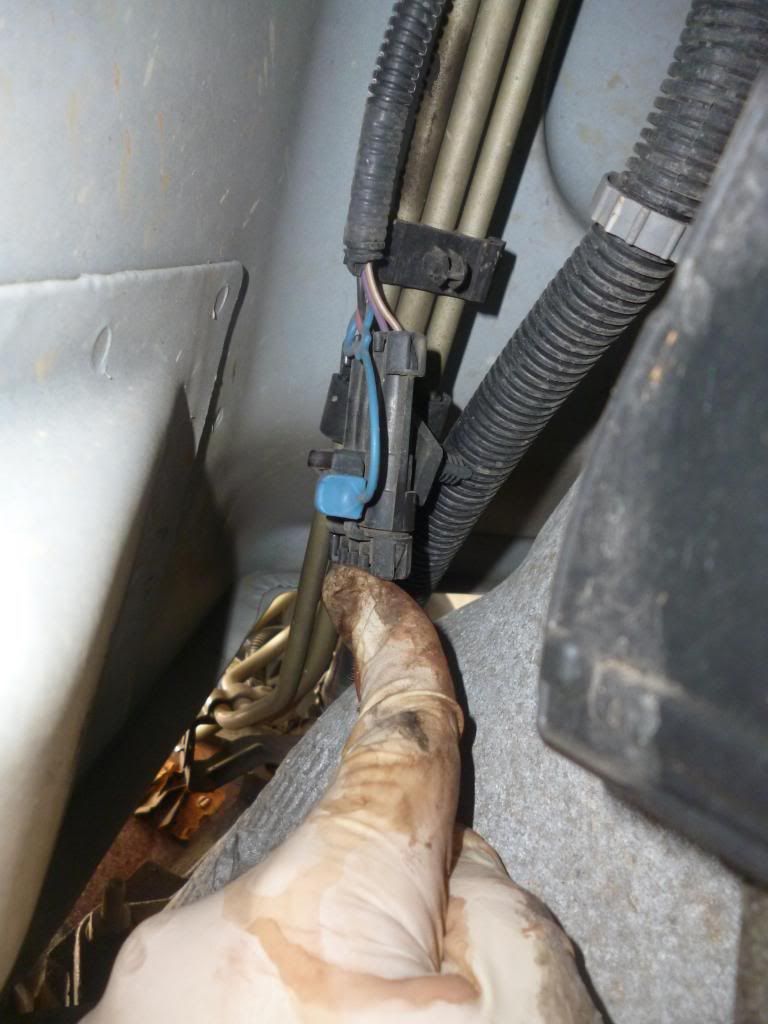
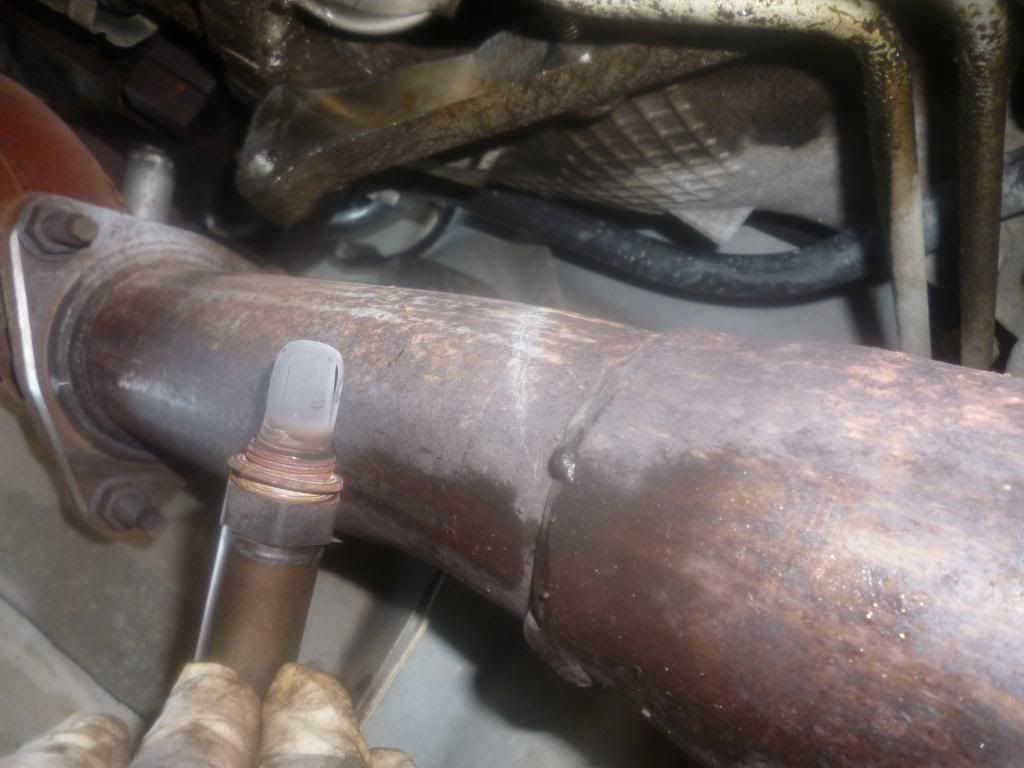
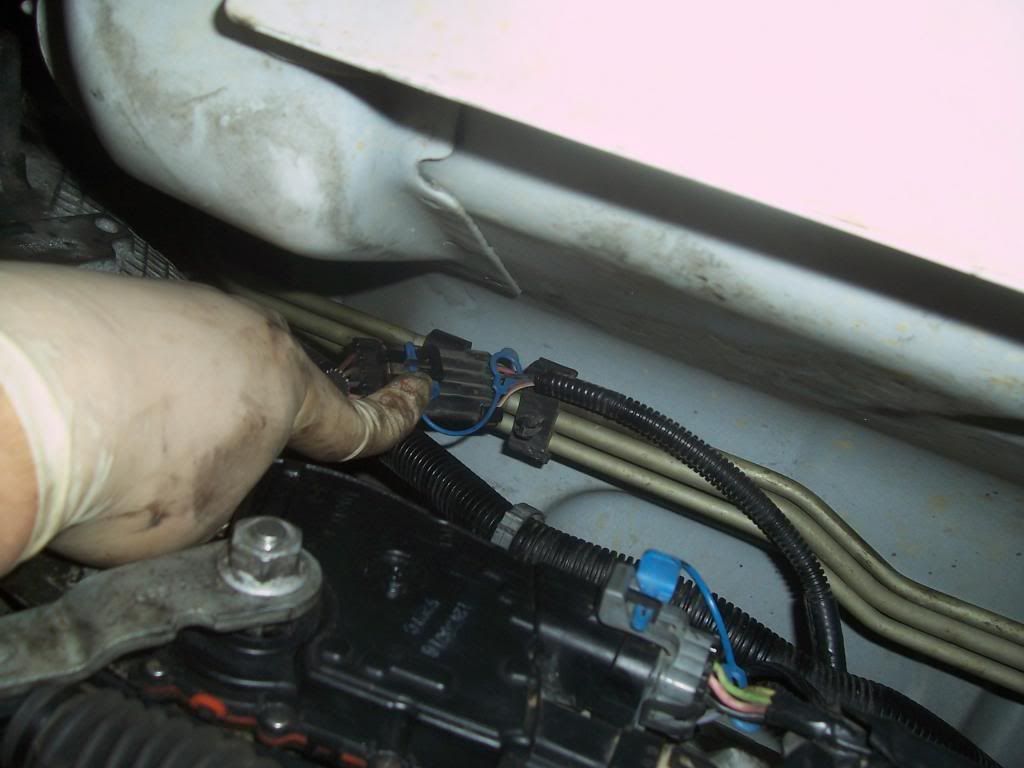
      This job will call for the removal of both exhaust pipes going halfway back the truck, so I disconnected the drivers side exhaust pipe downstream O2 sensor.

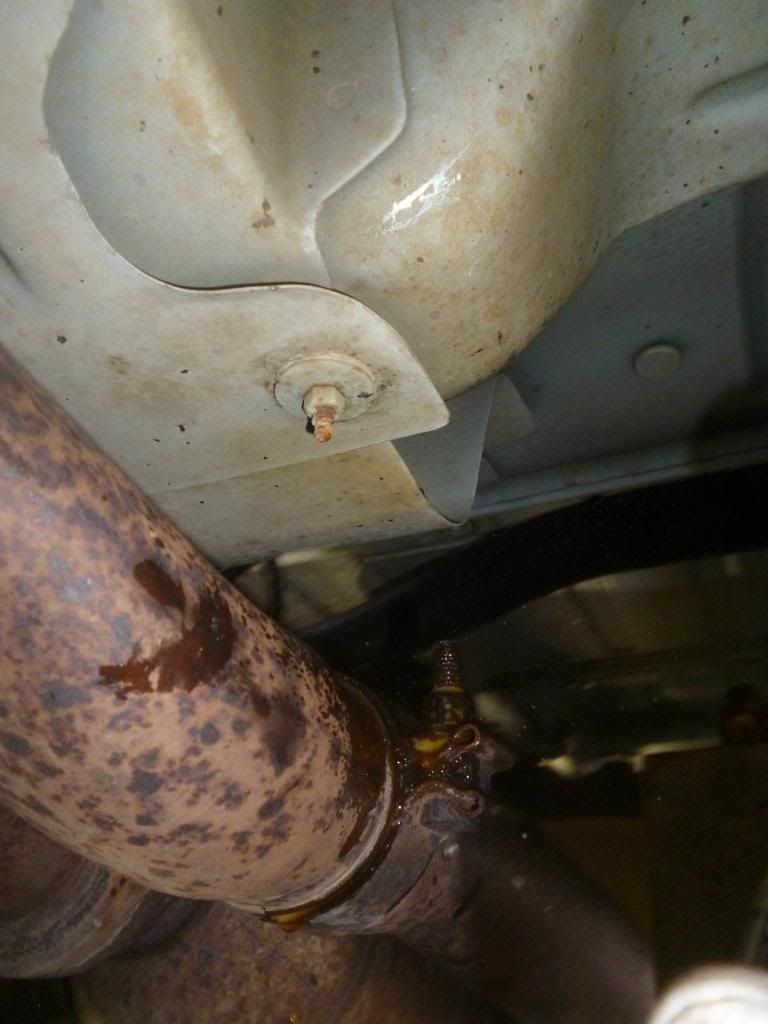
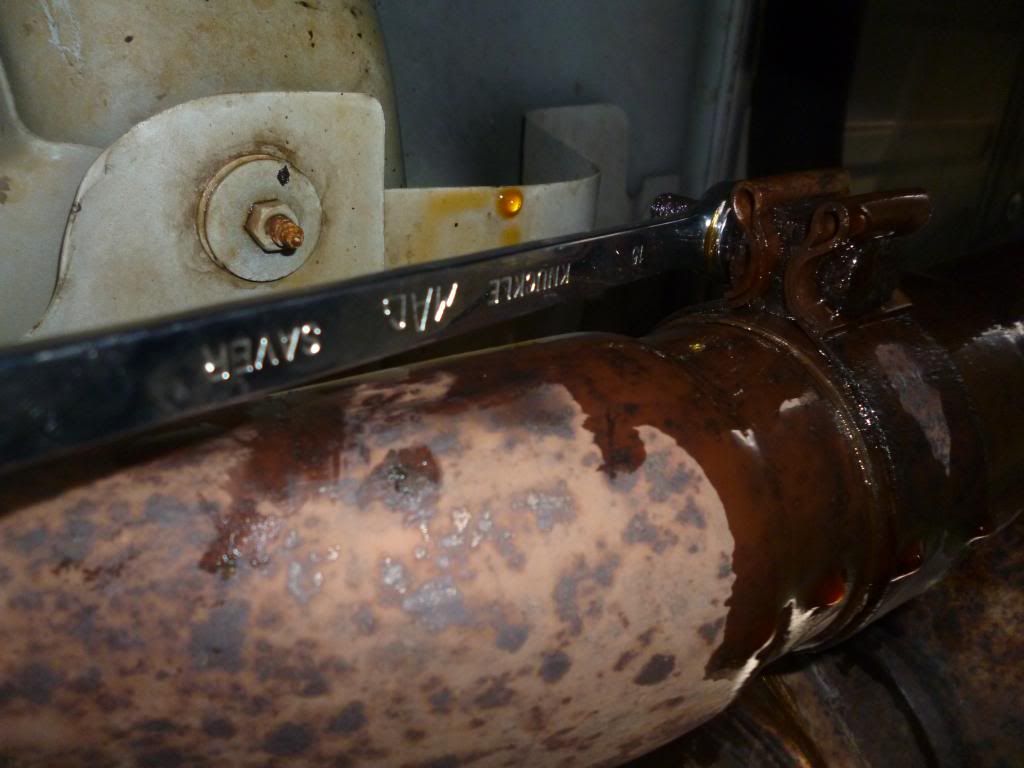
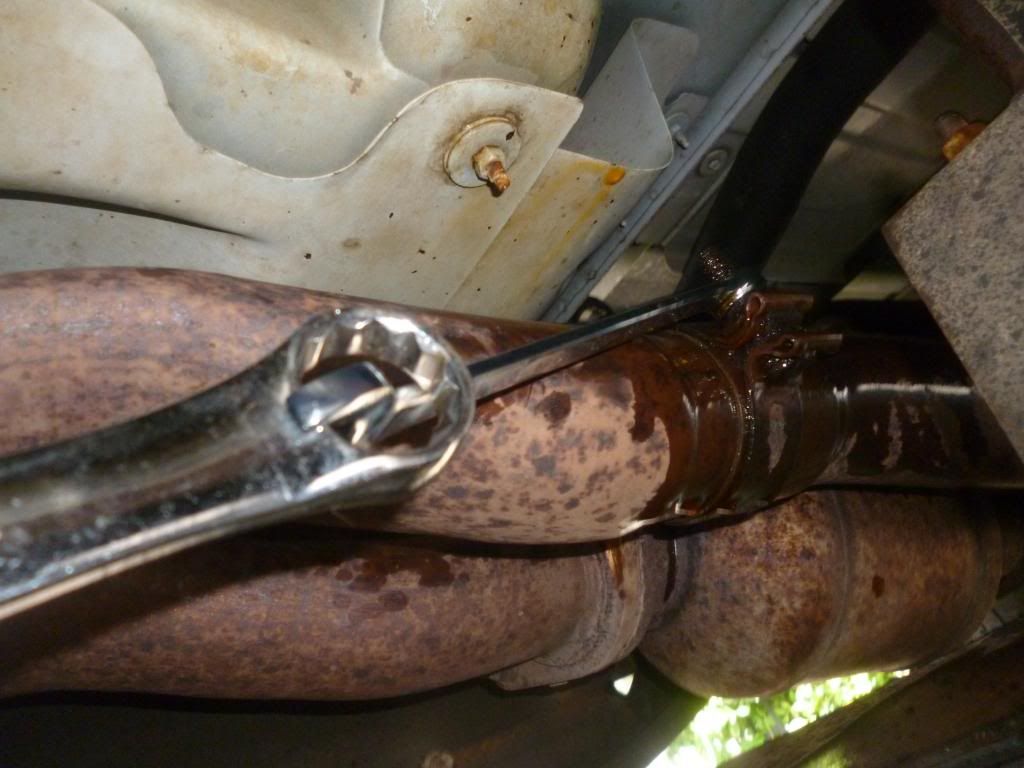
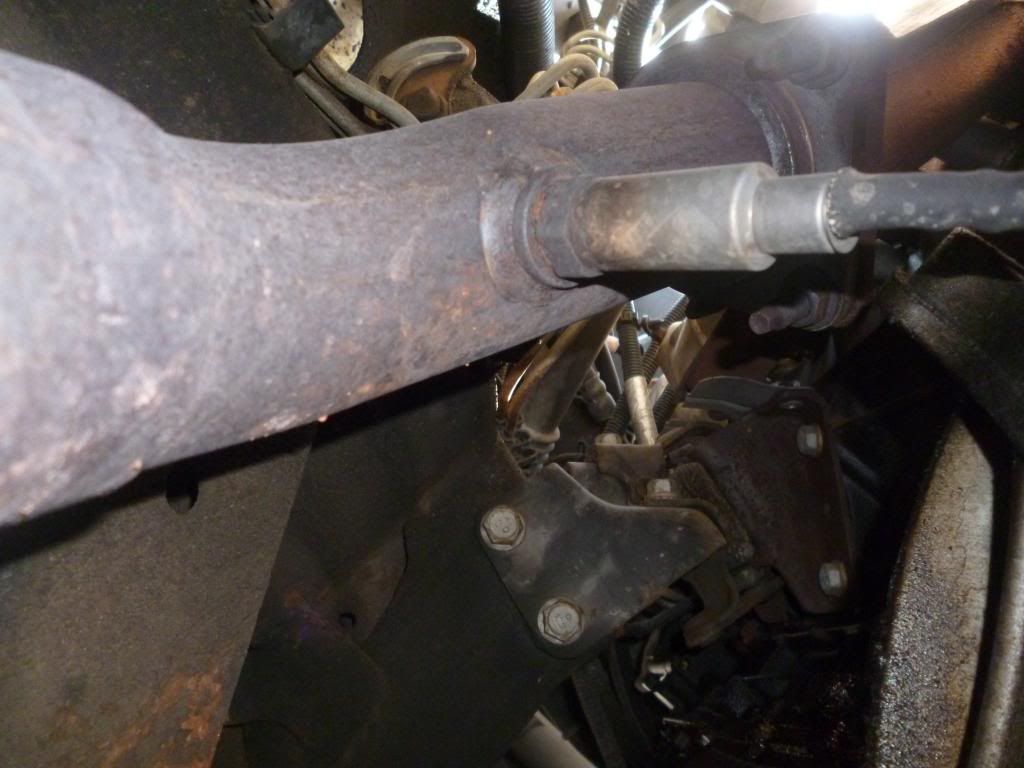
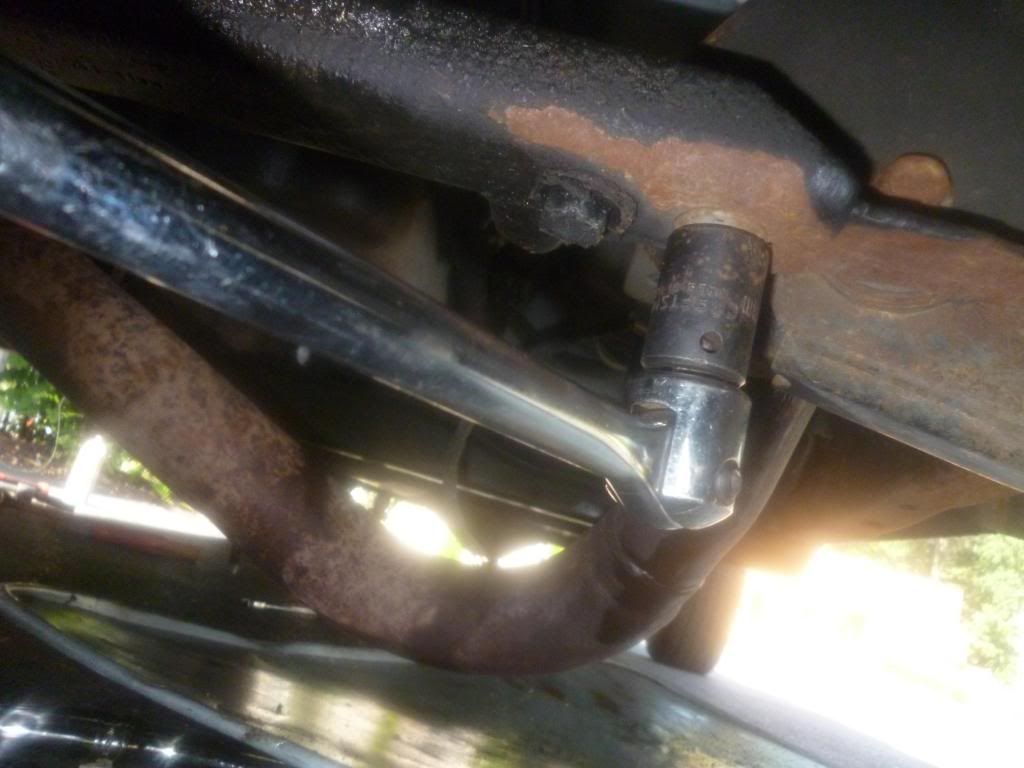
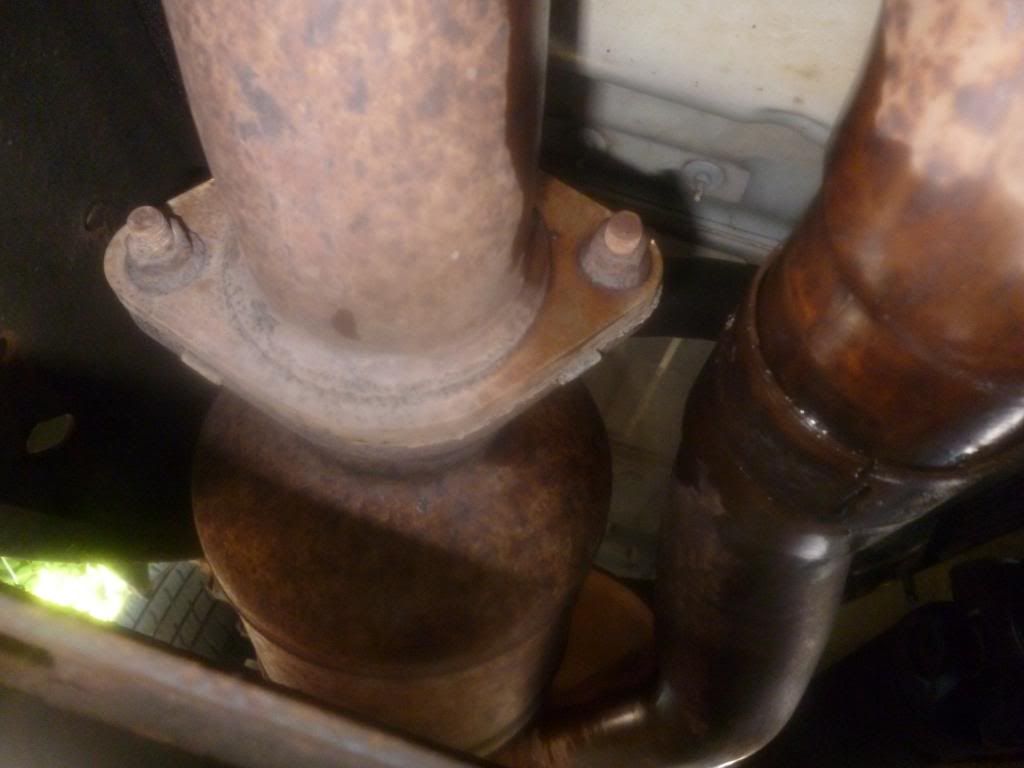
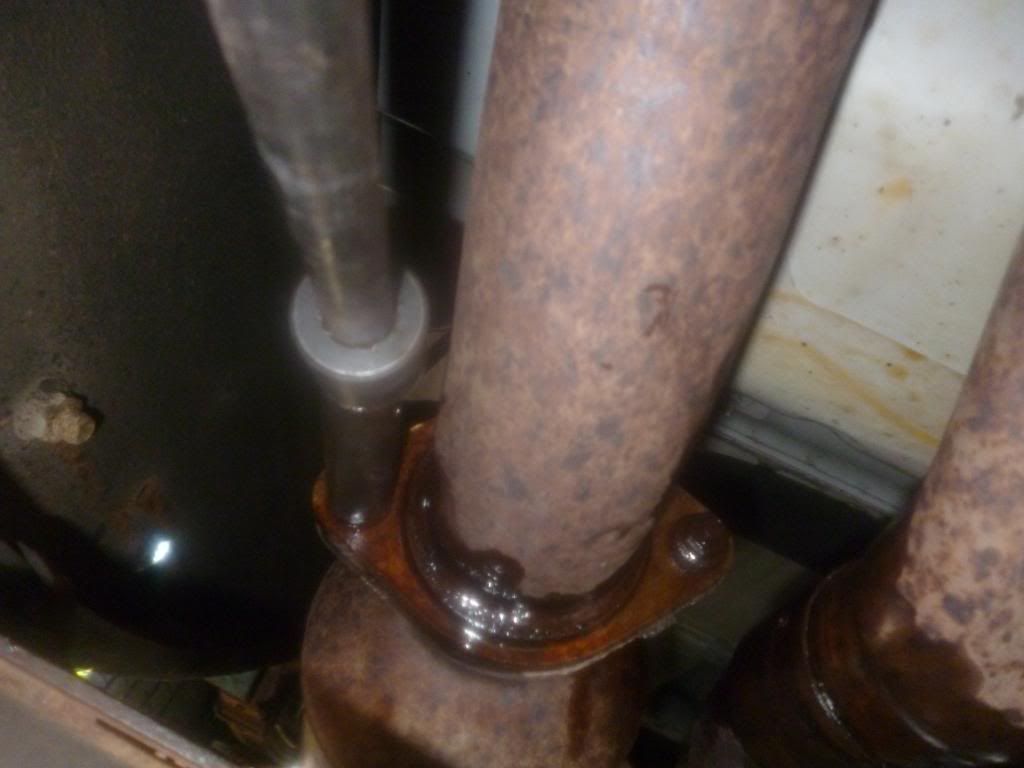
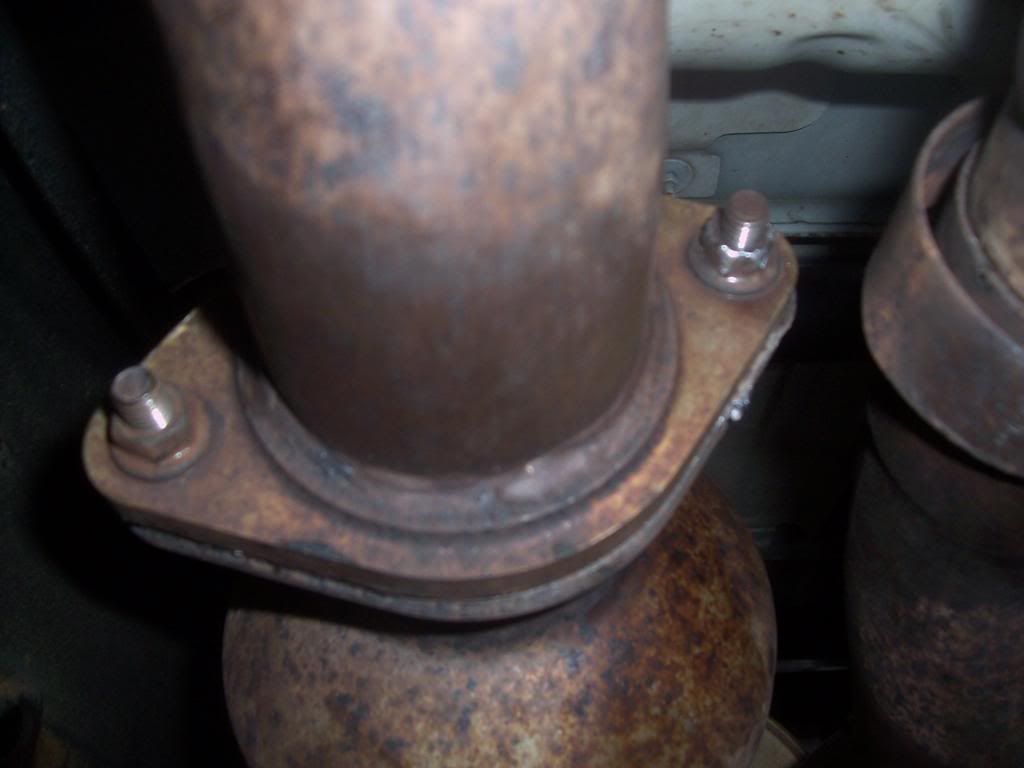
      Next is removing the Clamp that holds the front pipes to the rear pipes before the muffler
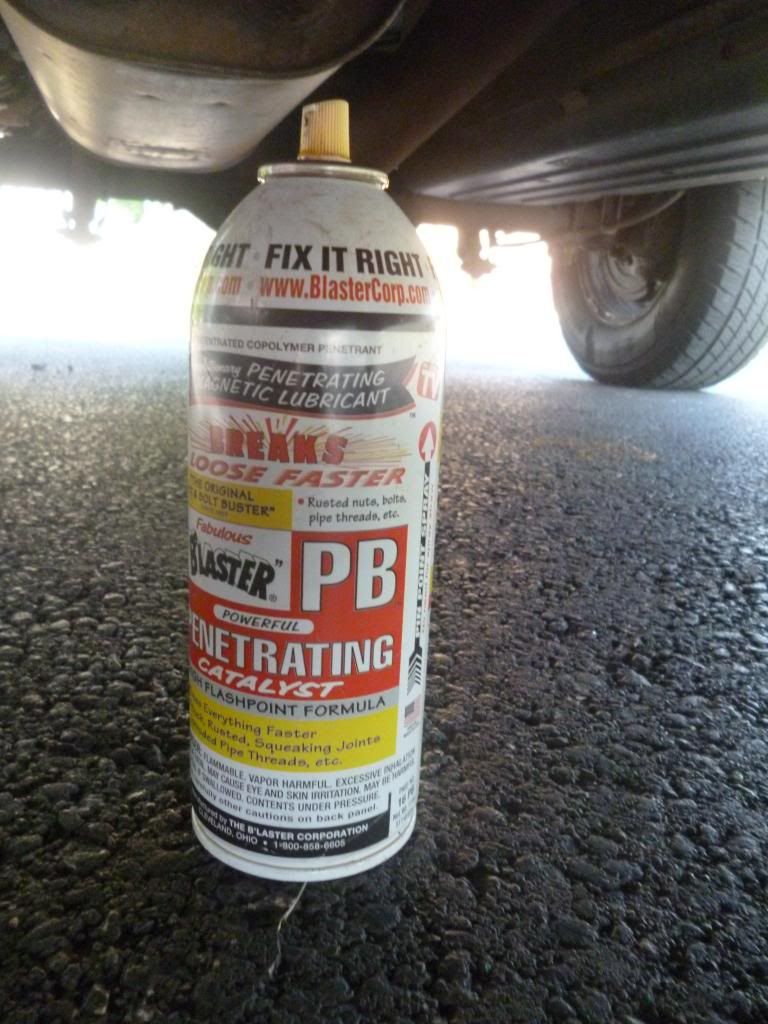
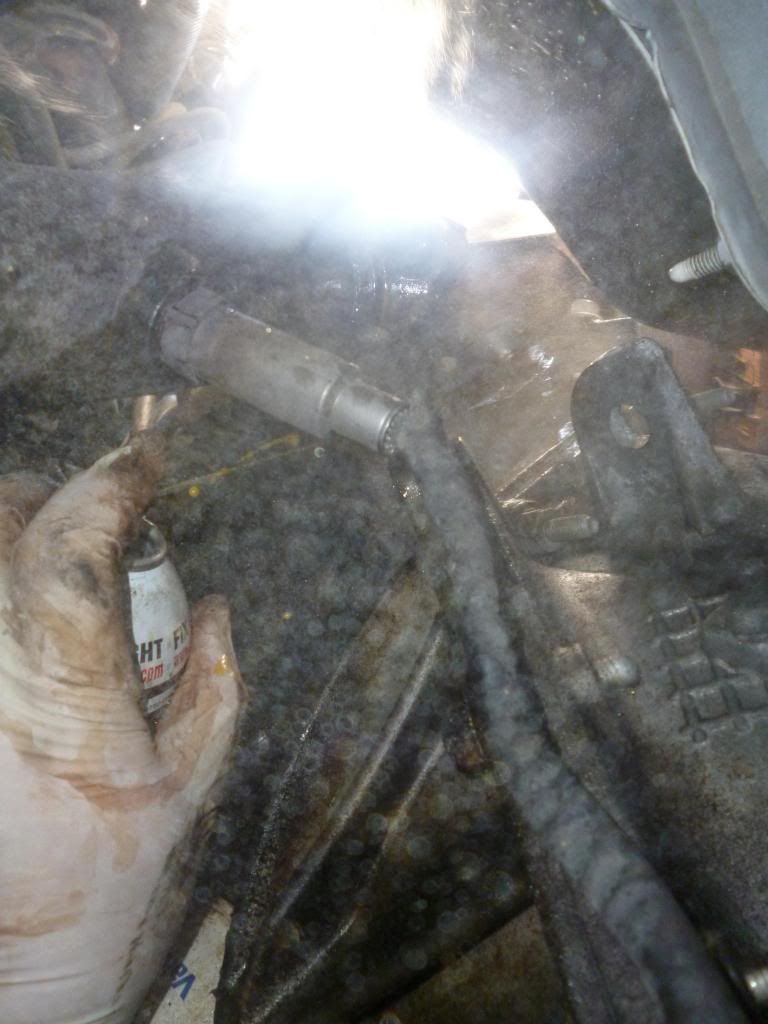
      Here is where PB is your friend…. Made right here in OHIO!!!

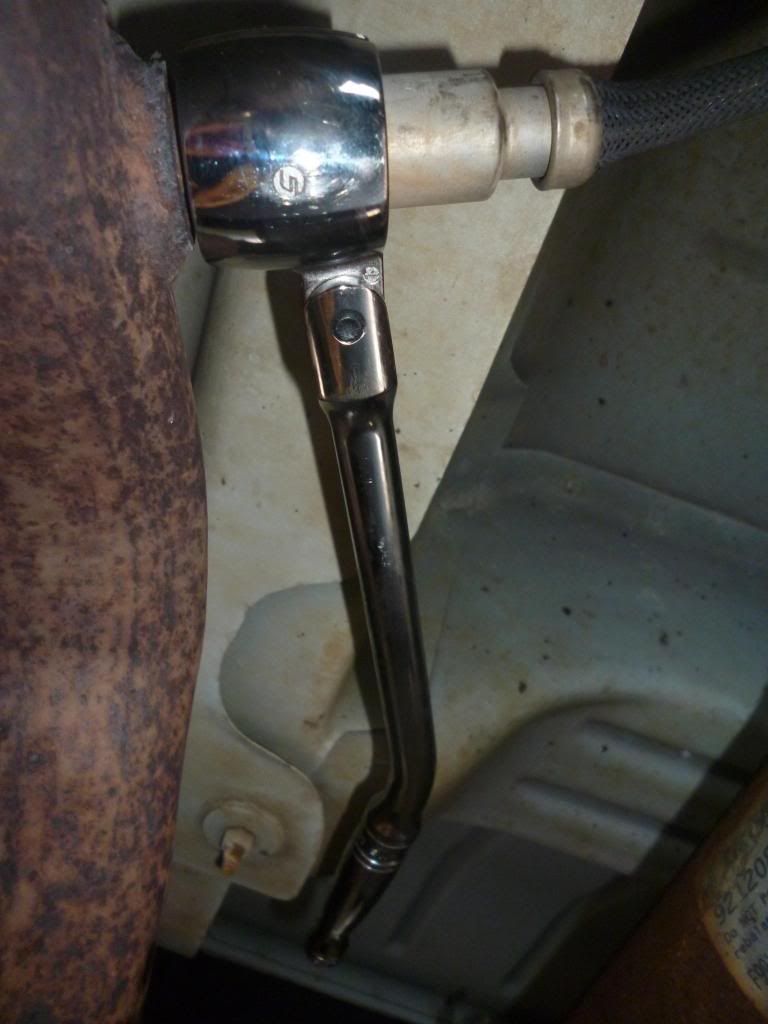
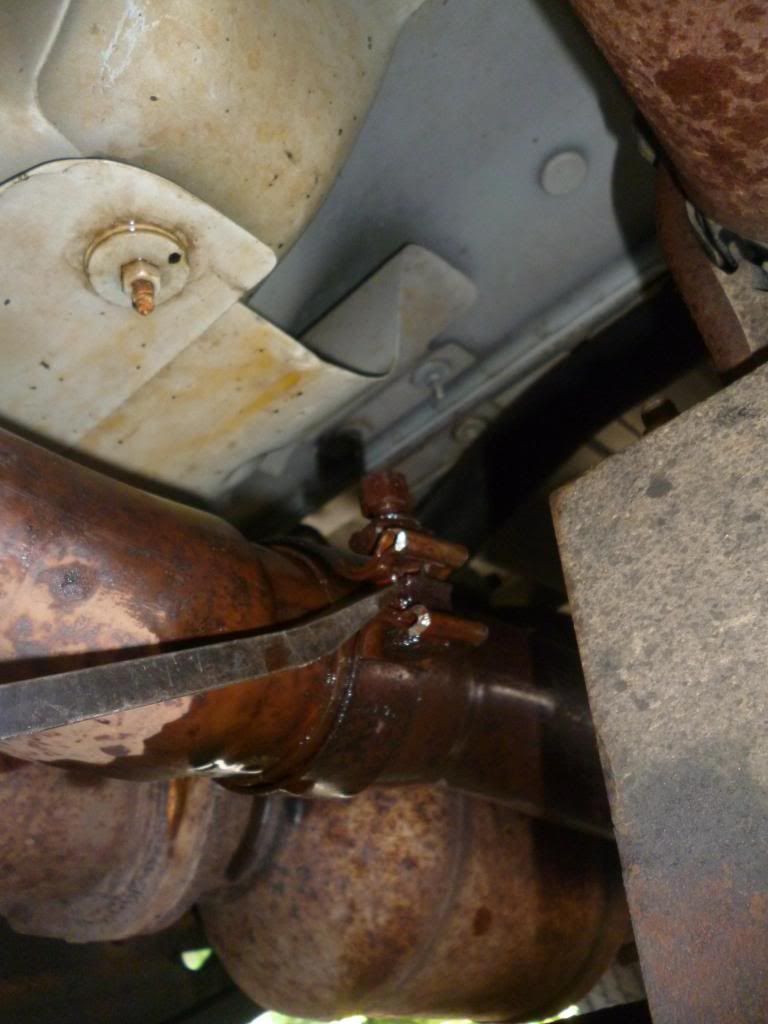
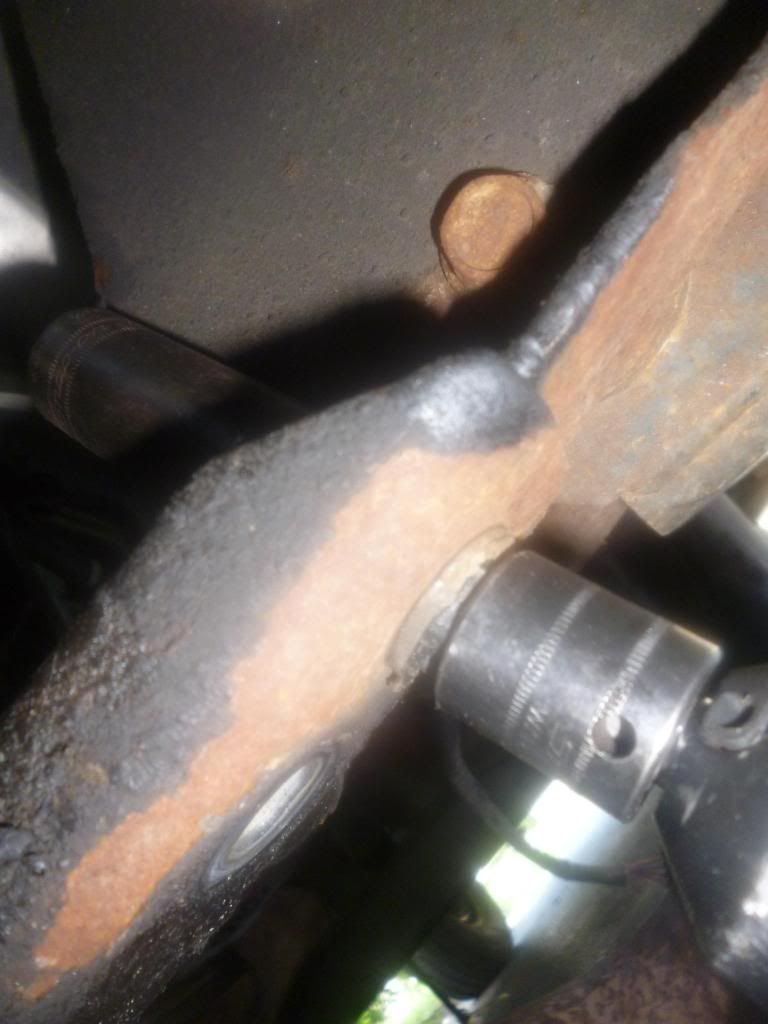
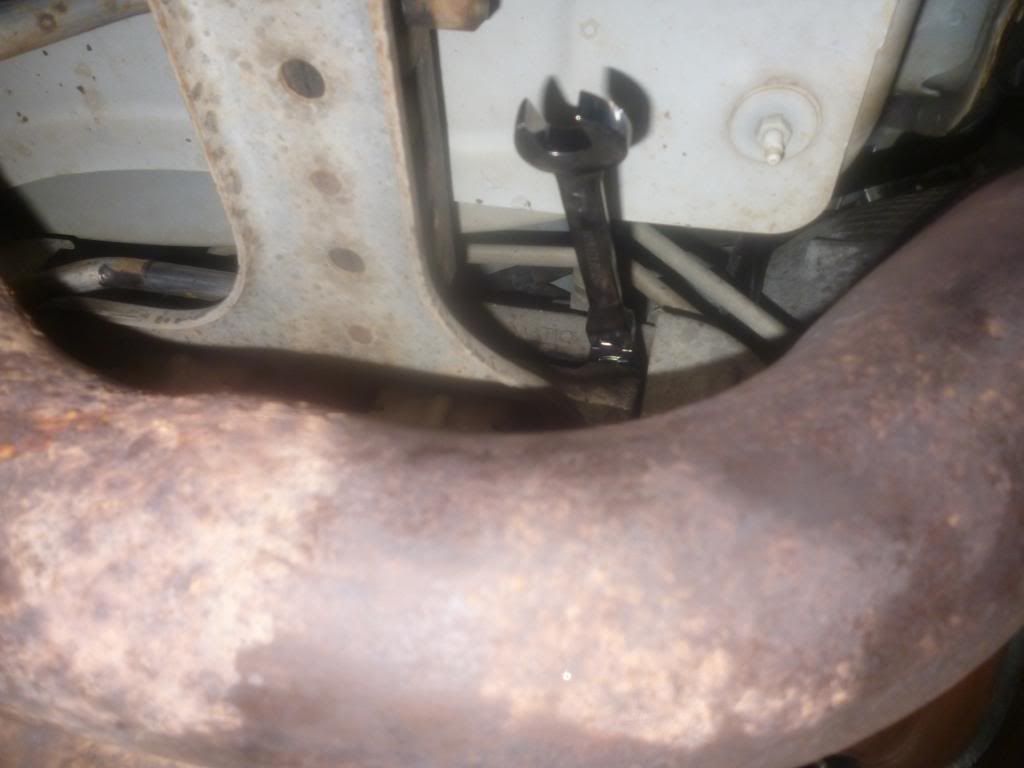
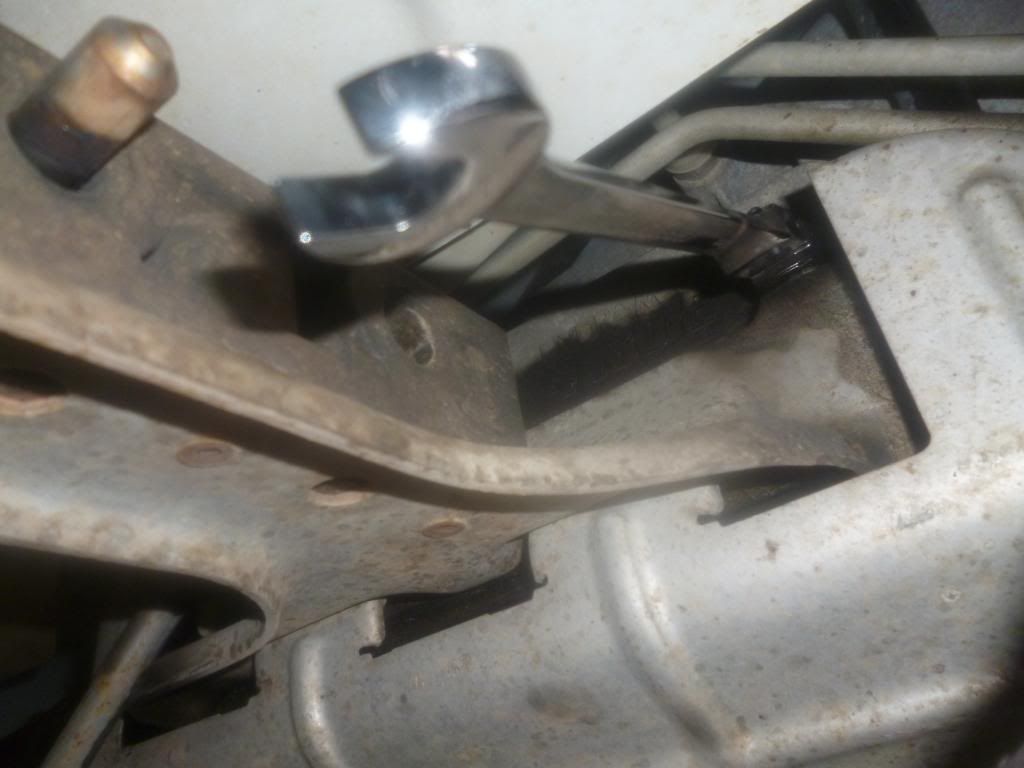
      This nut is a 15 mm. With a wrench and another 1 inch wrench as a cheater I broke this free. Then ran it down with a ratcheting wrench…

      [img]http://i1173.photobucket.com/albums/r584/karlh2345/P1010436_zps2b085377.jpg[/img

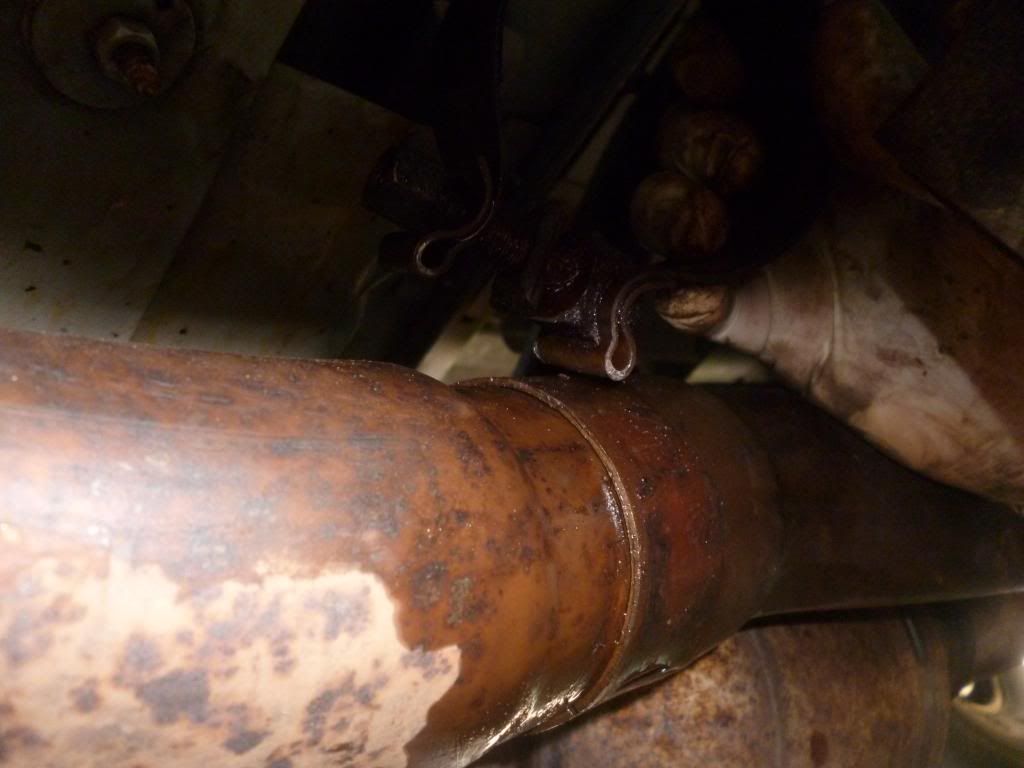
      Then pried it open and removed the clamp

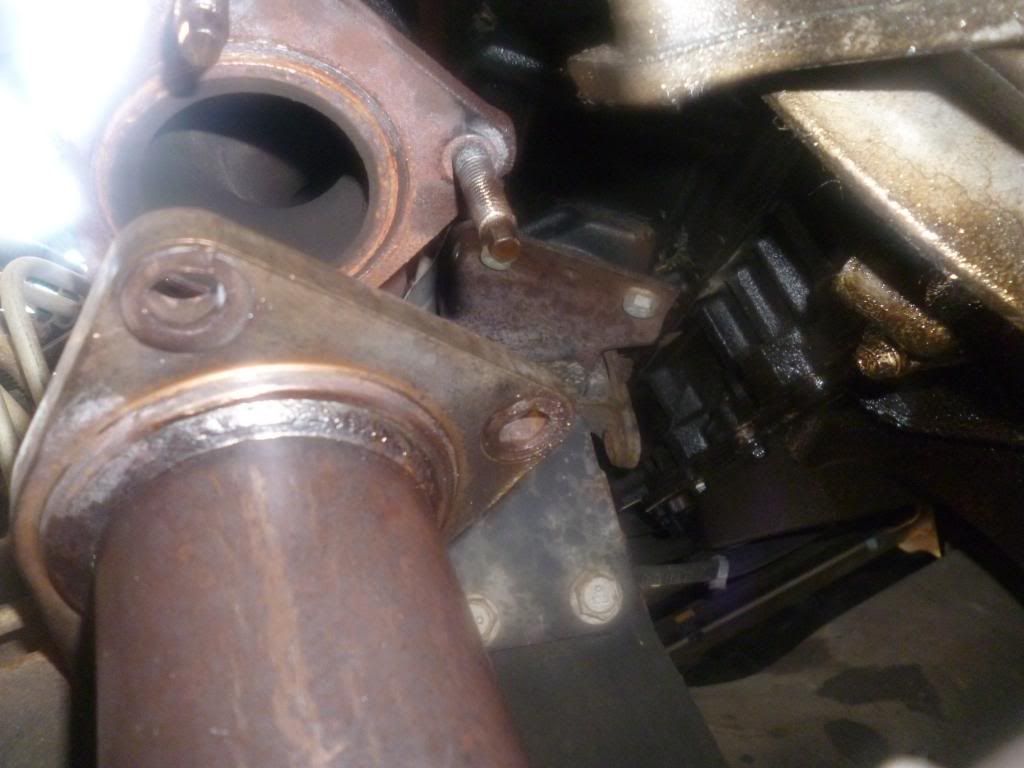
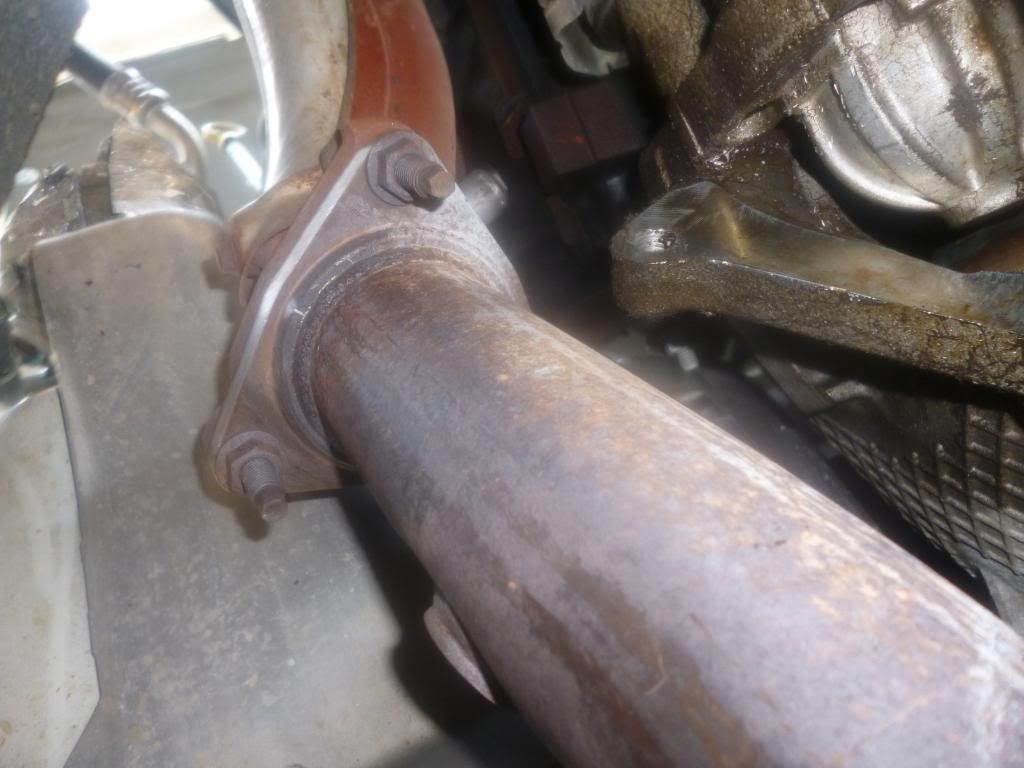
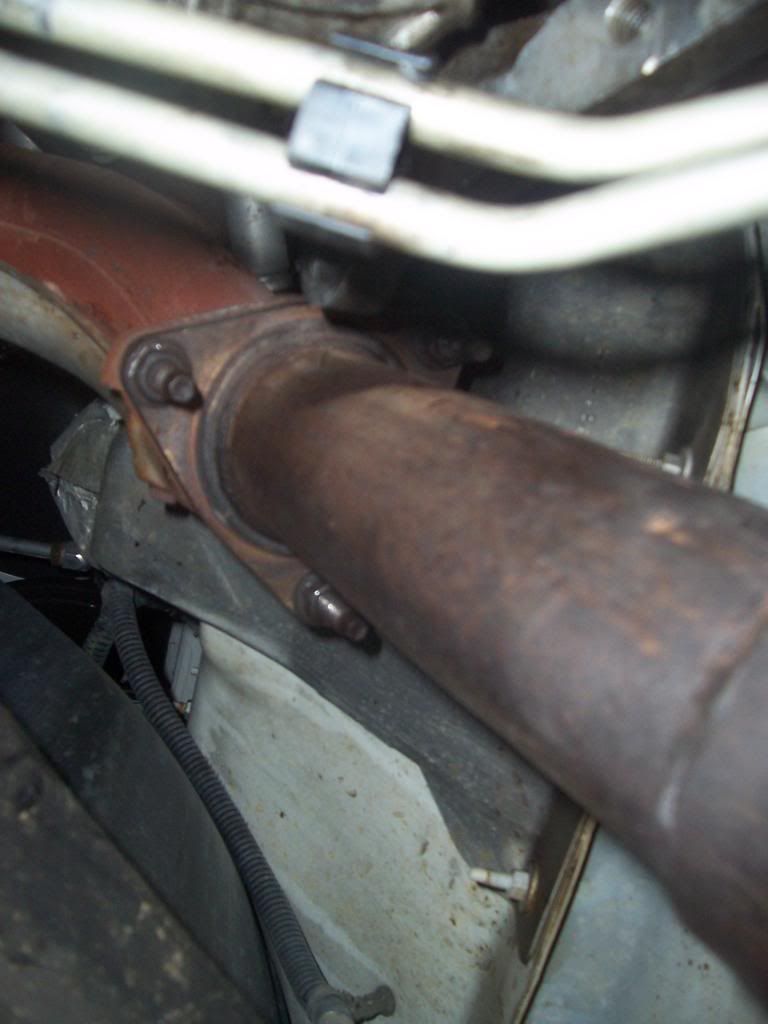
      Next is disconnecting the pipe at the exhaust manifold… I don’t have to remove the O2 sensor here, I can just unplug it.

      Blast the three studs with a generous dose of PB

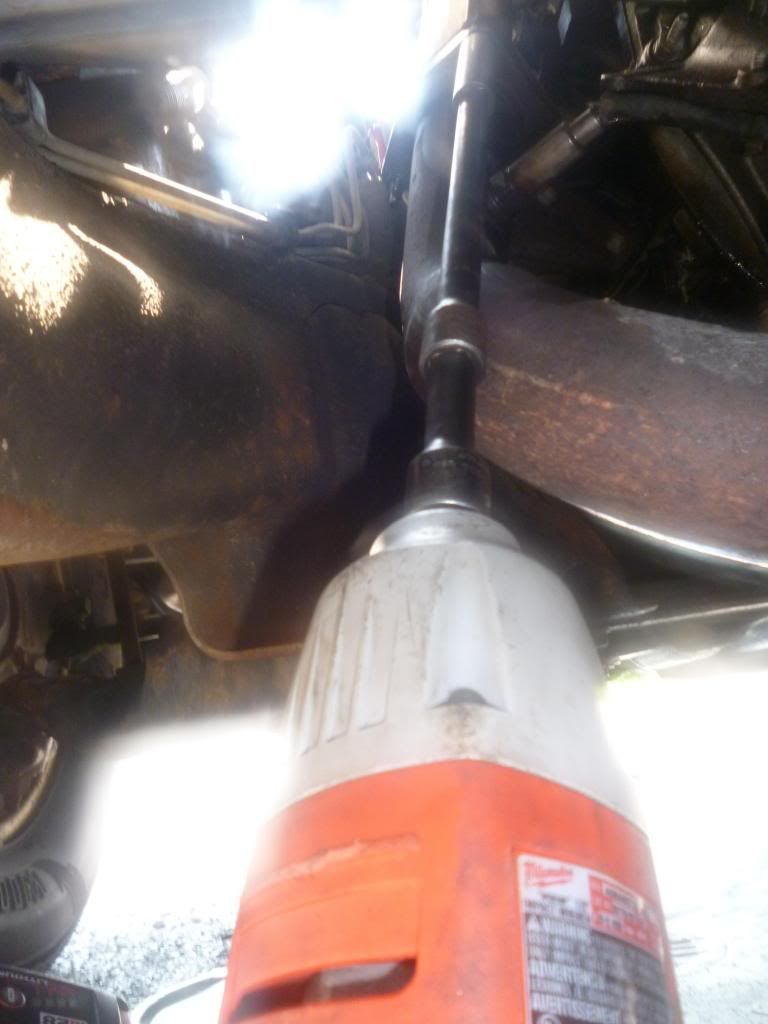
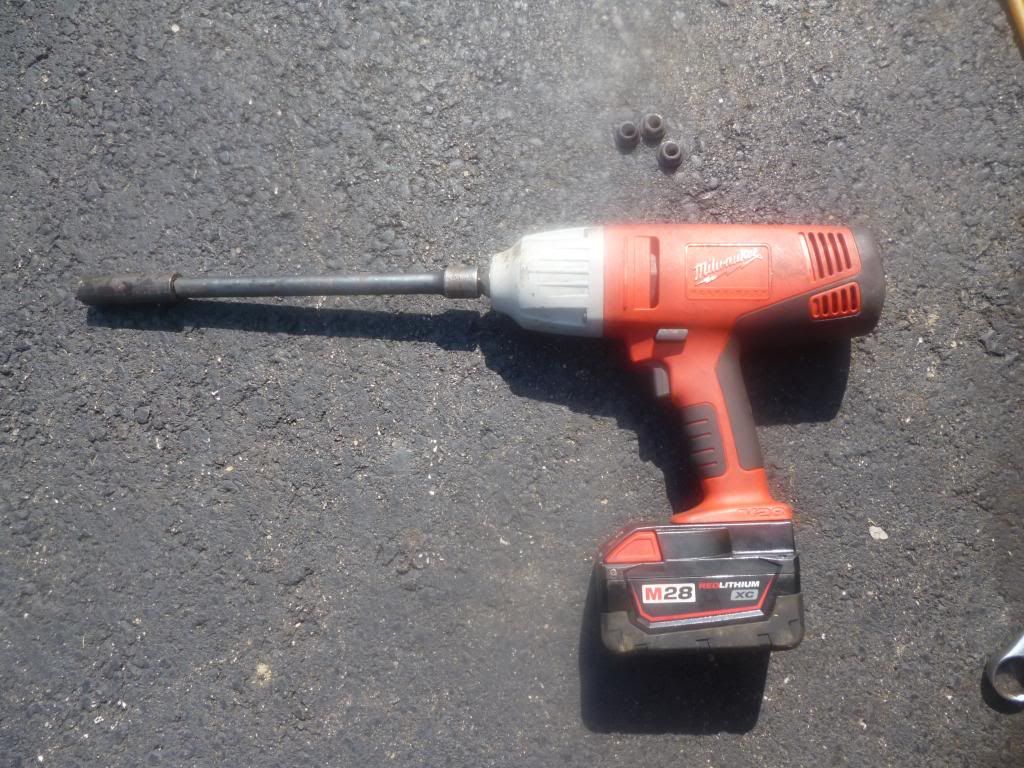
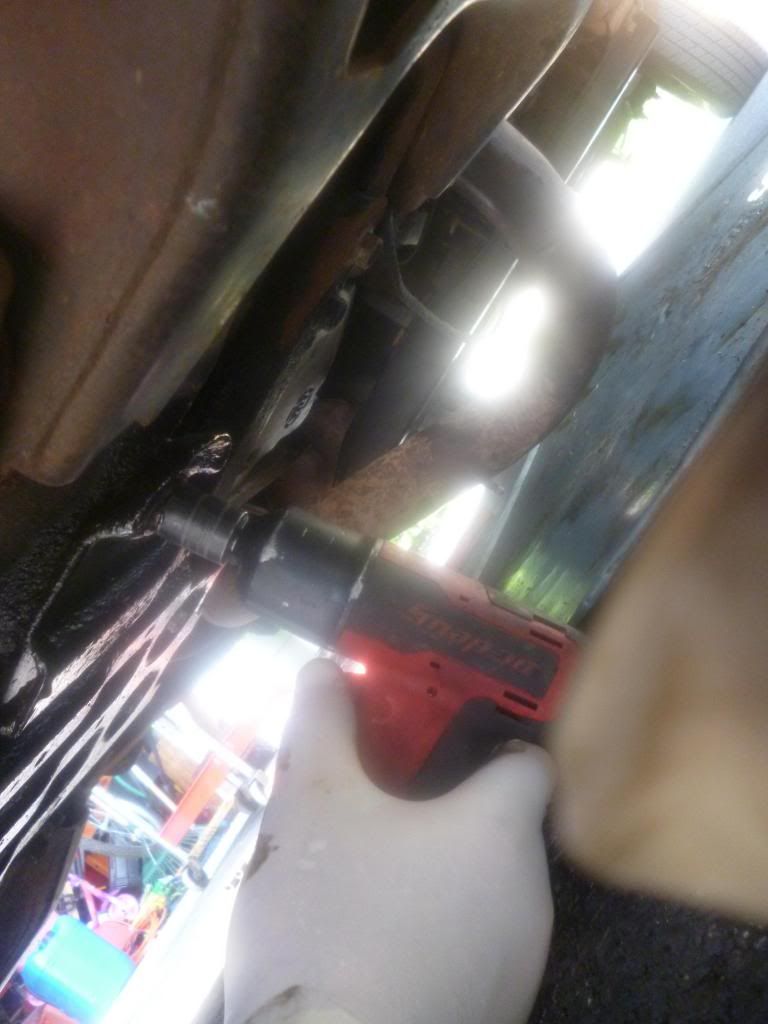
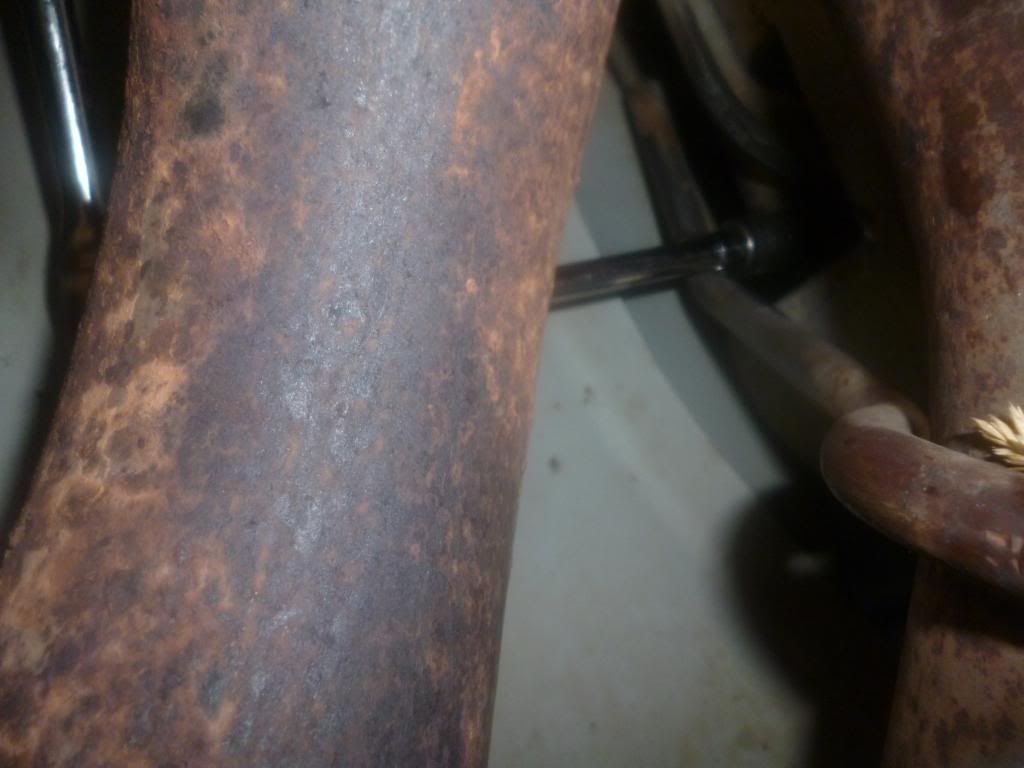
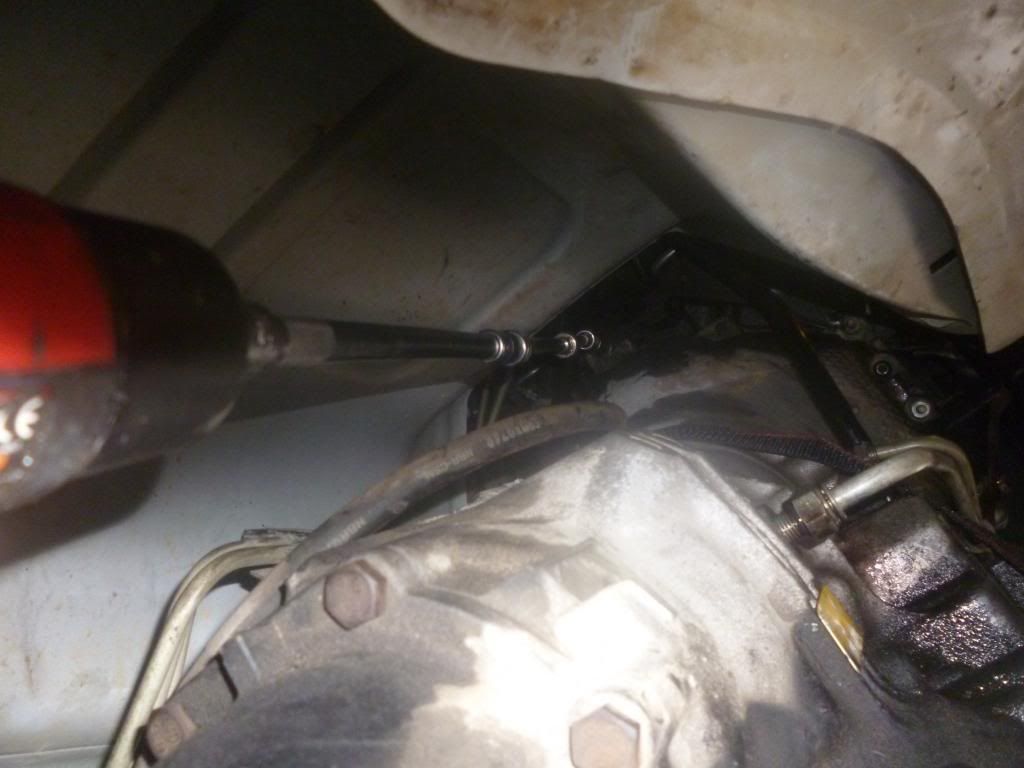
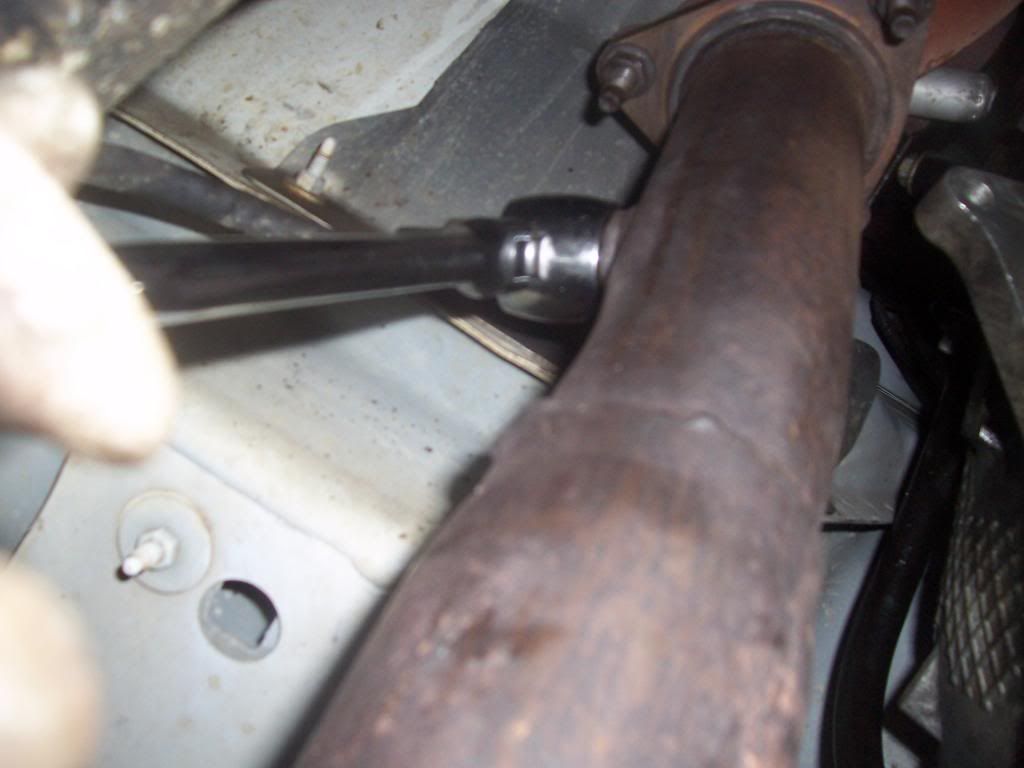
      And hit is with the impact and extension (these are 13mm nuts)

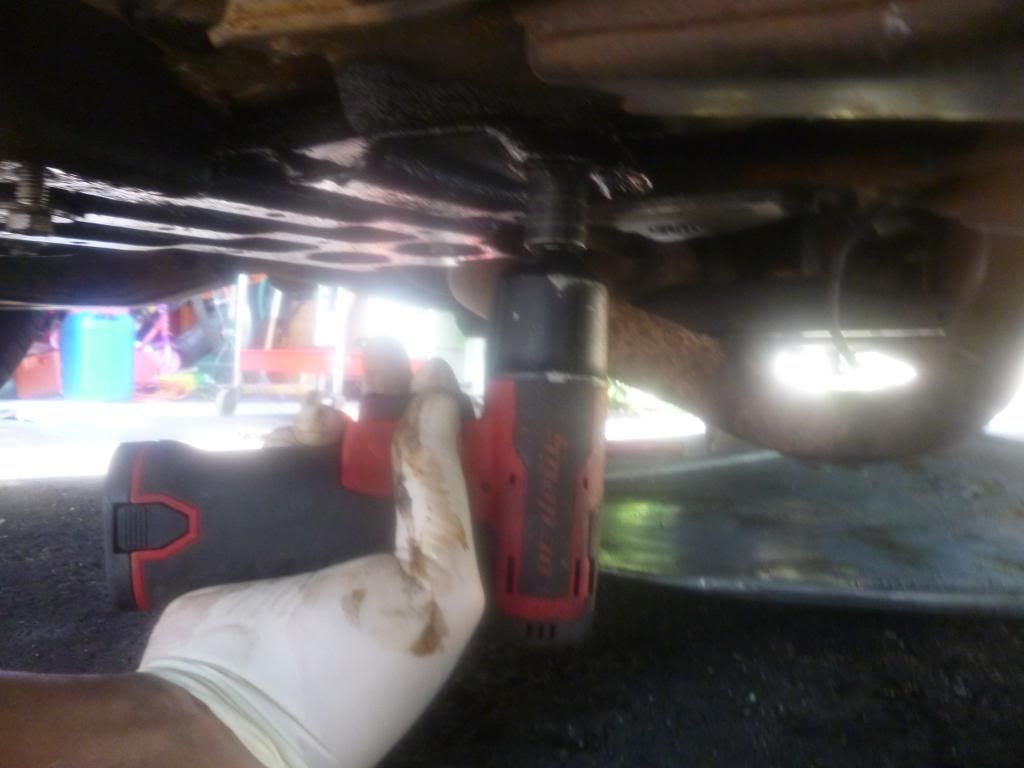
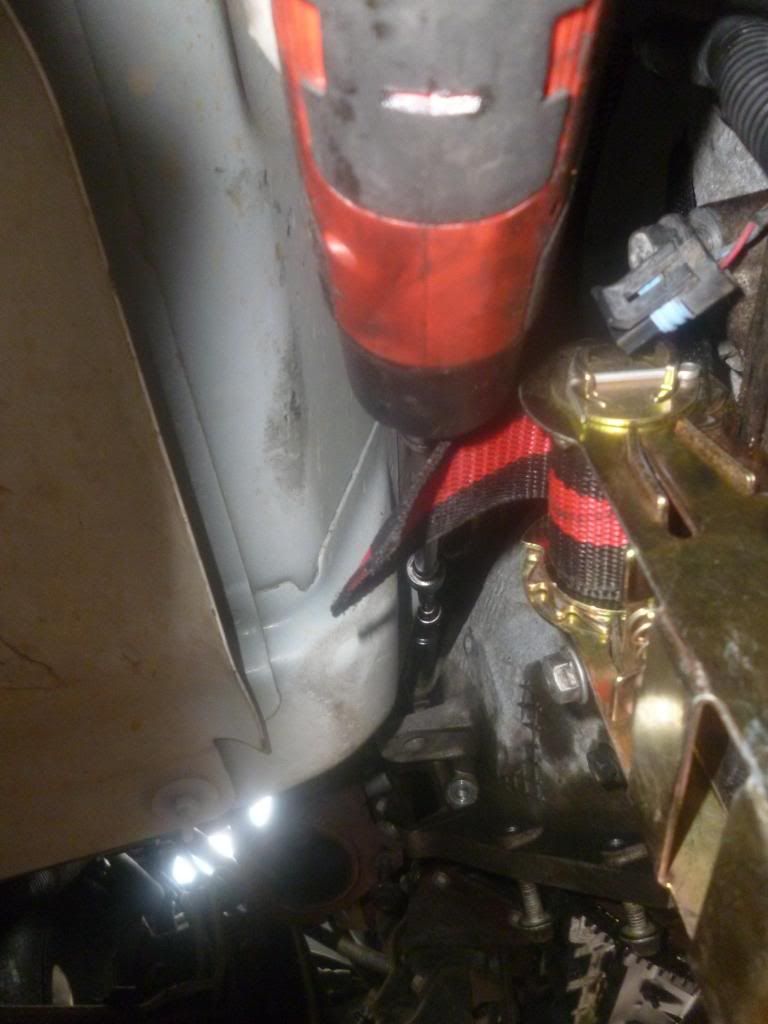
      All three came off with no issue. This is what I will try to use most of the time… It is a Milwaukee 28v Impact gun… Portable and no hose to drag but it does come with a downside… Heavy as hell… and not too compact… But it does have a healthy dose of torque behind it.

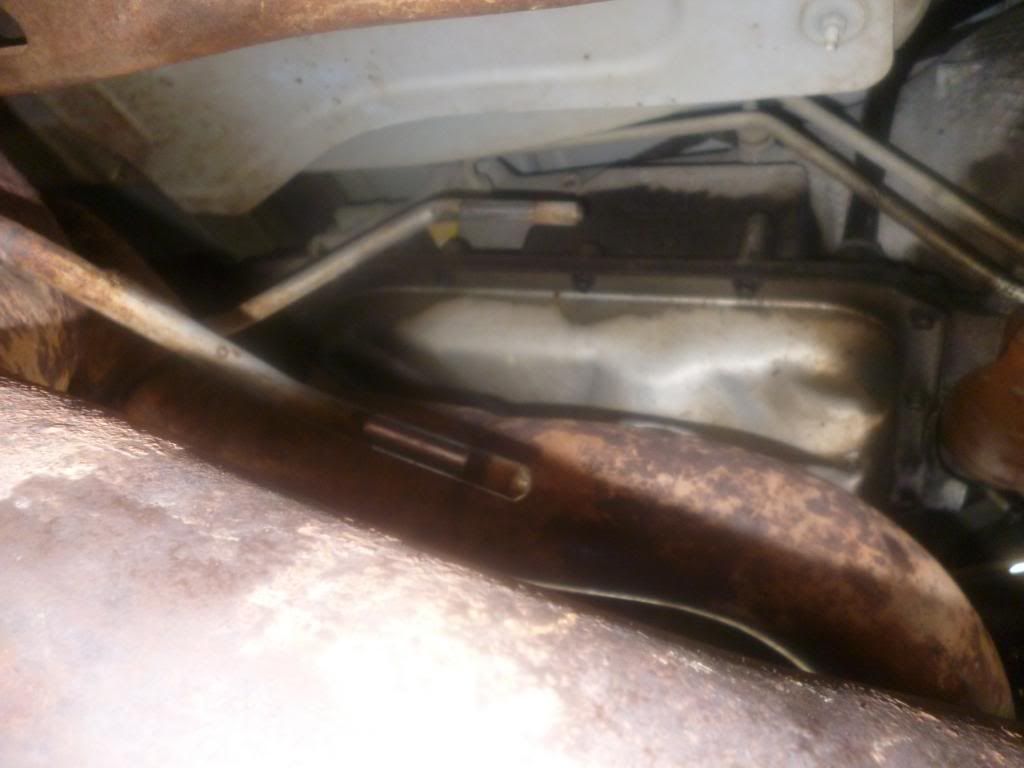
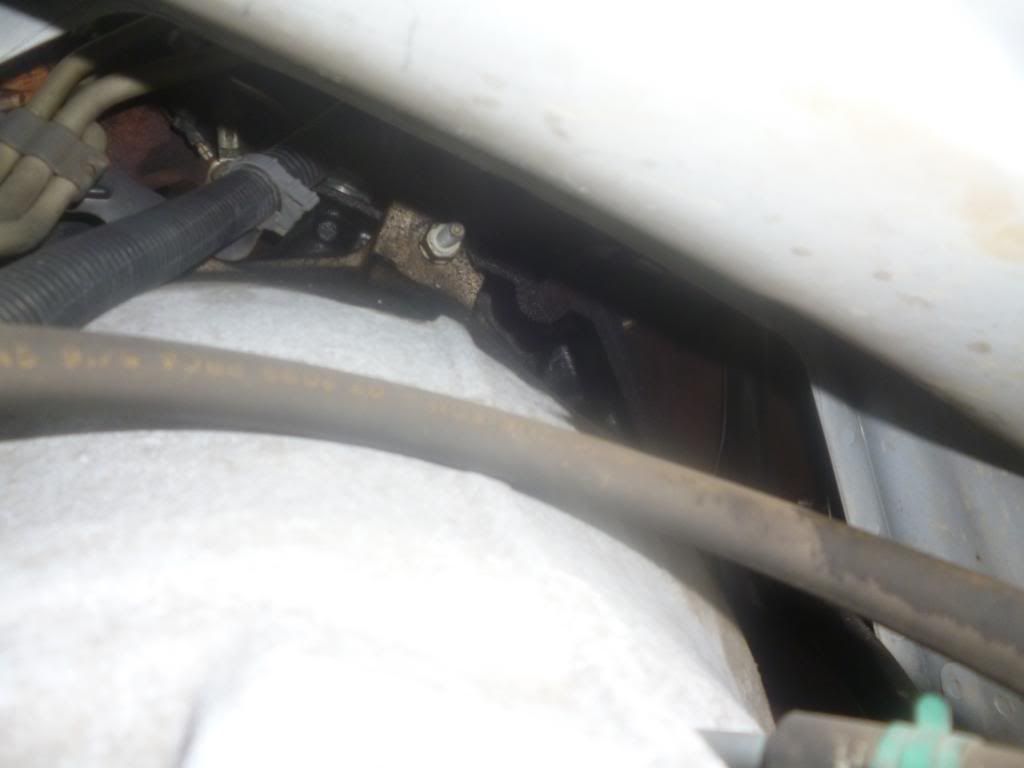
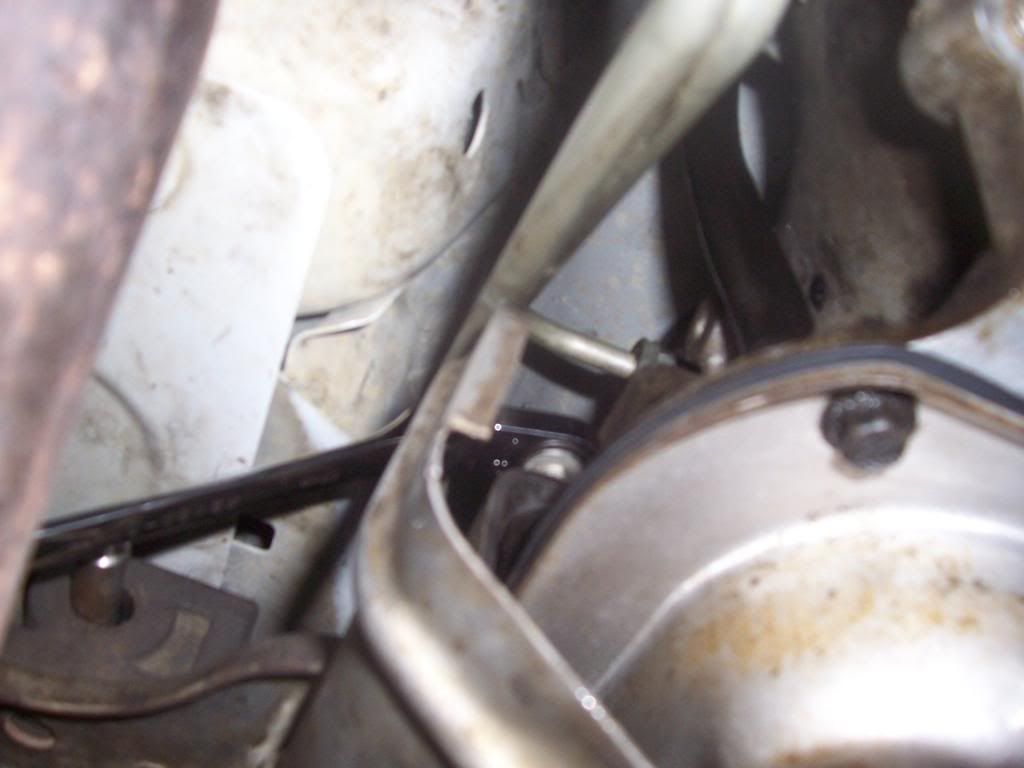
      The pipe was now free and I Tried to remove the pipe but I could not get it out due to clearance issues… I could have removed the transmission rear support but I don’t want to do that until later so I just left it there…. For the moment…

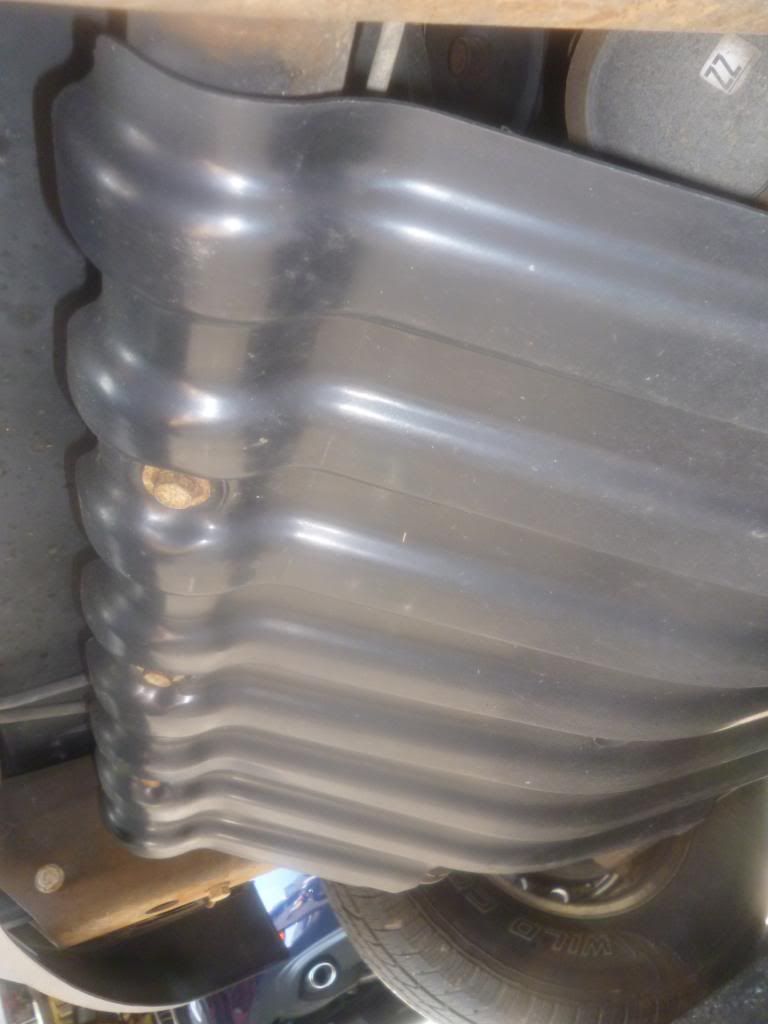
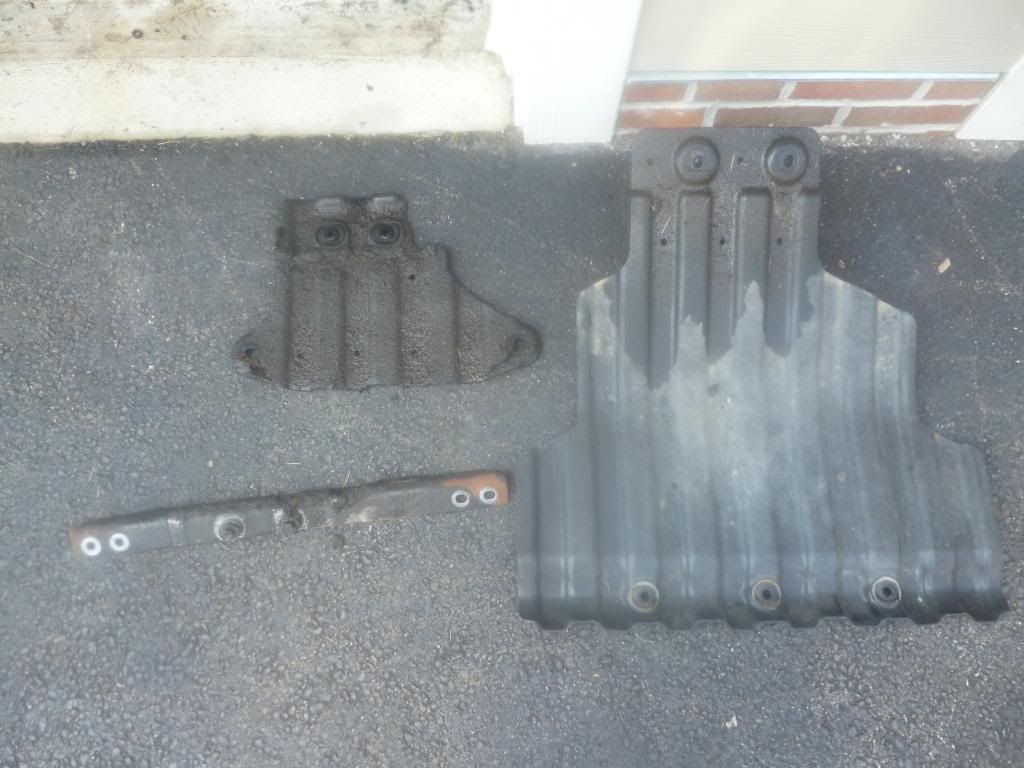
      Then I moved to the front Skid guard… 5X15mm bolts held this on…

      Then to the Middle skid protector…4 X 15mm bolts for this

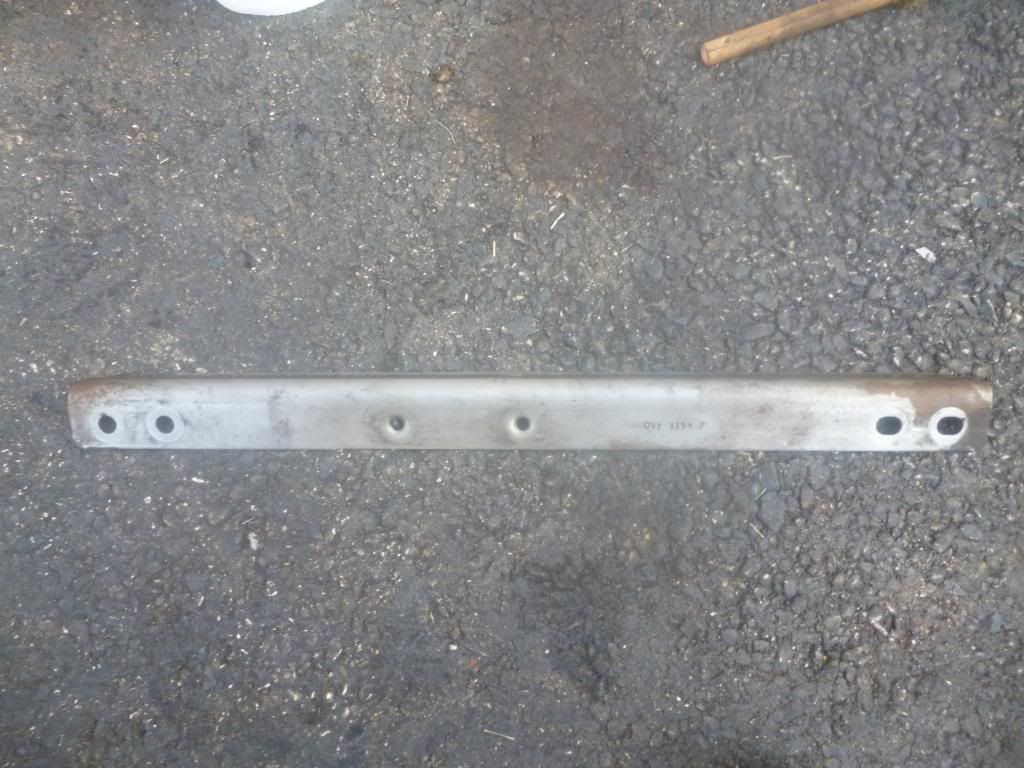
      Then the cross beam under the Oil Pan. 4X18mm bolts with nuts held this on… I used a deep 18mm socket to hold the nuts… I could do this by hand.

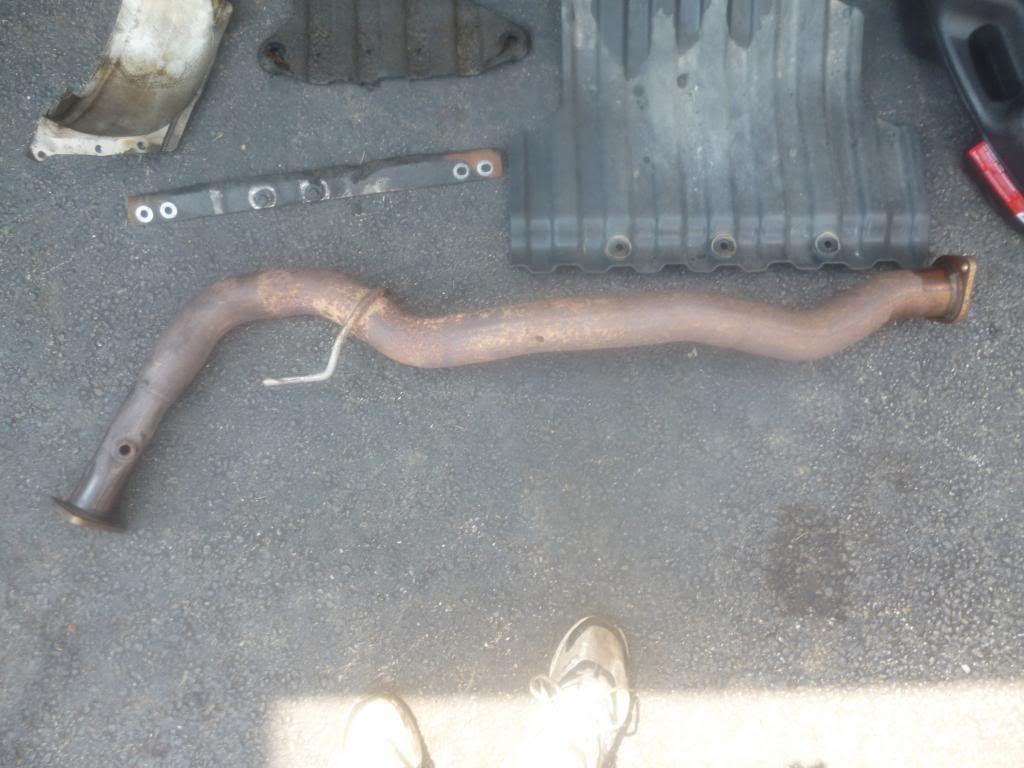
      Items removed:

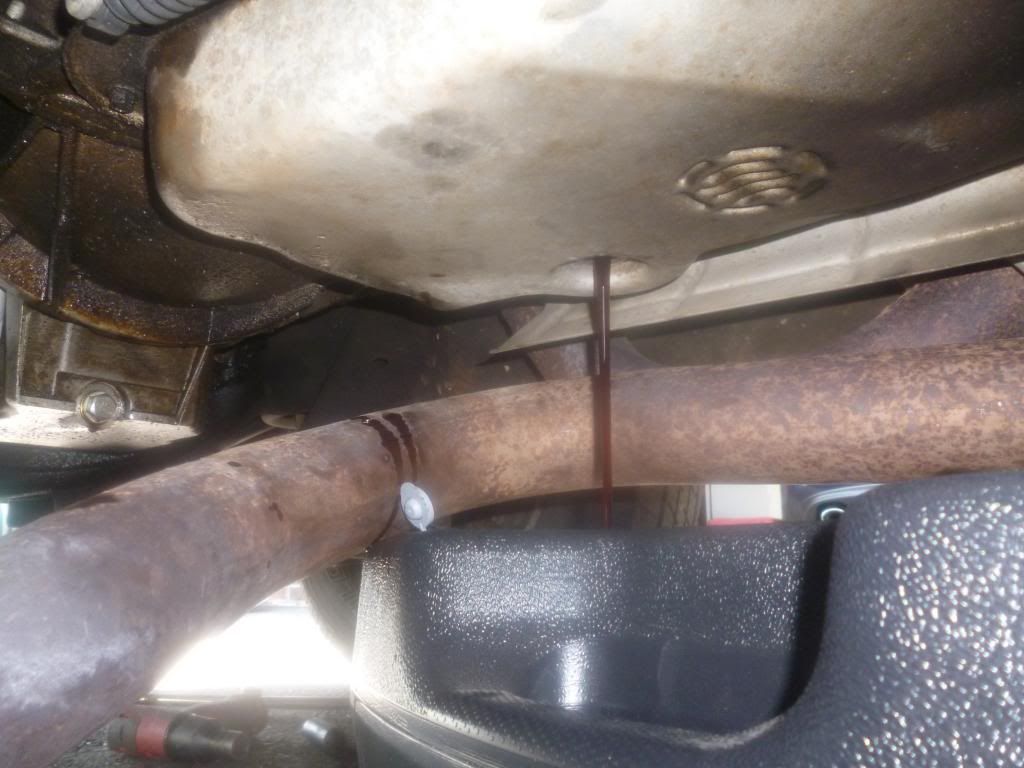
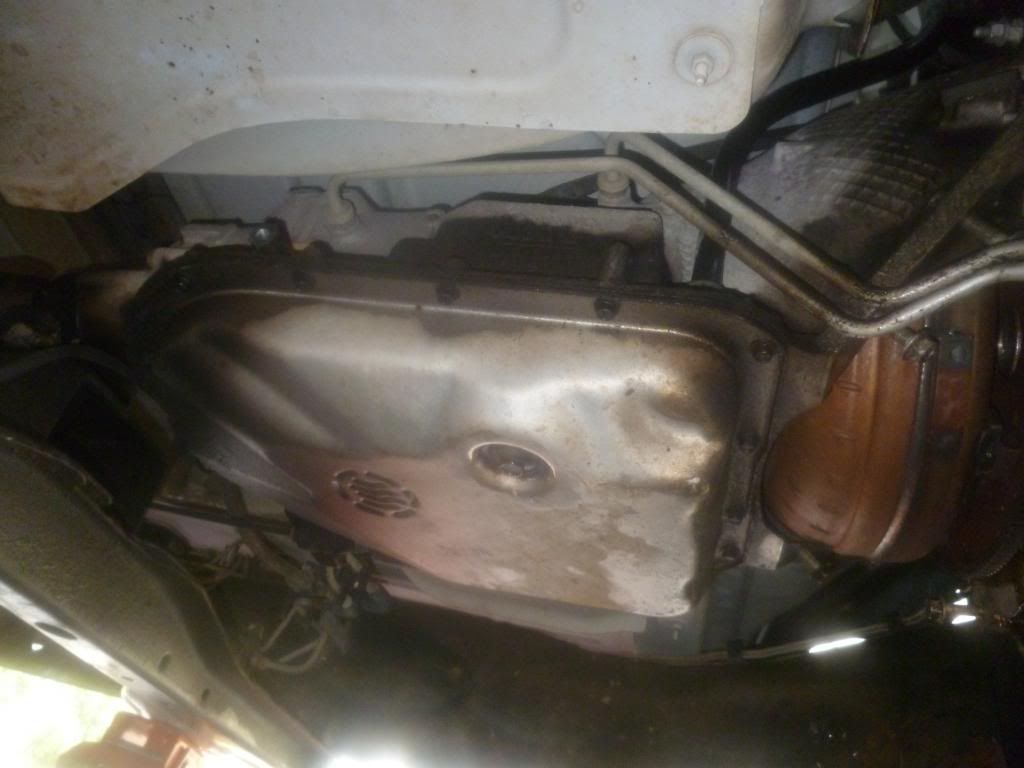
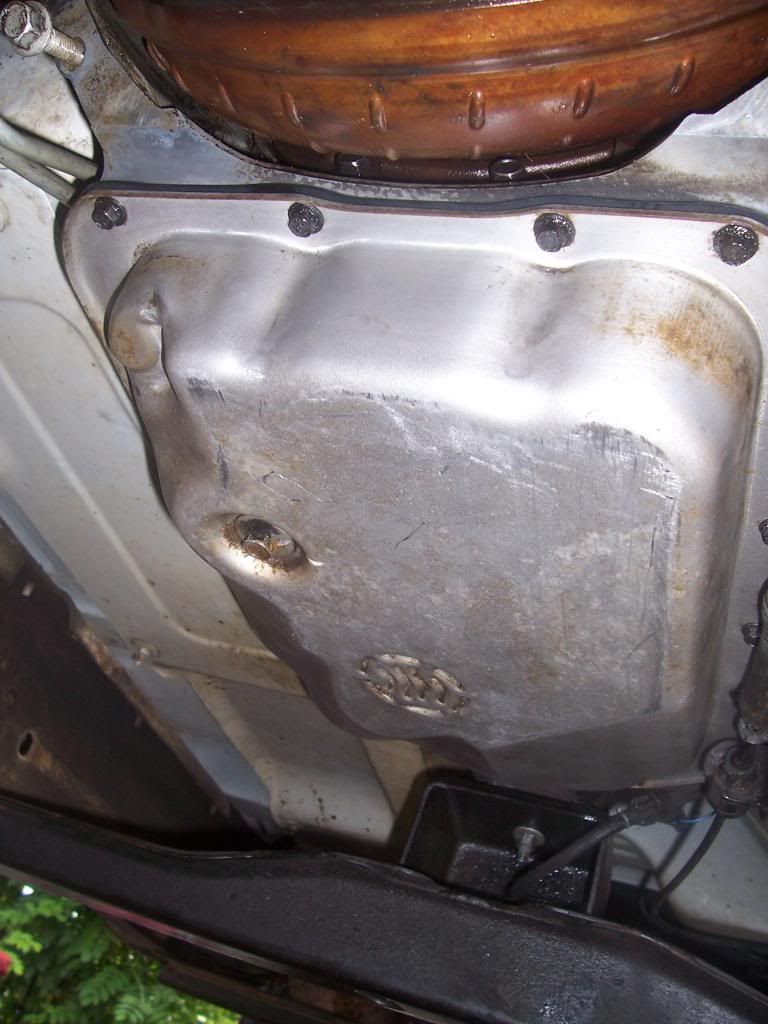
      Then drained the tranny fluid… (18mm Bolt). I have never changed it on this truck and was pleasantly surprised by the cherry red color still….

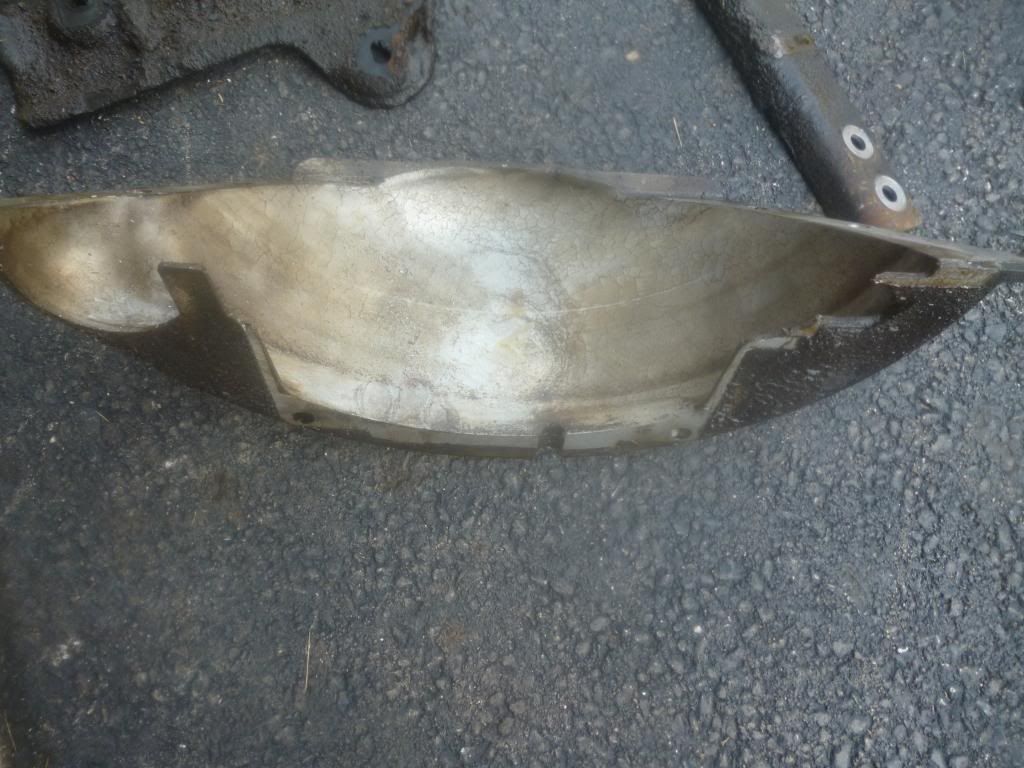
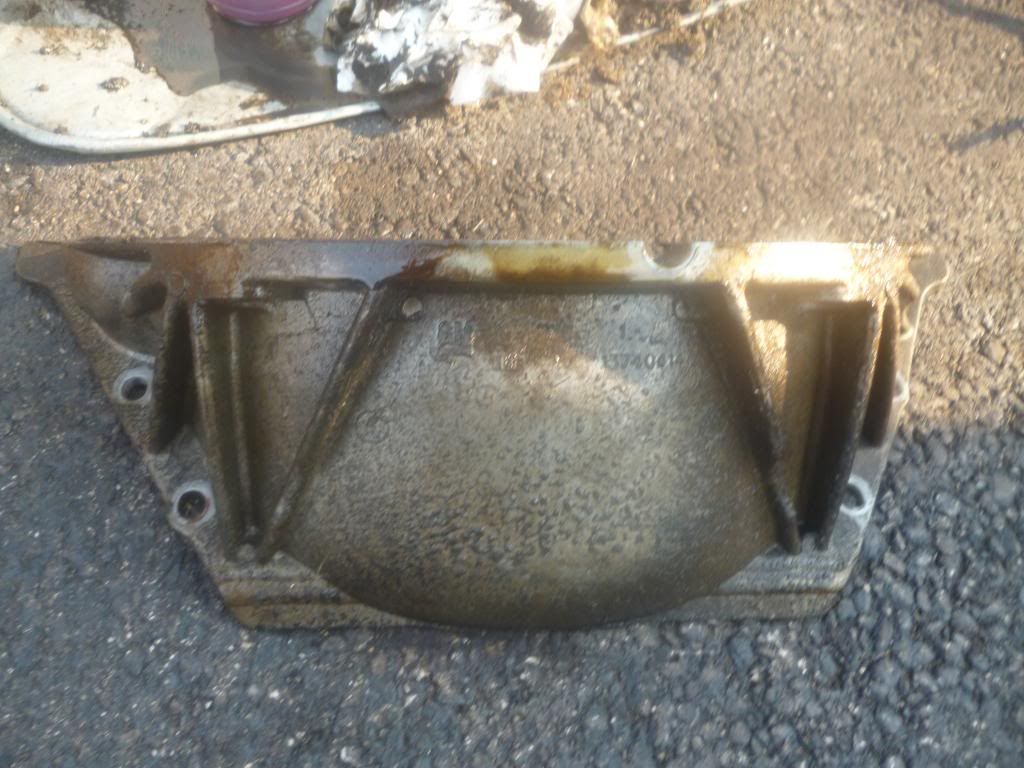
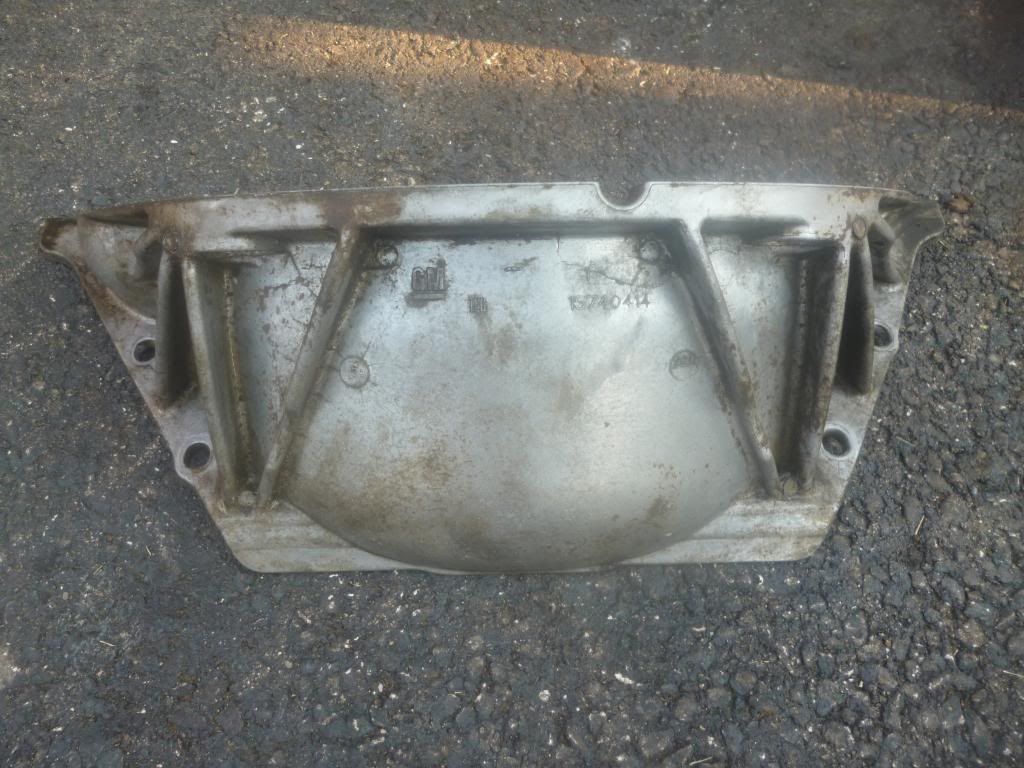
      Then I removed the Flywheel cover… 6 X 15mm bolts here

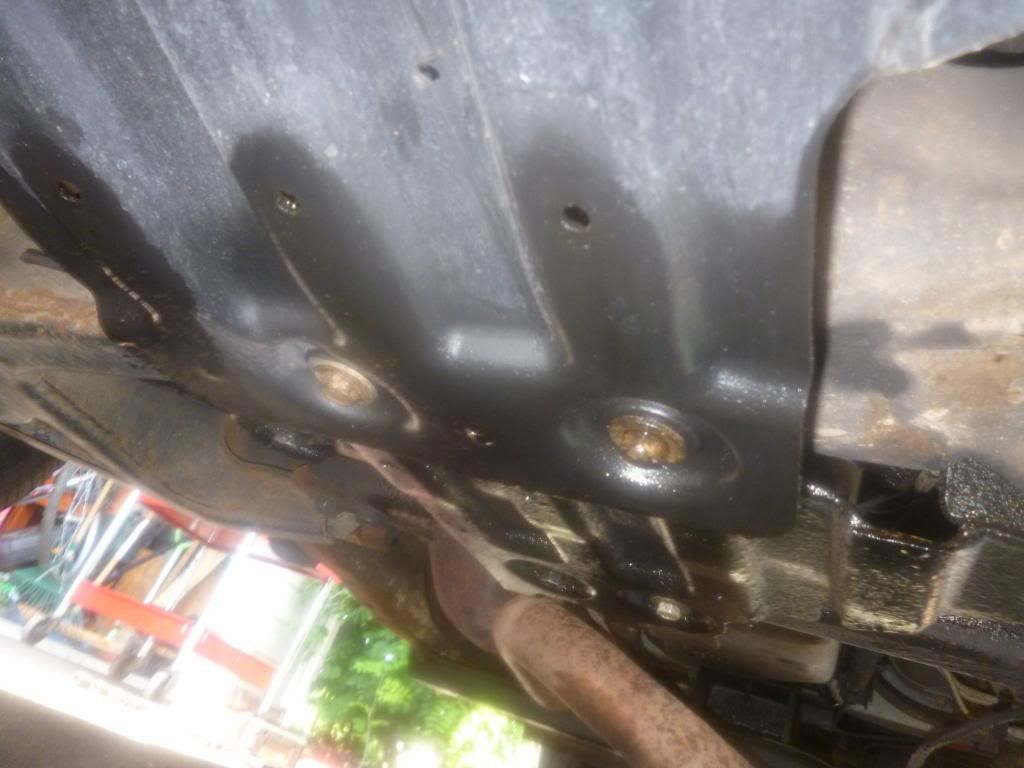
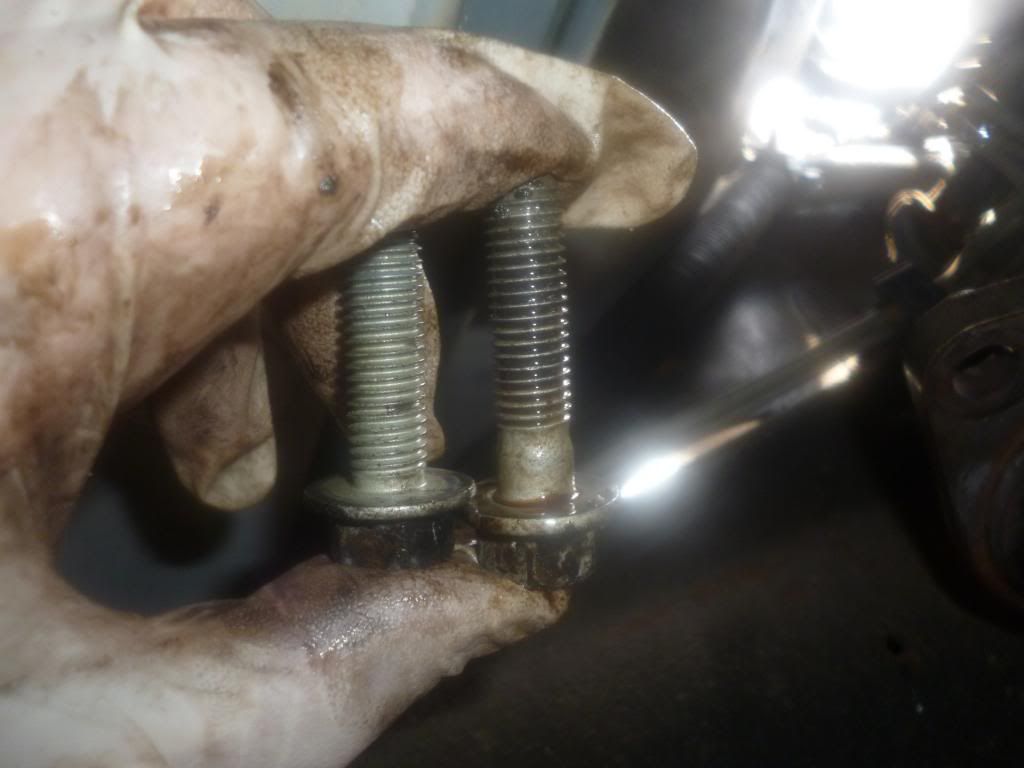
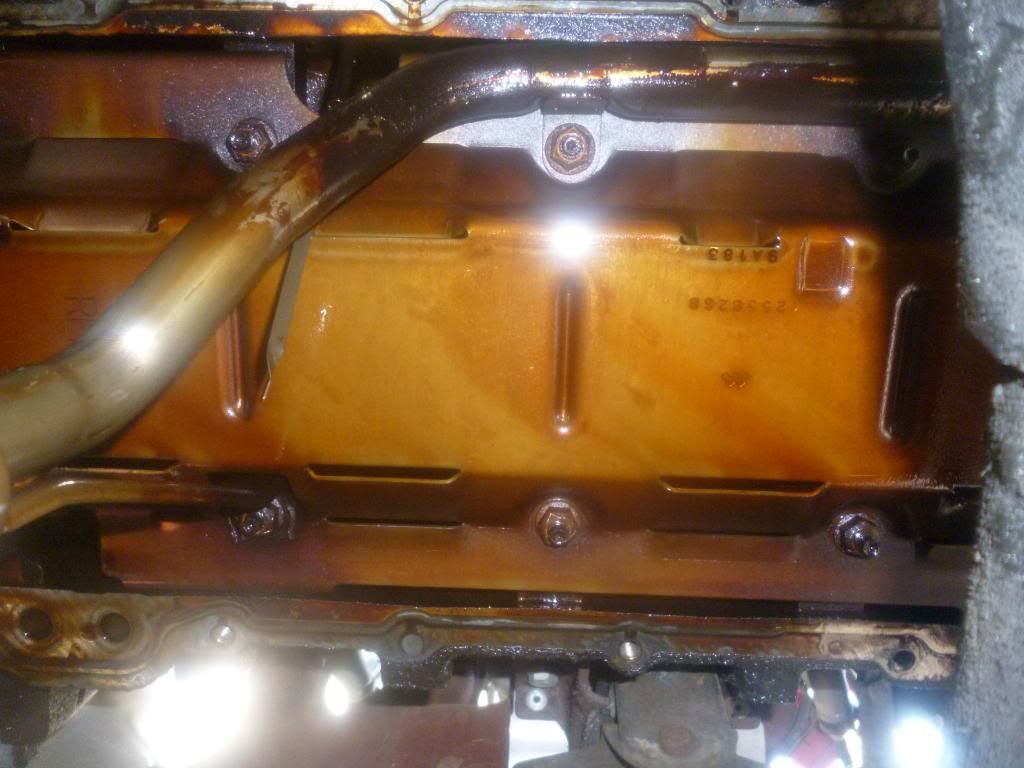
      All these bolts are not the same. The two that have the space behind the threads go to the Oil Pan

      Clear shot…

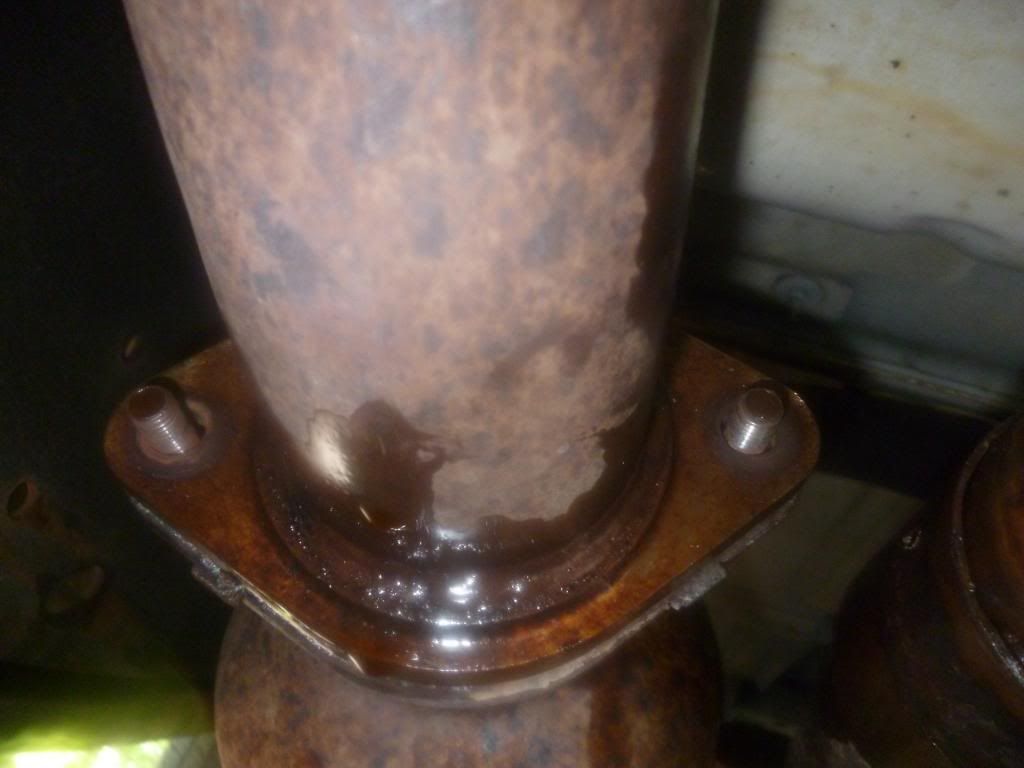
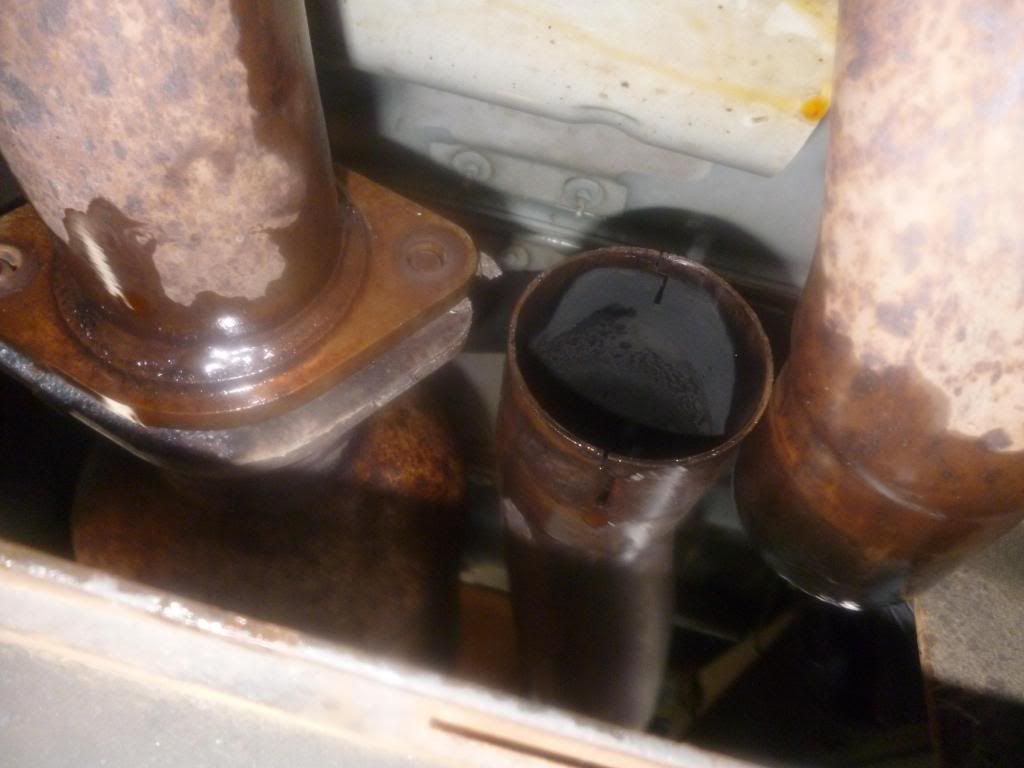
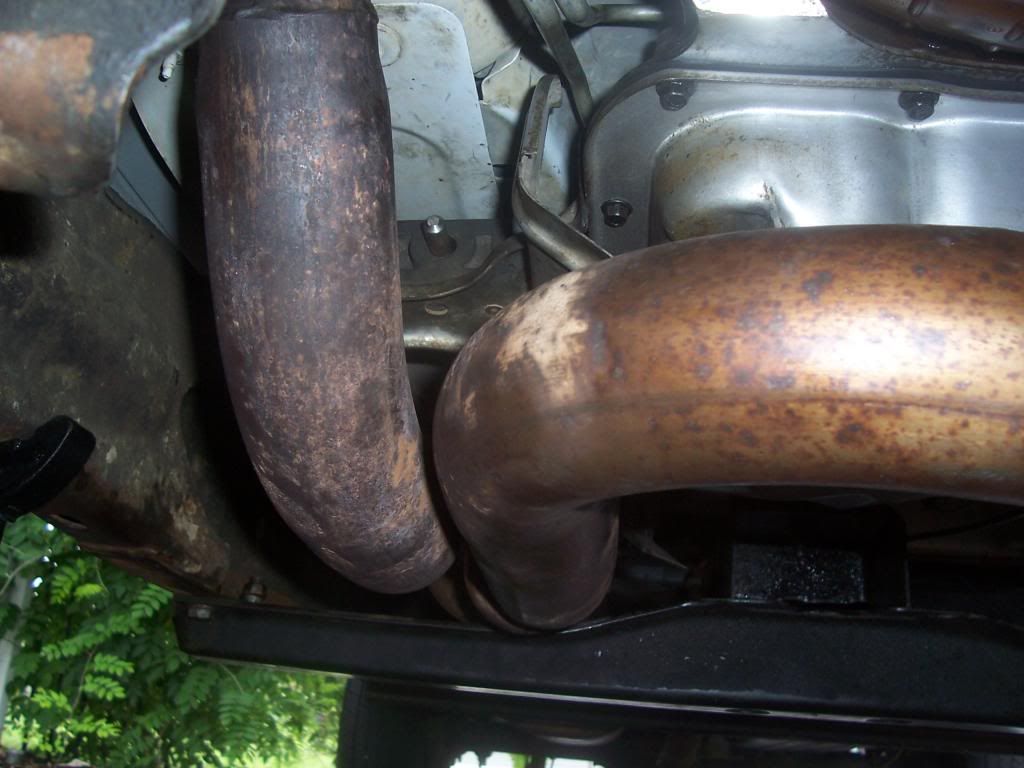
      I then realized I can probably get the exhaust pipe out if I removed the exhaust pipe on the passenger side… So I removed the exhaust pipe rear bolts.

      Then removed the O2 sensor

      Then removed the 3 X 13mm nuts to the exhaust manifold

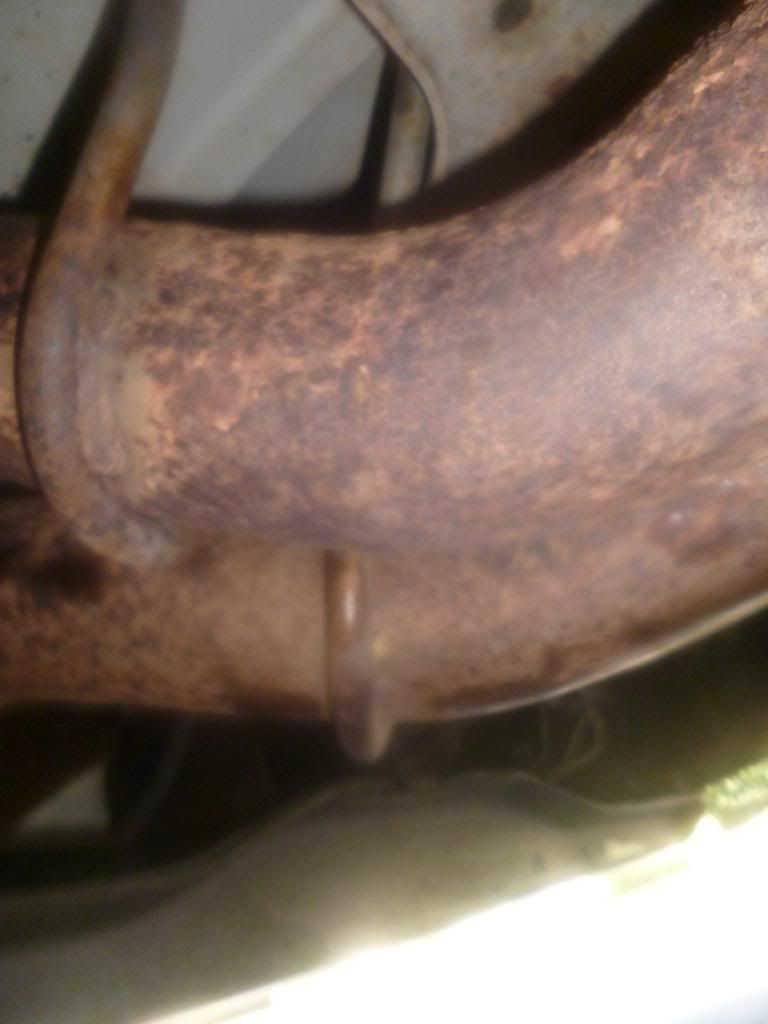
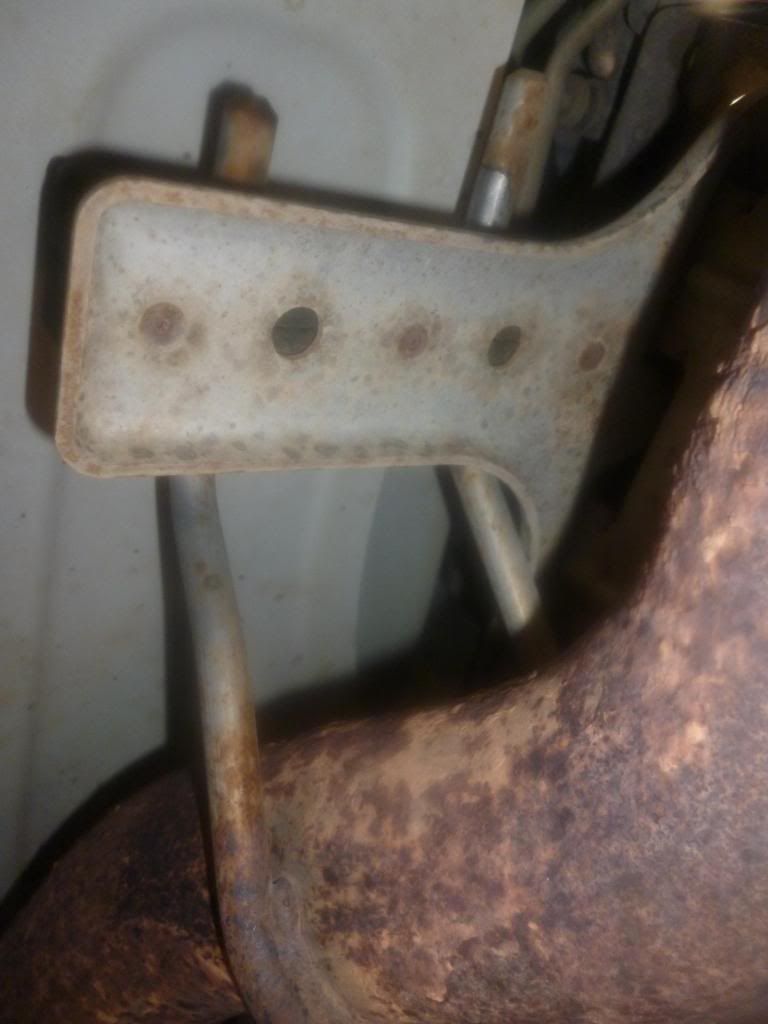
      I could still not remove both pipes because of the hangers in the rubber support that were holding them up did still not provide good enough clearance.
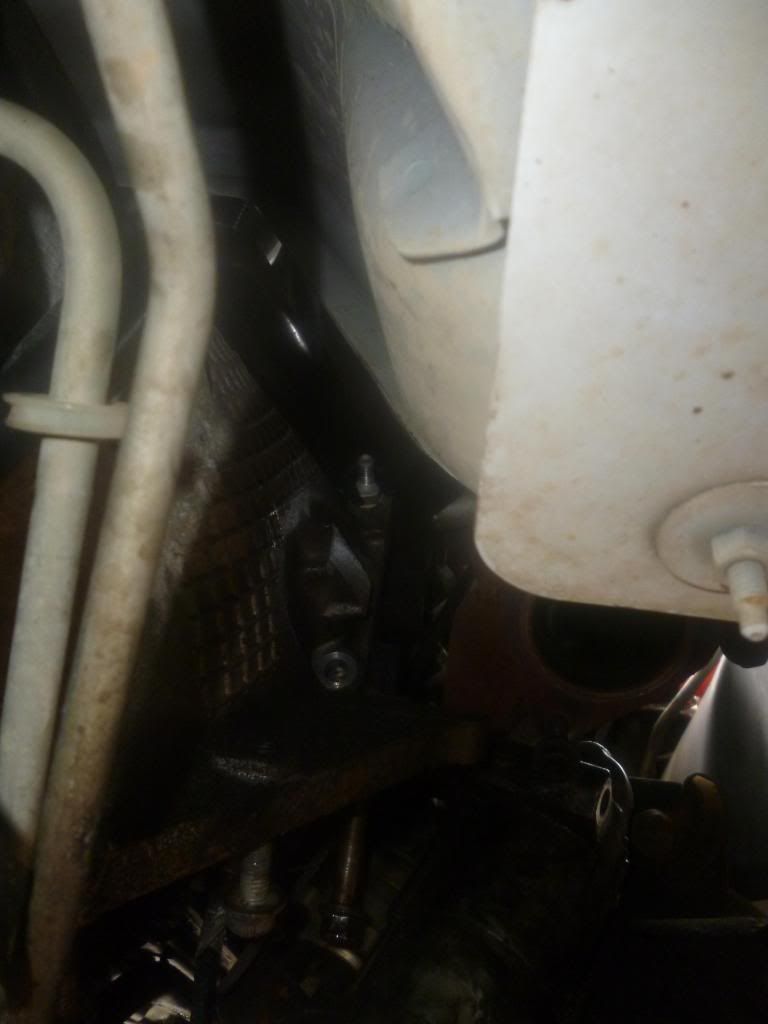
      So, I had to remove the support bracket and the heat shield (which needs removed anyway, so all is good)

      Two 13mm bolts held this on…. A gearwrench is an absolute must for this job

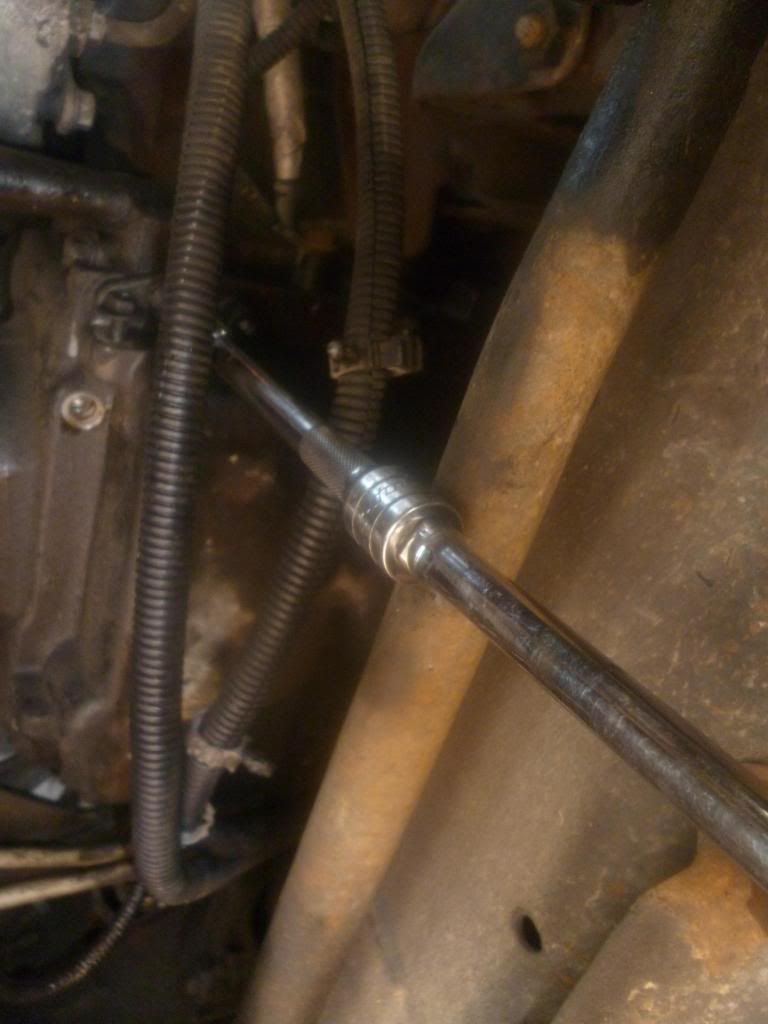
      The other bolt could be reached by a 13mm with a 6 inch extension plus another1 inch extension… Had perfect clearance for my ratchet…

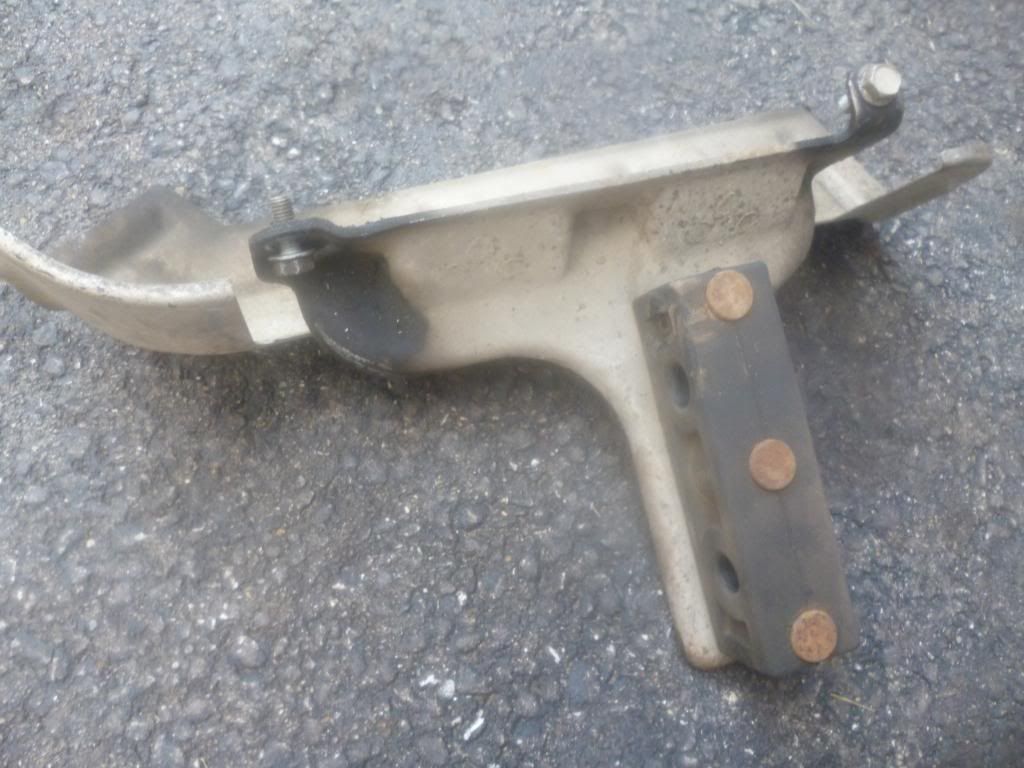
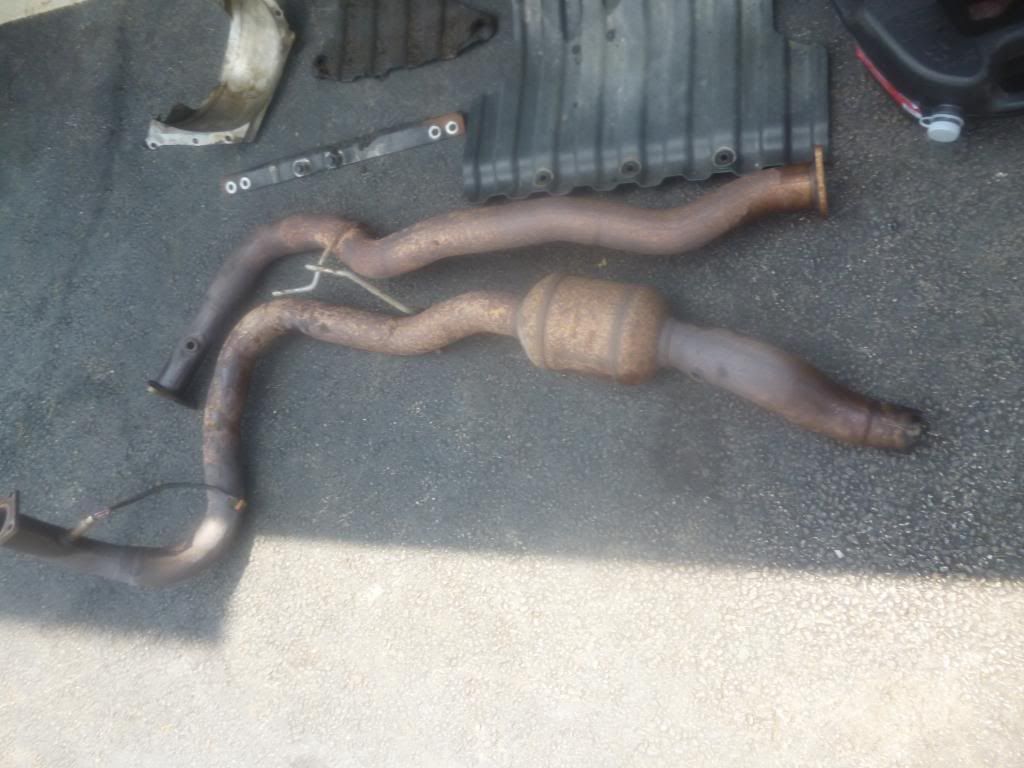
      The removed Bracket

      A lotta space now to get the exhaust pipes out.

      First pipe is removed… Easy enough…

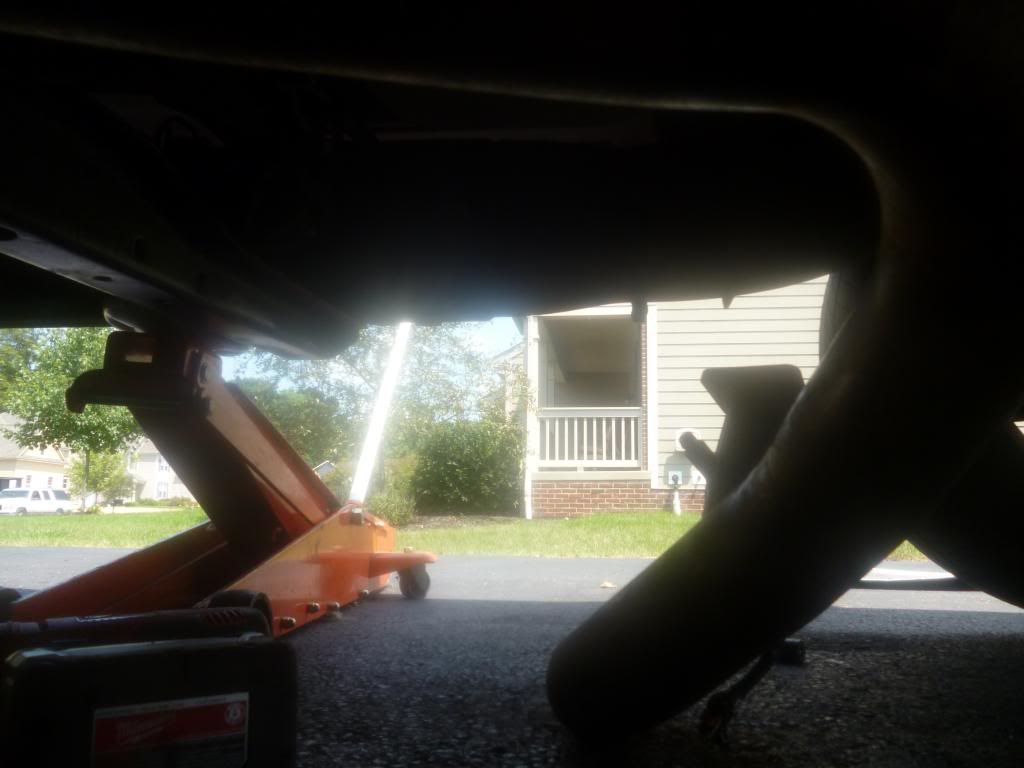
      Second pipe (drivers side) needs more clearance… I have to jack up the truck about 3 inches on the drivers side.

      Plenty of room now…

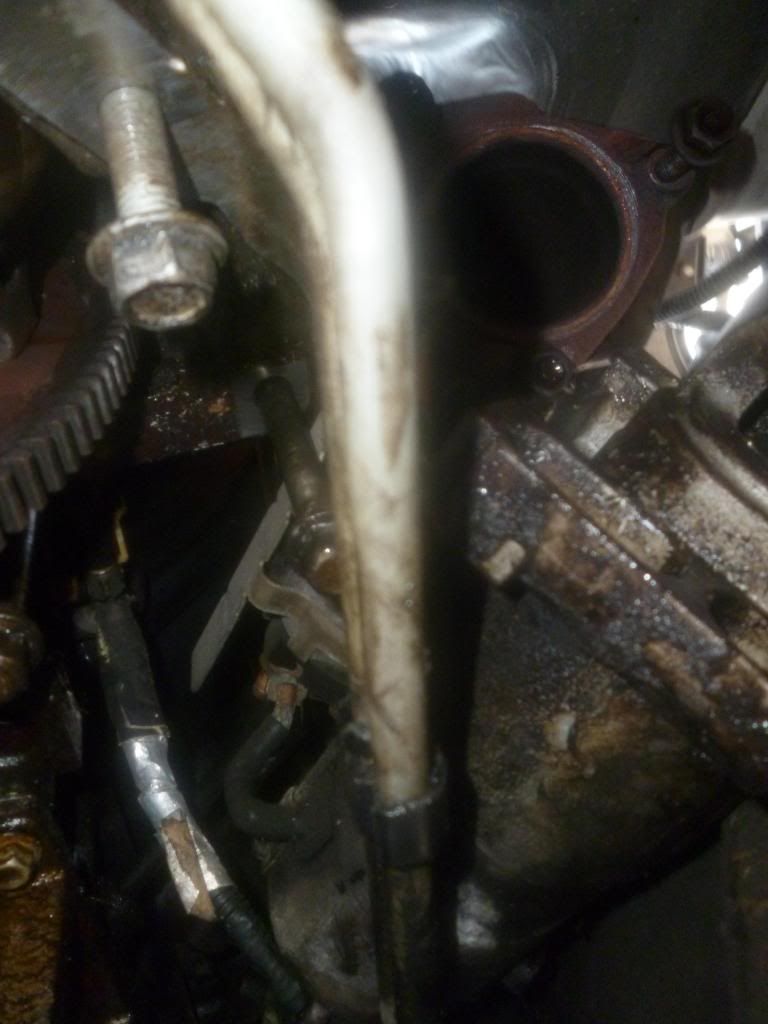
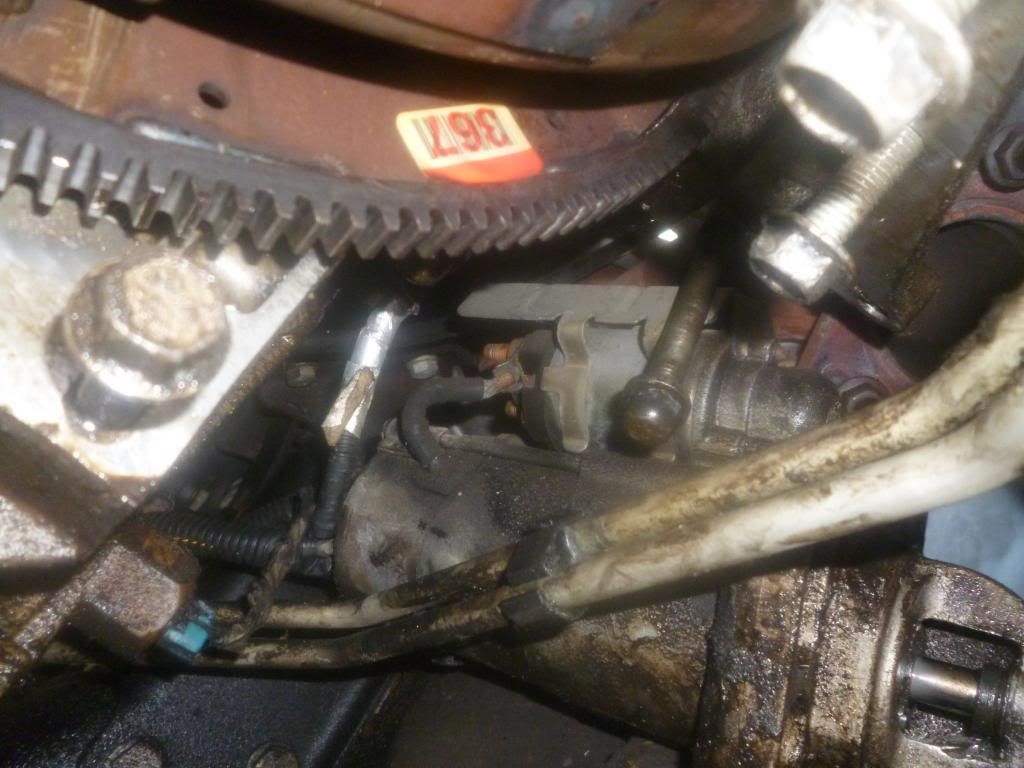
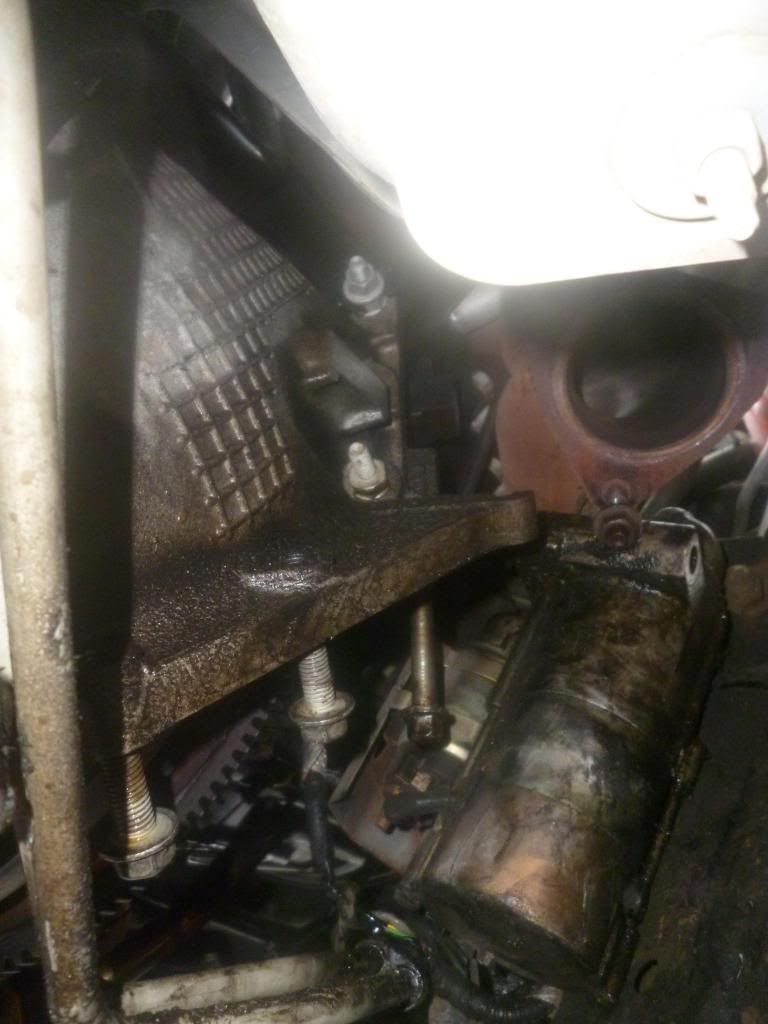
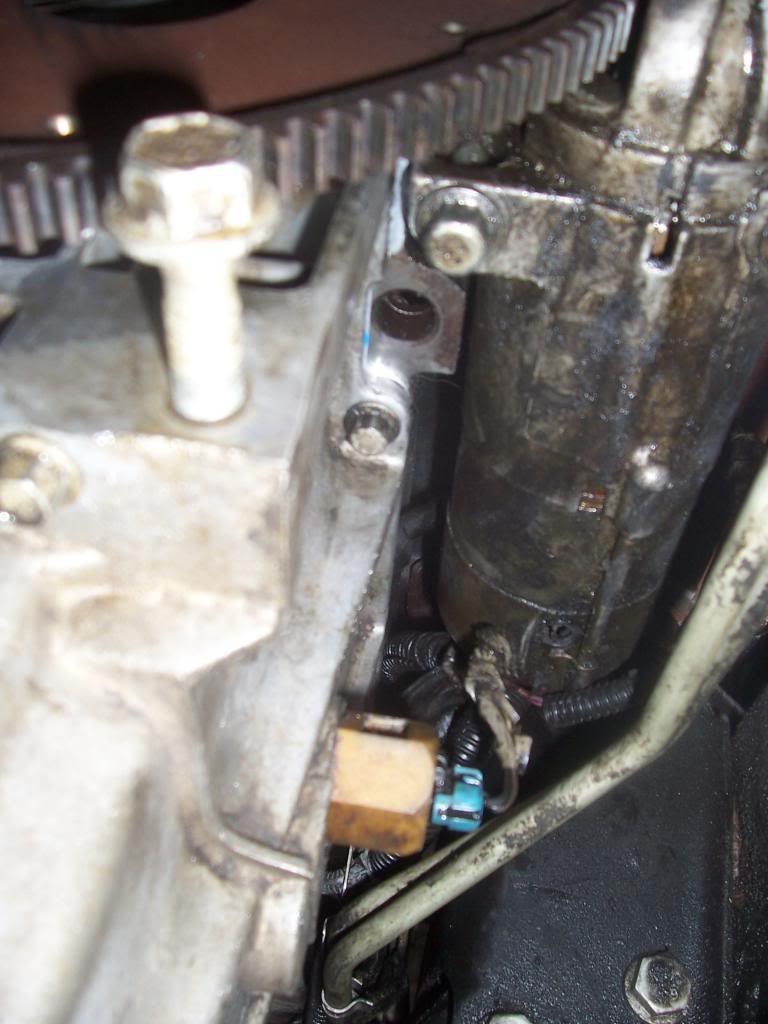
      Now to move the starter. 2X13mm bolts held it in. Both are the same size…

      Put the bolts back in and just pushed the starter out of the way… Don’t need to waste any time removing the wiring. It is out of the way…

      Next I drained the oil. 18mm does the trick here..

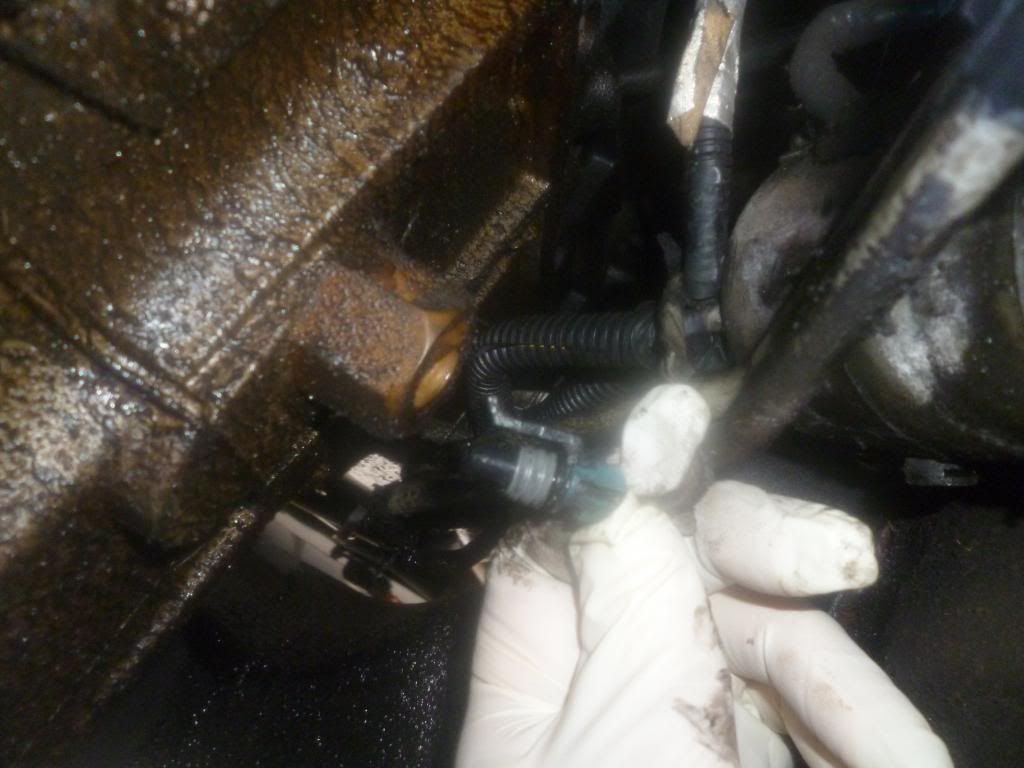
      Removed Low oil indicator sensor wire.

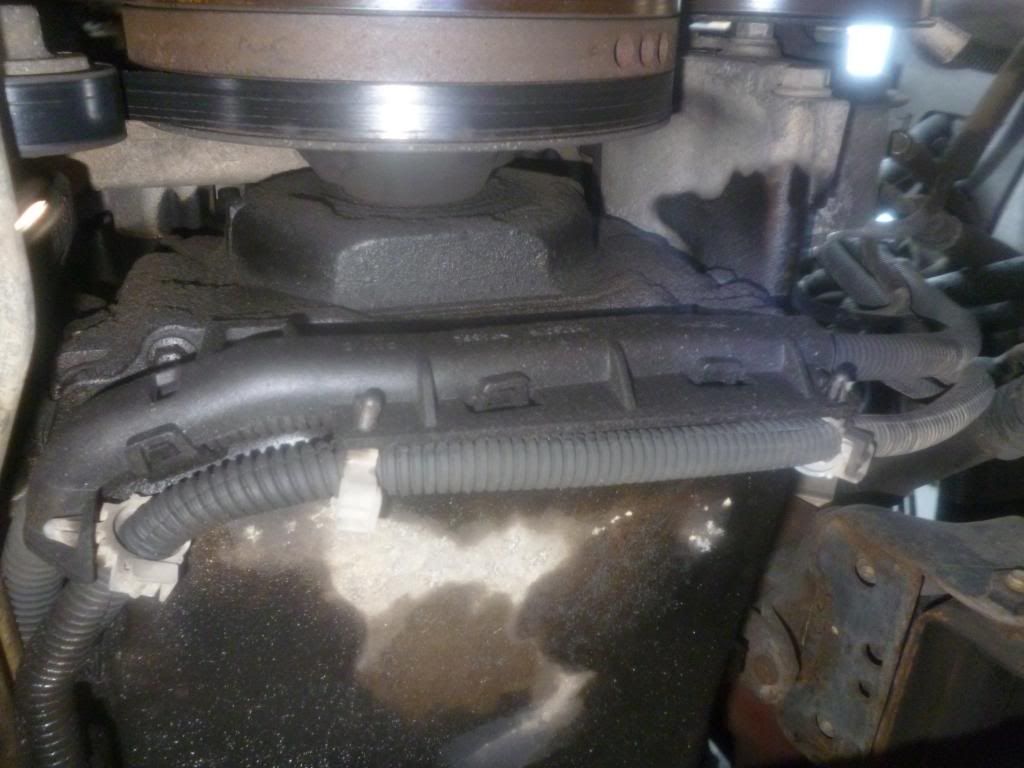
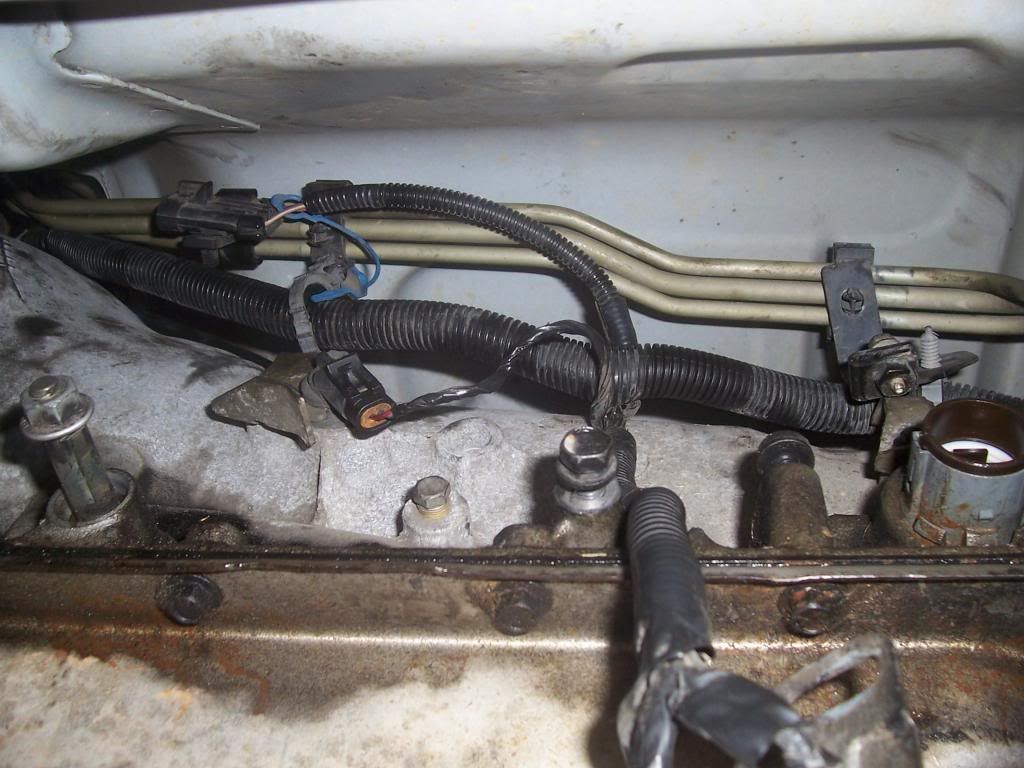
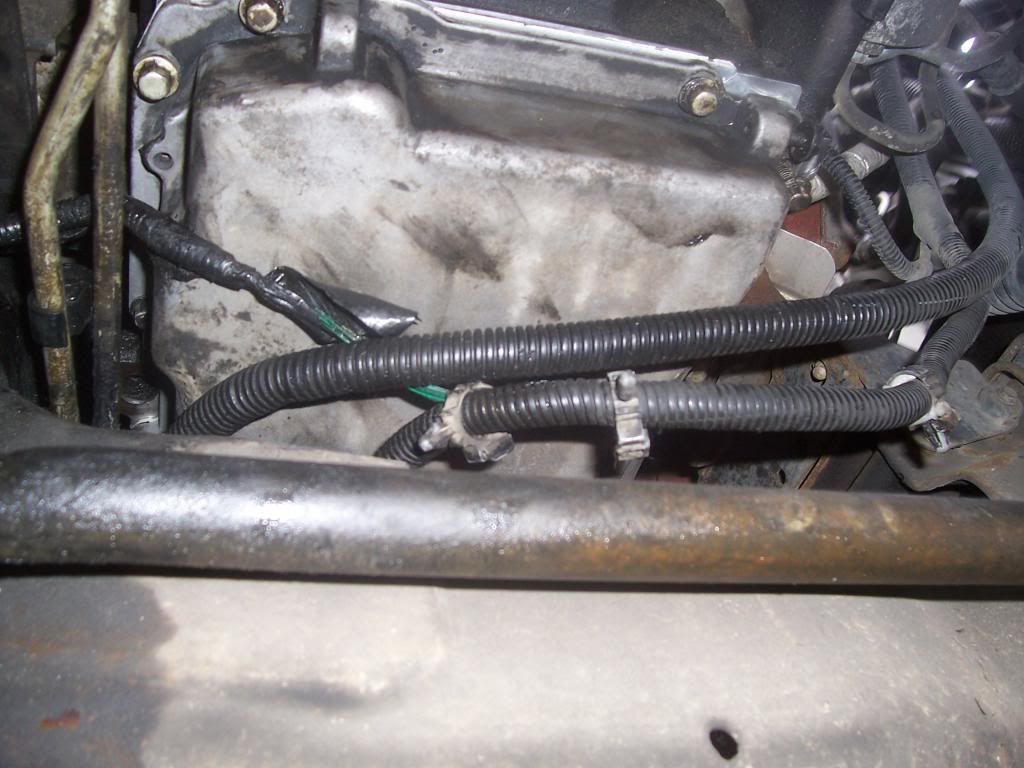
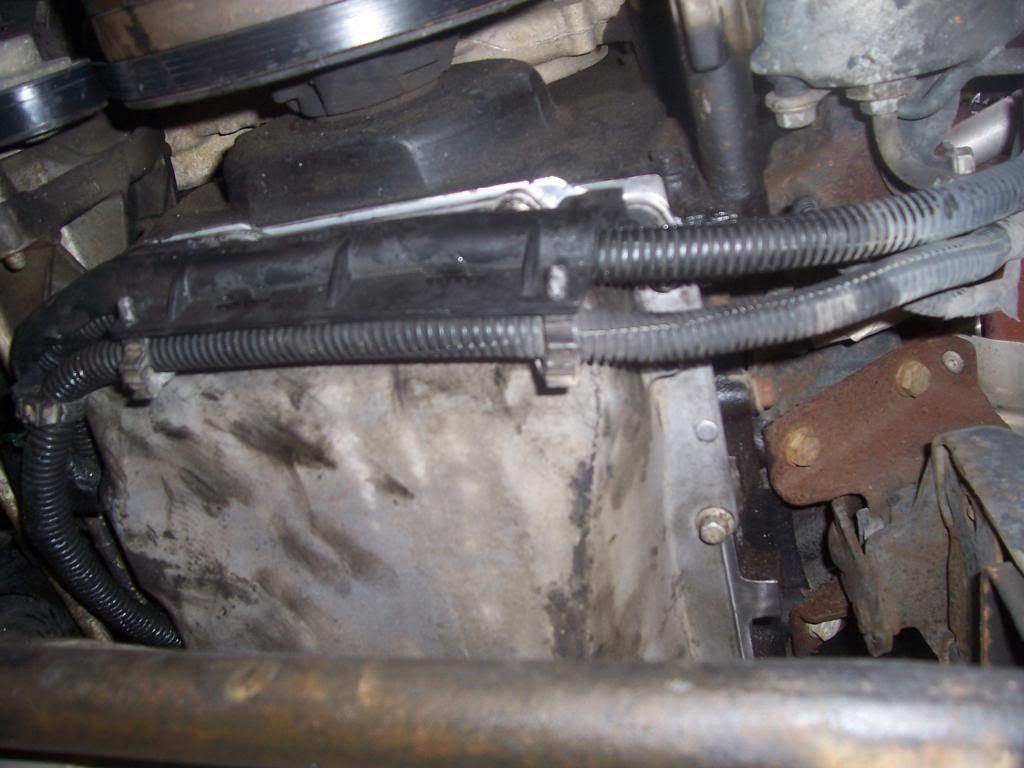
      Next, I moved around front of engine to remove wiring from Oil pan

      I unplugged the wires and removed the wire from the harness… It was held on by a 10mm bolt and slid into position. All three clips that secure the harness in it snapped from old age… Maybe will get a new one of these..

      This is where I stopped for the day due to heat and the fact that I have company coming tonight and have to work the grill and be a shiny happy clean person. So far this is about 2.5 hours worth of work..
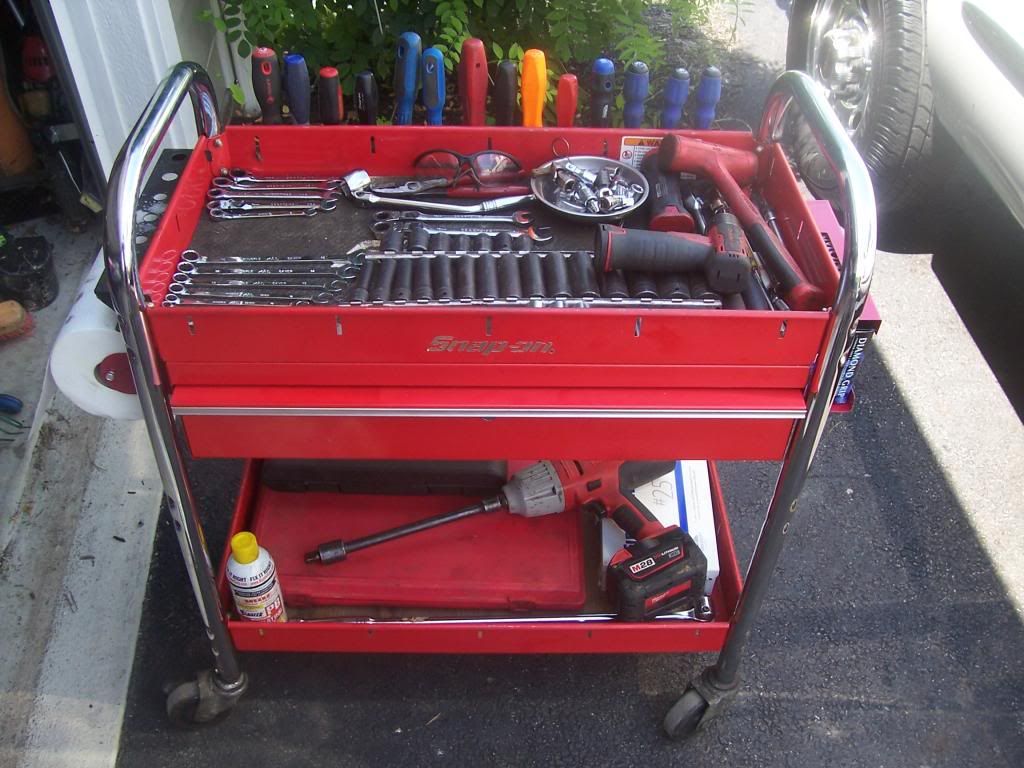
      But not before I cleaned and put my tools away… A clean and organized box is a happy box!!

      More to follow tomorrow!!!

      Karl!!

    Viewing 11 replies - 1 through 11 (of 11 total)
    • Author
      Replies
    • #537823
      A toyotakarlIts me
      Moderator

        Got a late start today… Didn’t get moving till 1100 am…. So much going on…

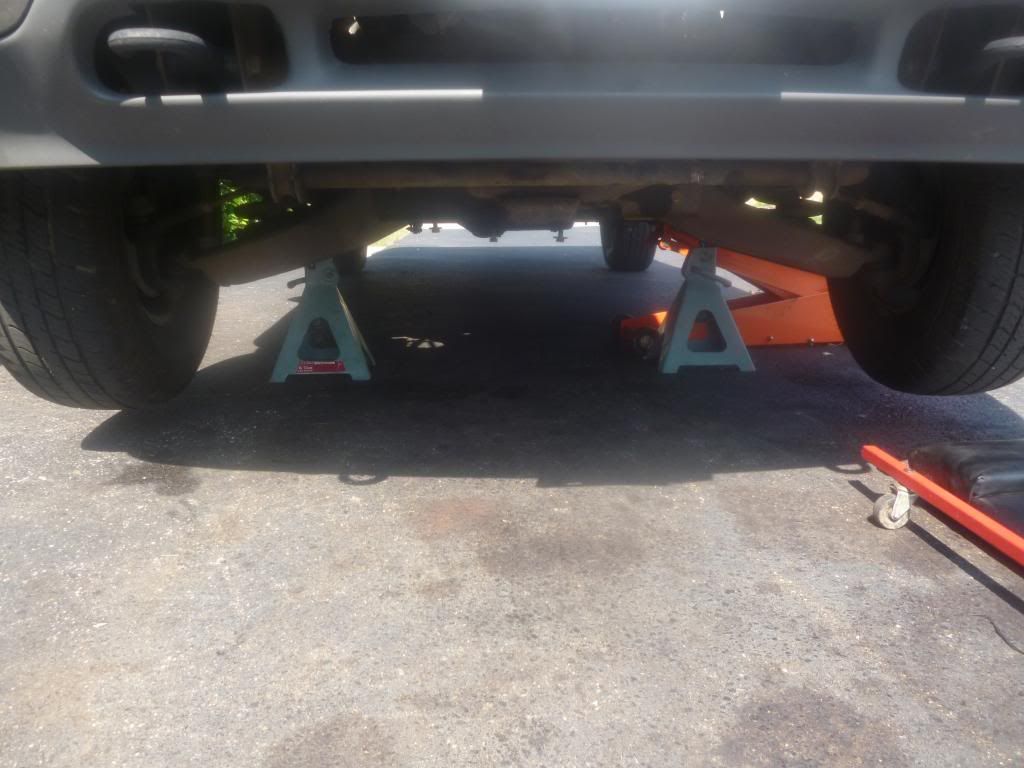
        Started by getting the vehicle on jack stands

        Began by removing all the 10mm bolts on the oil pan. Only the rear two were different (longer)..

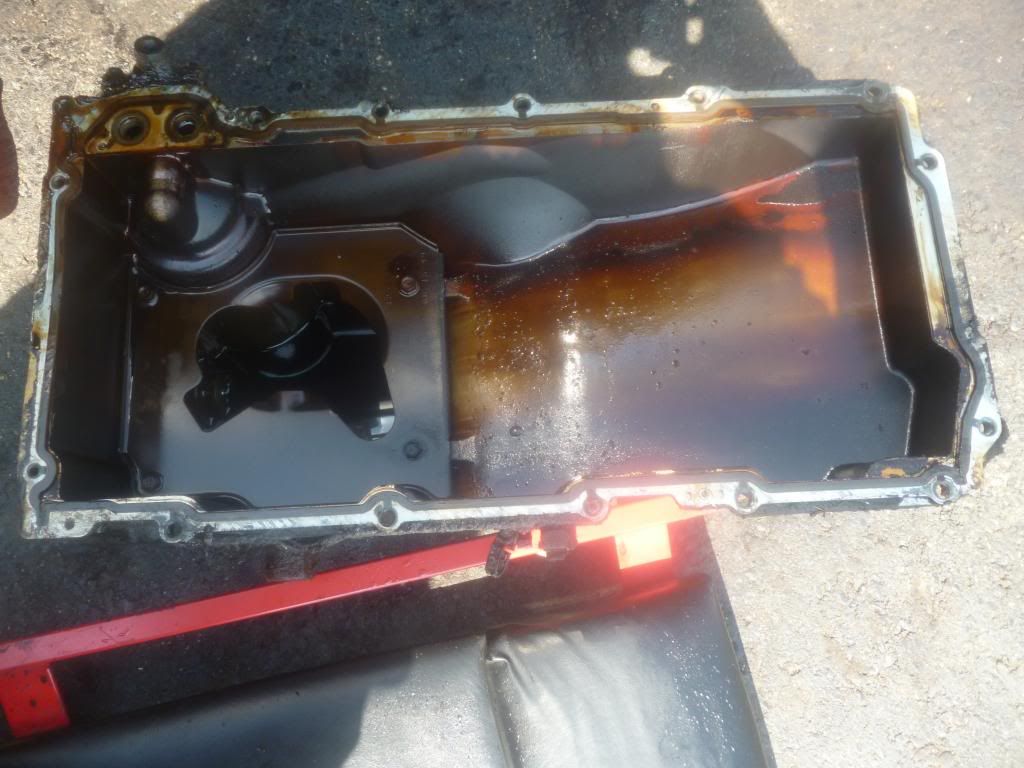
        And then had the pan dropped.

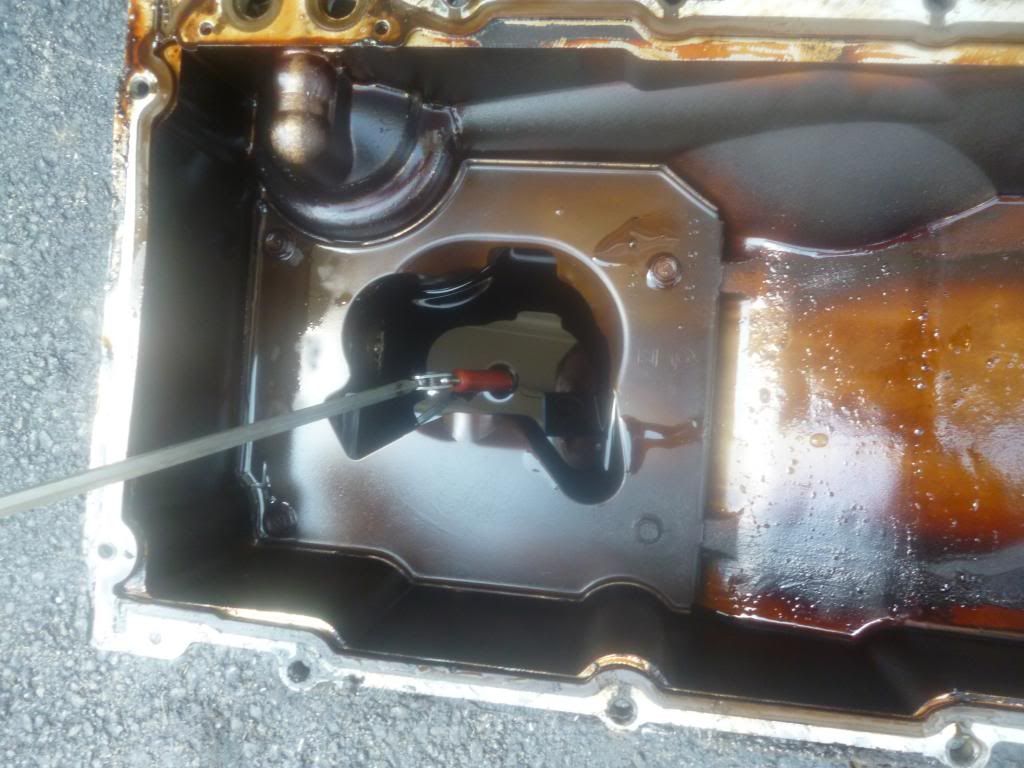
        The oil pan had some sludge but it was minimal… Relatively nothing compared to what I have seen on some Toyota engines. No metal found!!

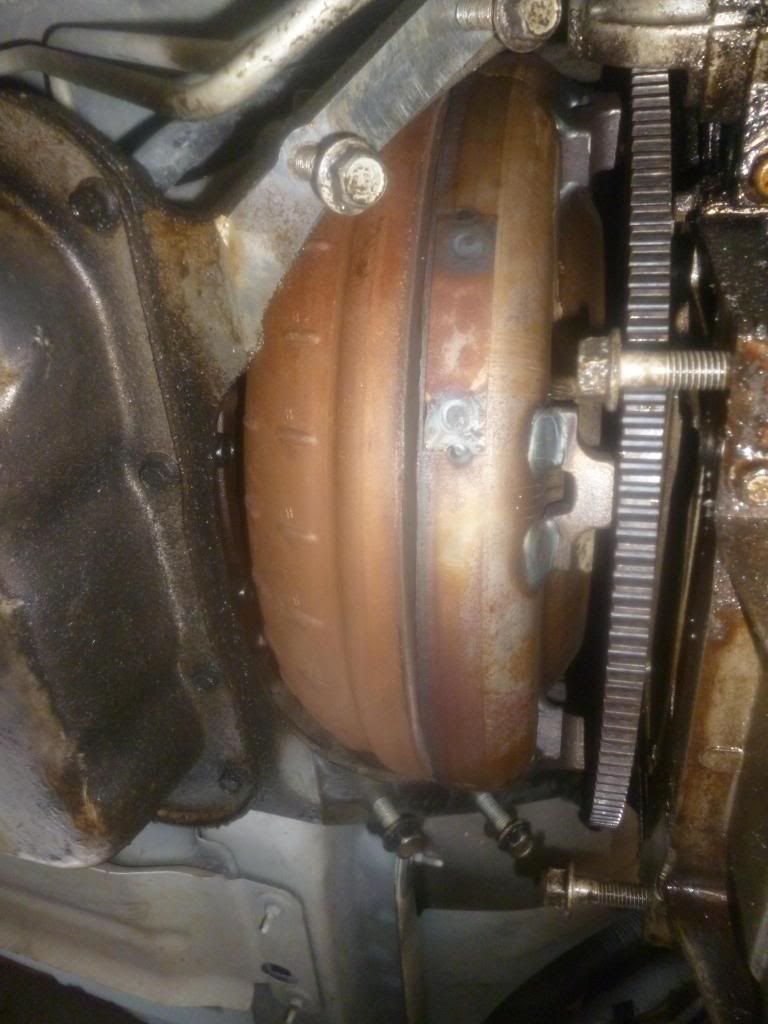
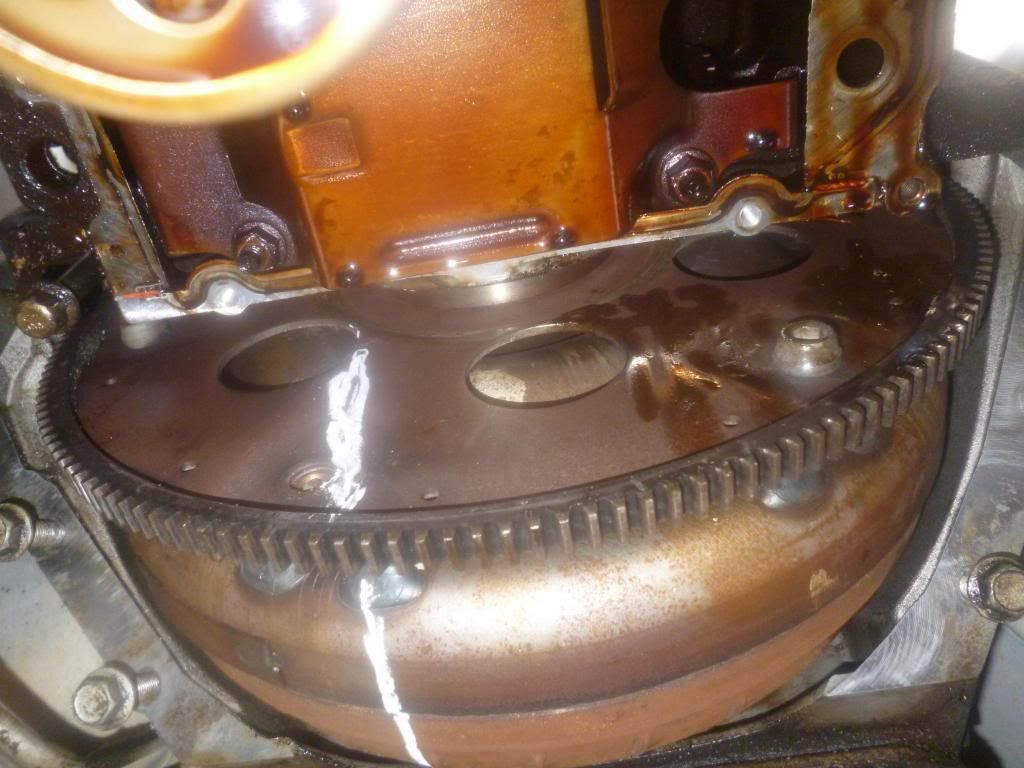
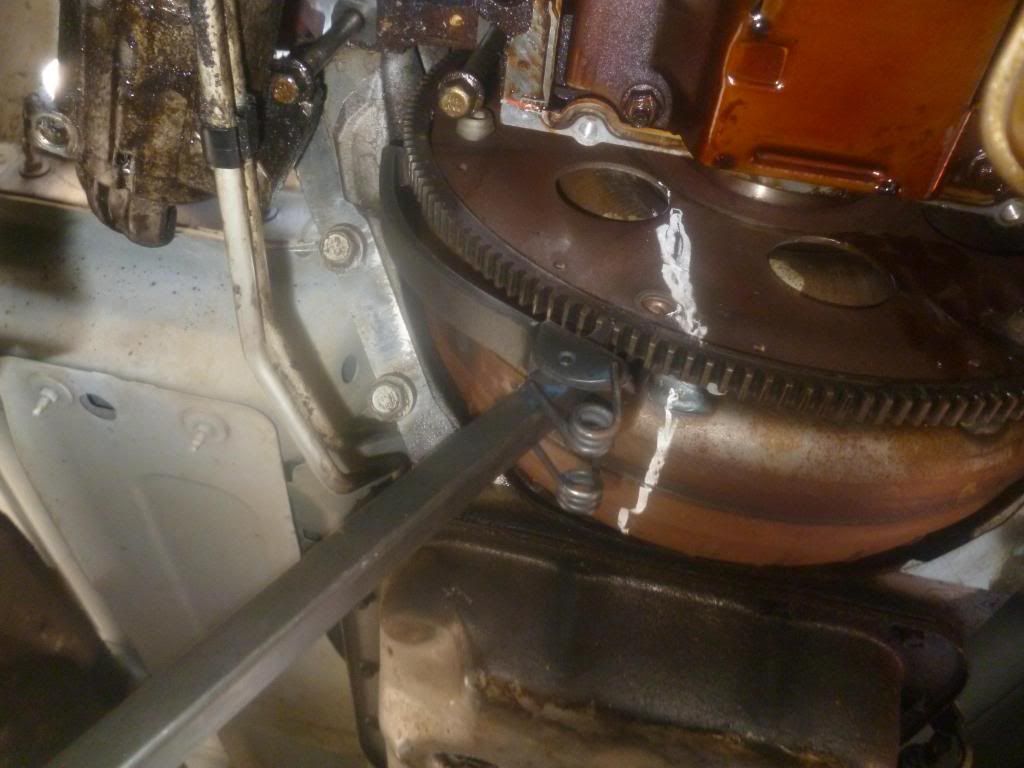
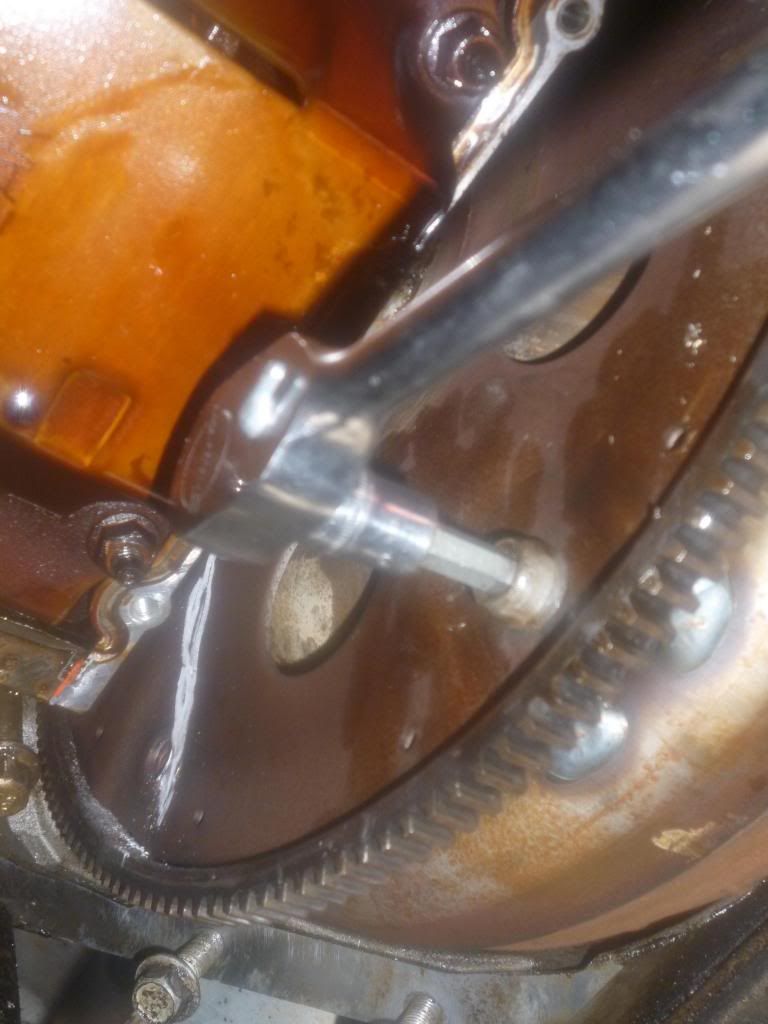
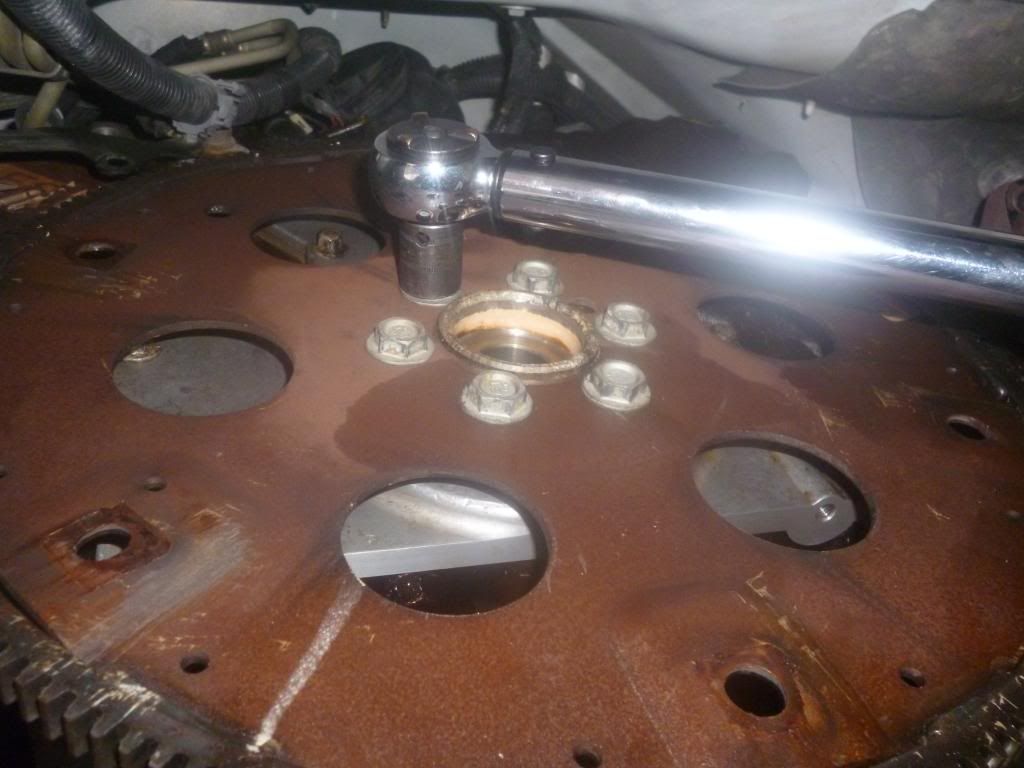
        Next was time to remove the Flex plate to Torque converter bolts. Note The Oil pan has to be dropped first to do this due to access reasons… Here I used my flywheel turner to move the flexplate. Also remember only turn the engine Clockwise only (when facing the vehicle). These bolts are 8mm Hex bolts.

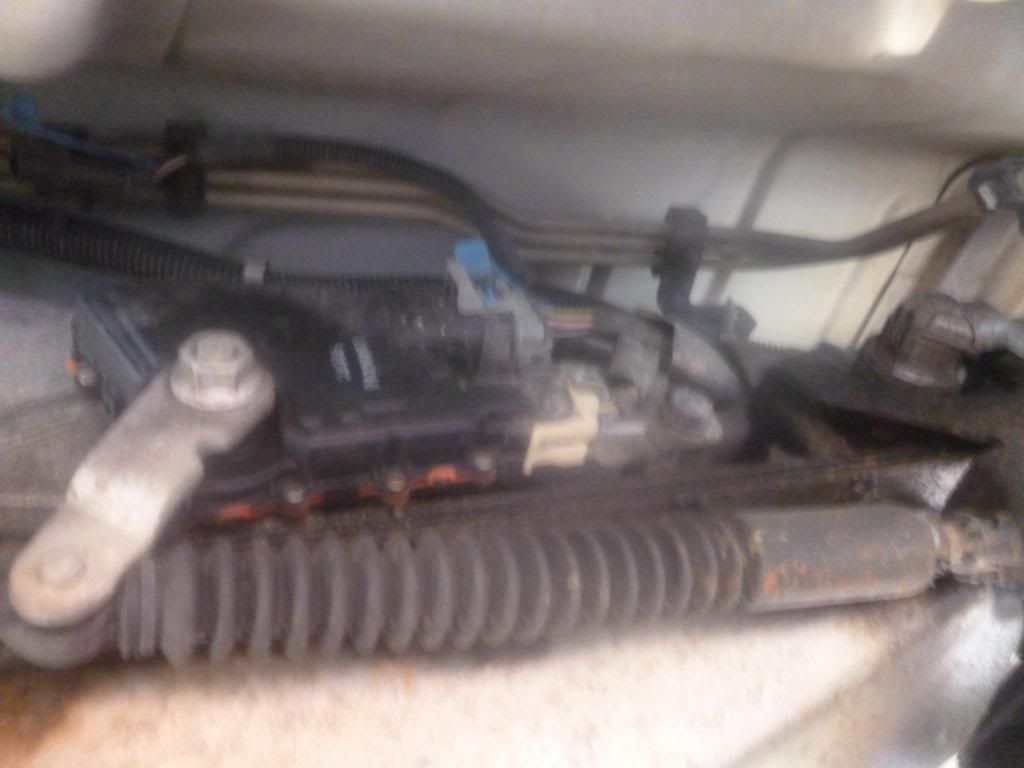
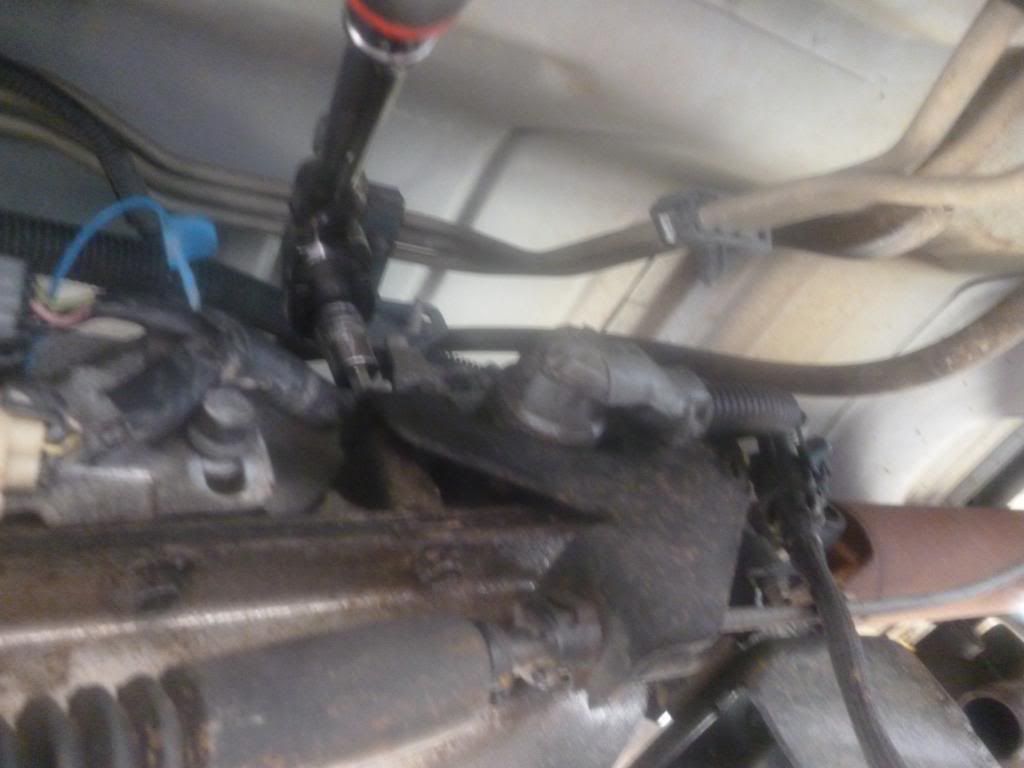
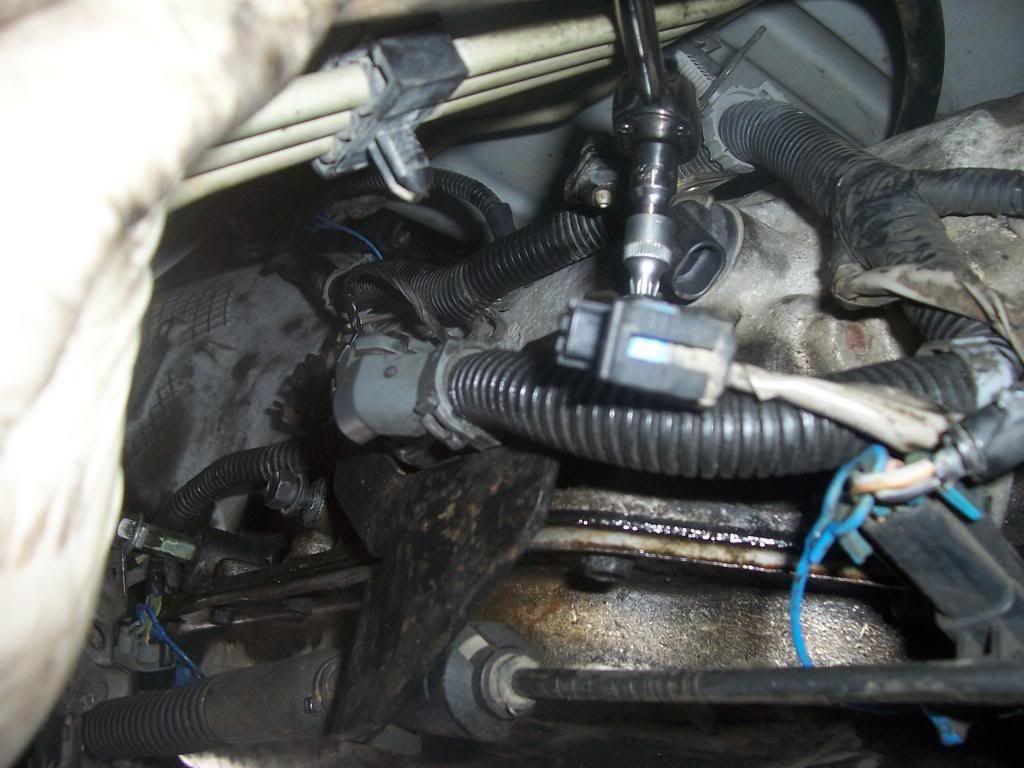
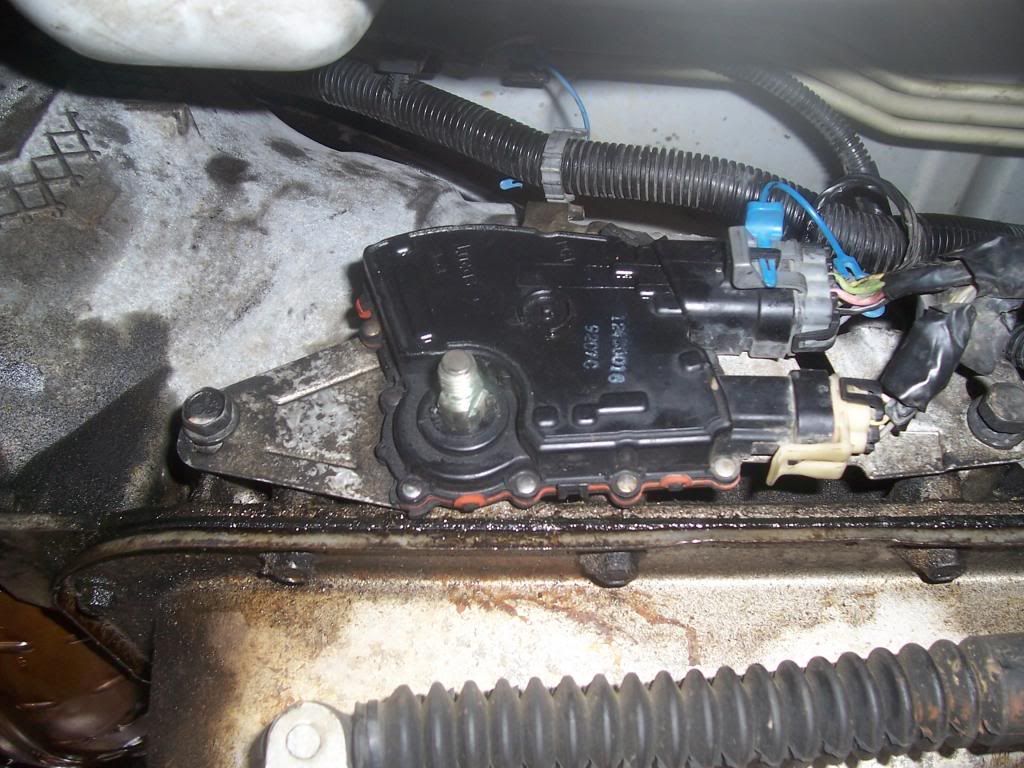
        Next I removed the shifter linkage assembly and associated wiring

        After this I marked the driveshaft position. Chalk is really crappy, but I didn’t have a paint pen handy…

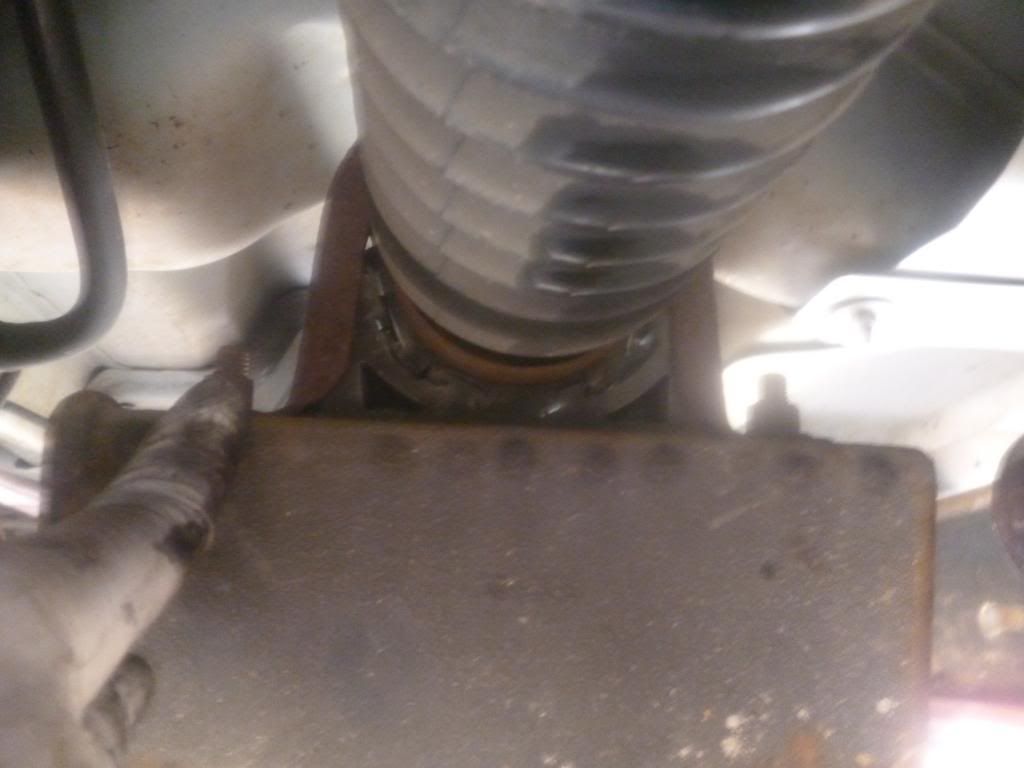
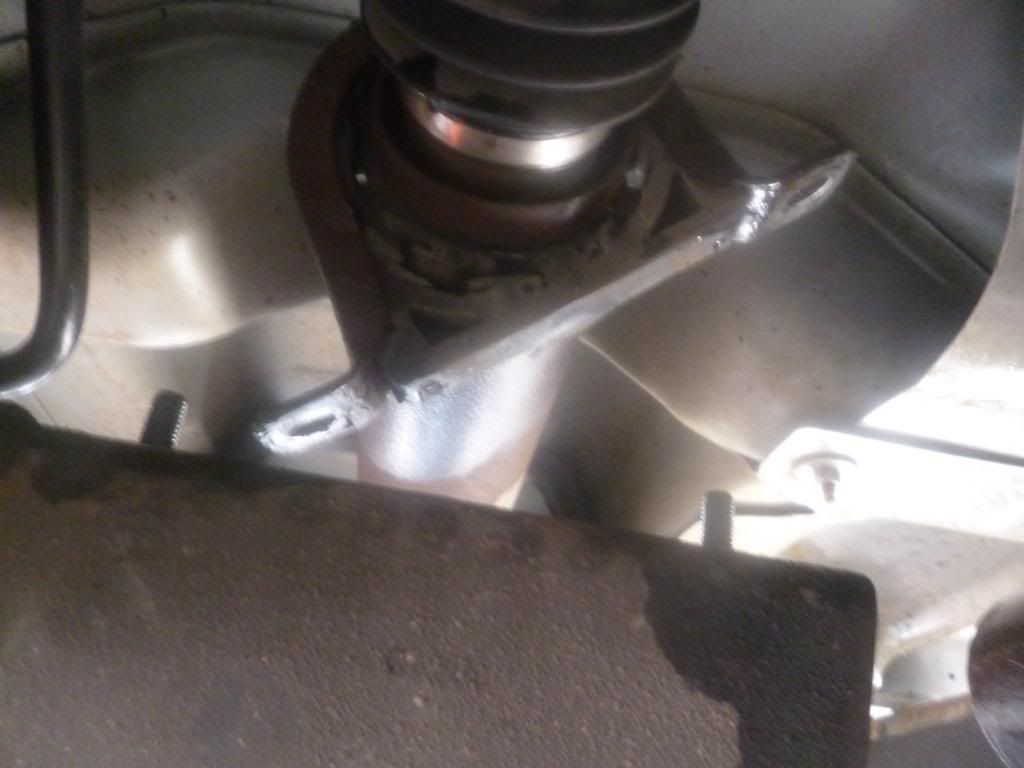
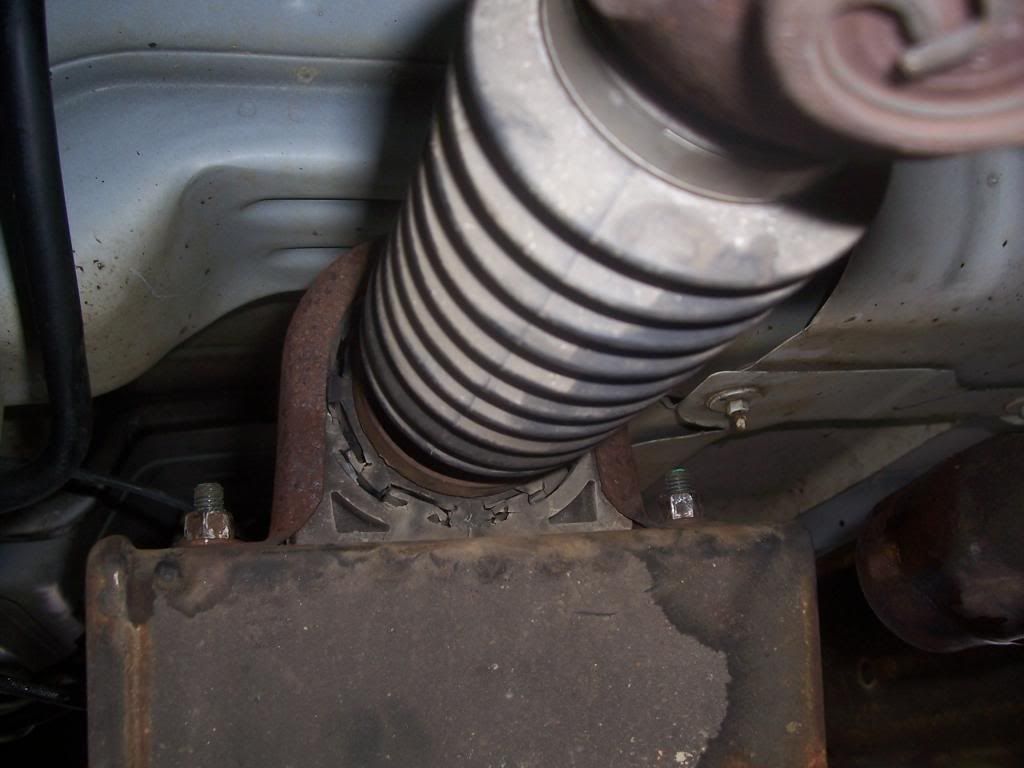
        I then removed the intermediate shaft assembly. 2 X 15mm nuts were holding this in place.

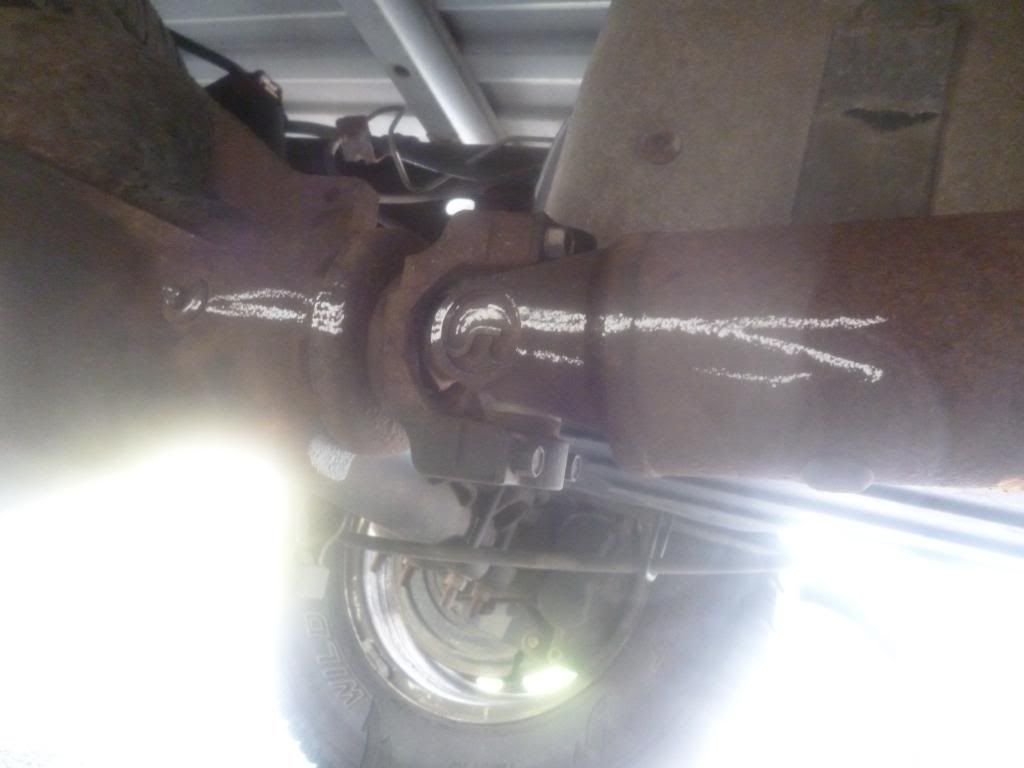
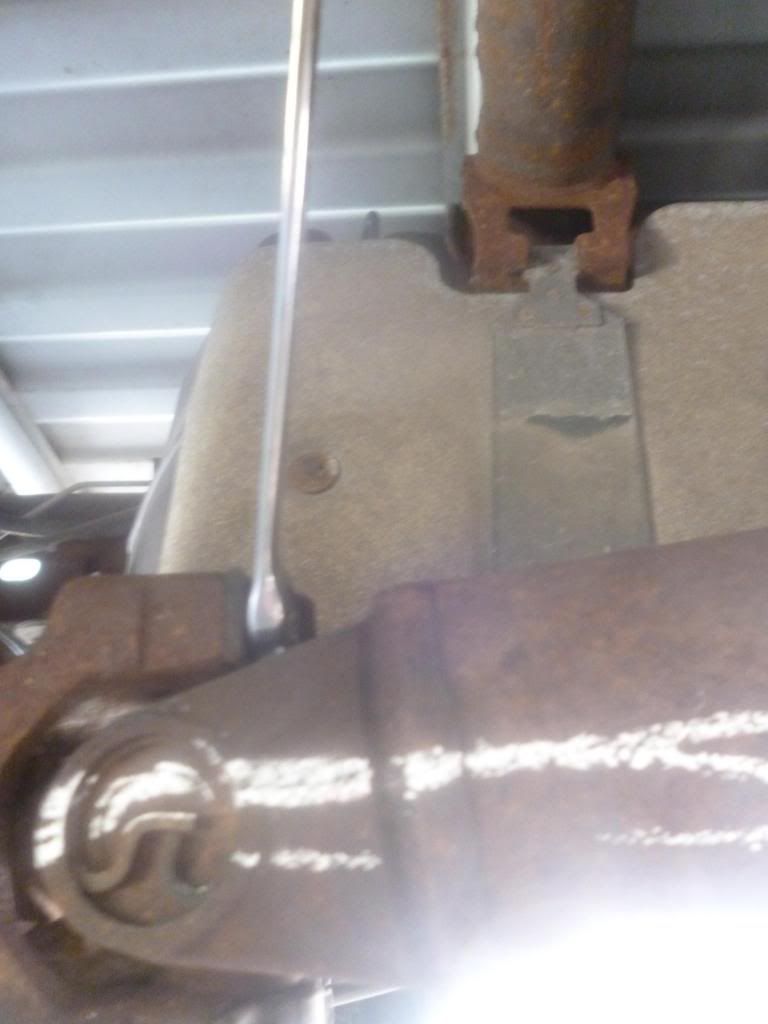
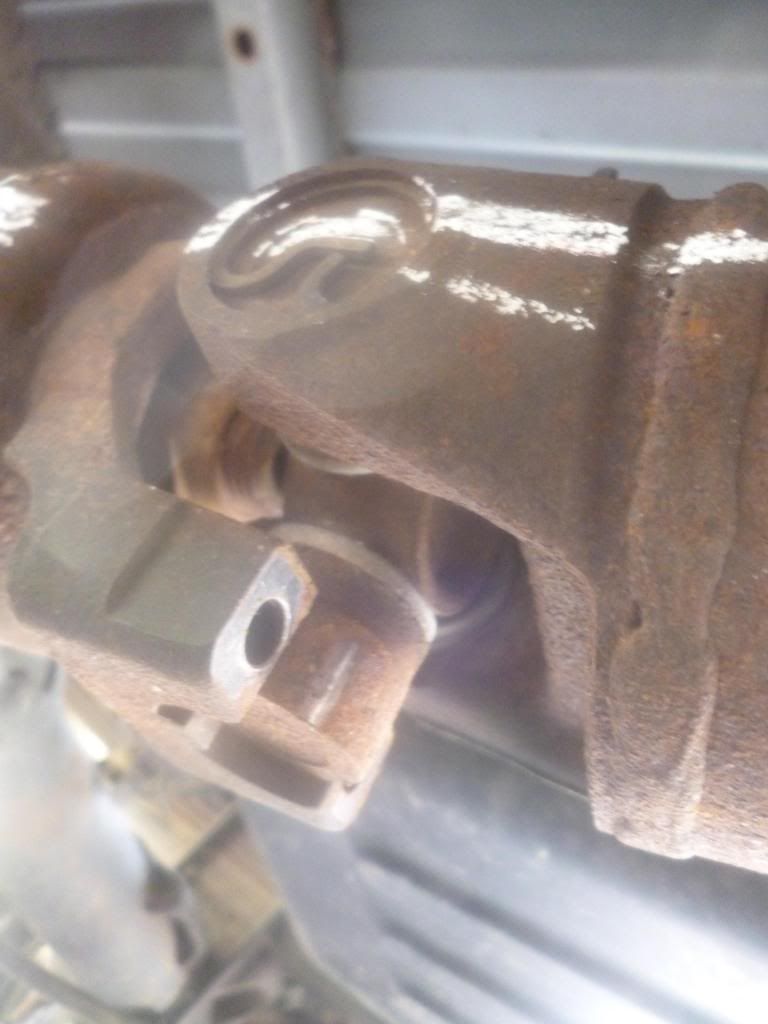
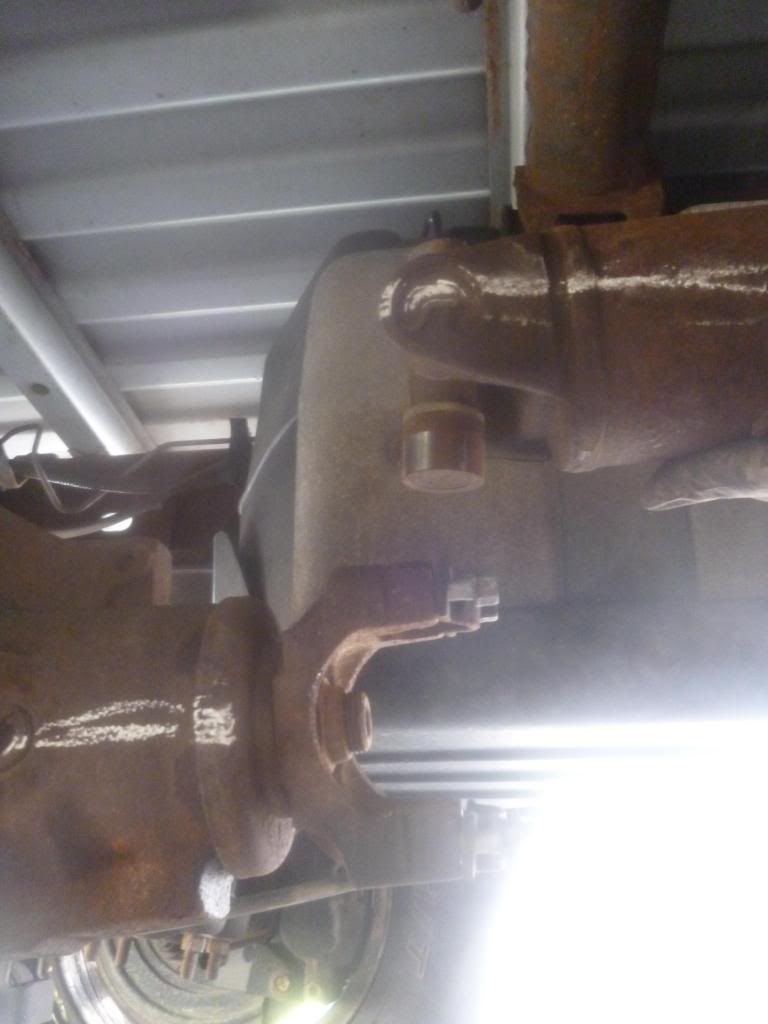
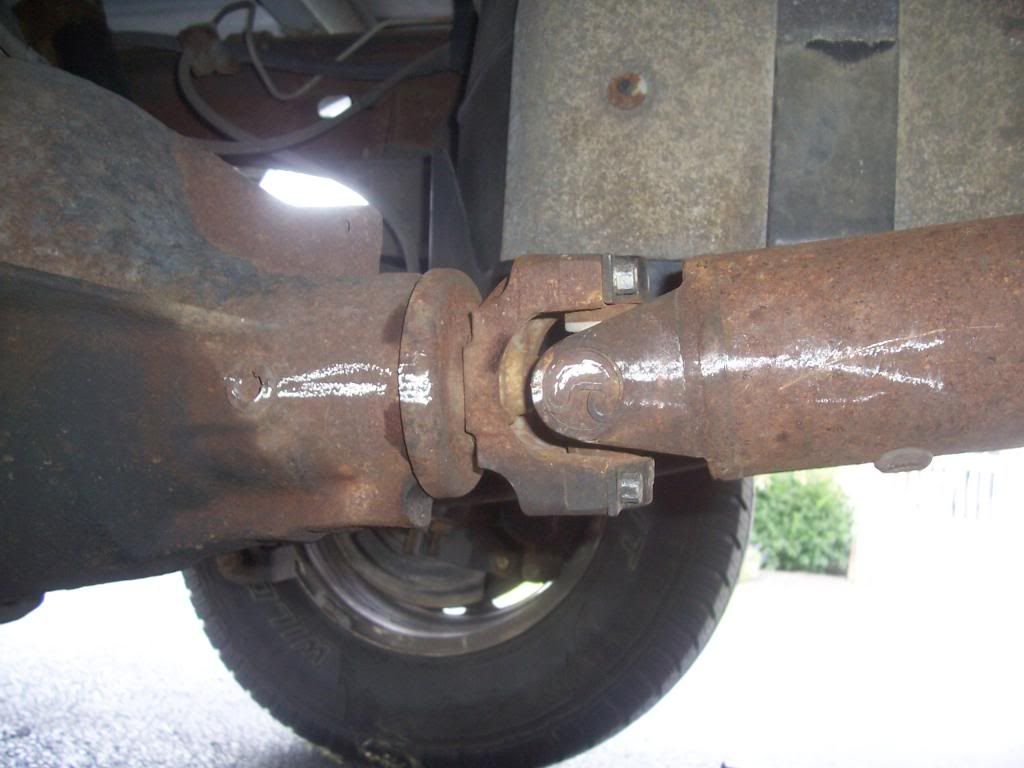
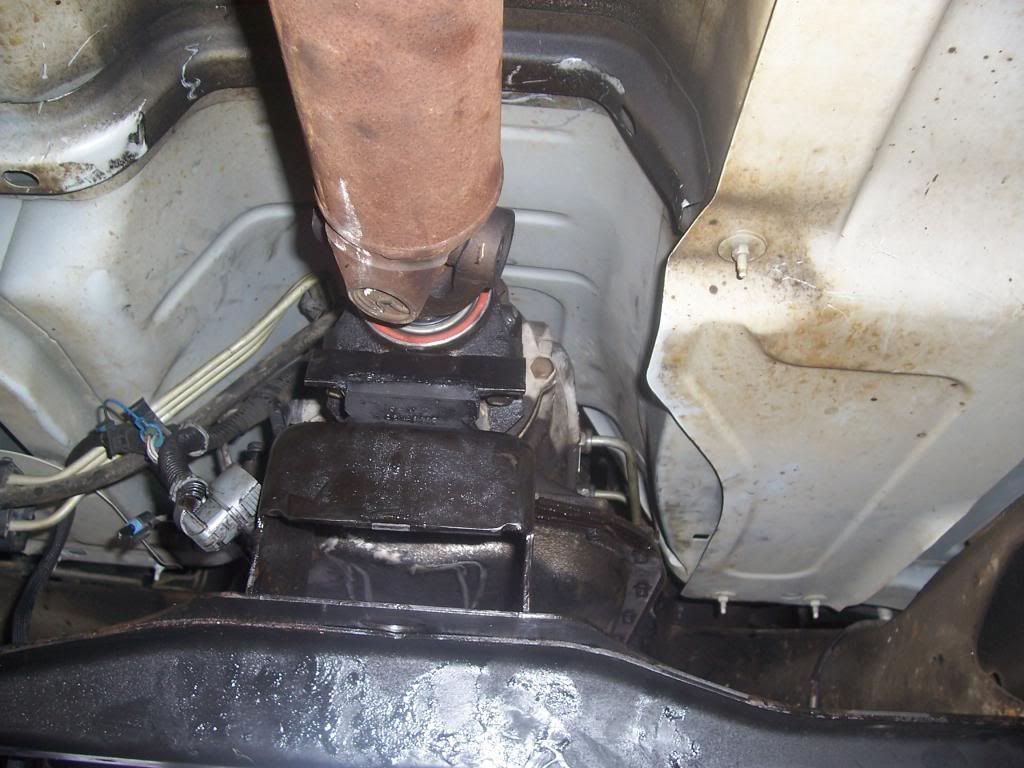
        Then came time to remove the U-joint bolts from the rear. I was wondering how long it would take me to find some SAE bolts… Well here they were… 7/16 sized. I also had a roll of tape handy in case the covers might come off the u-joint, but they were secure so I didn’t need it….

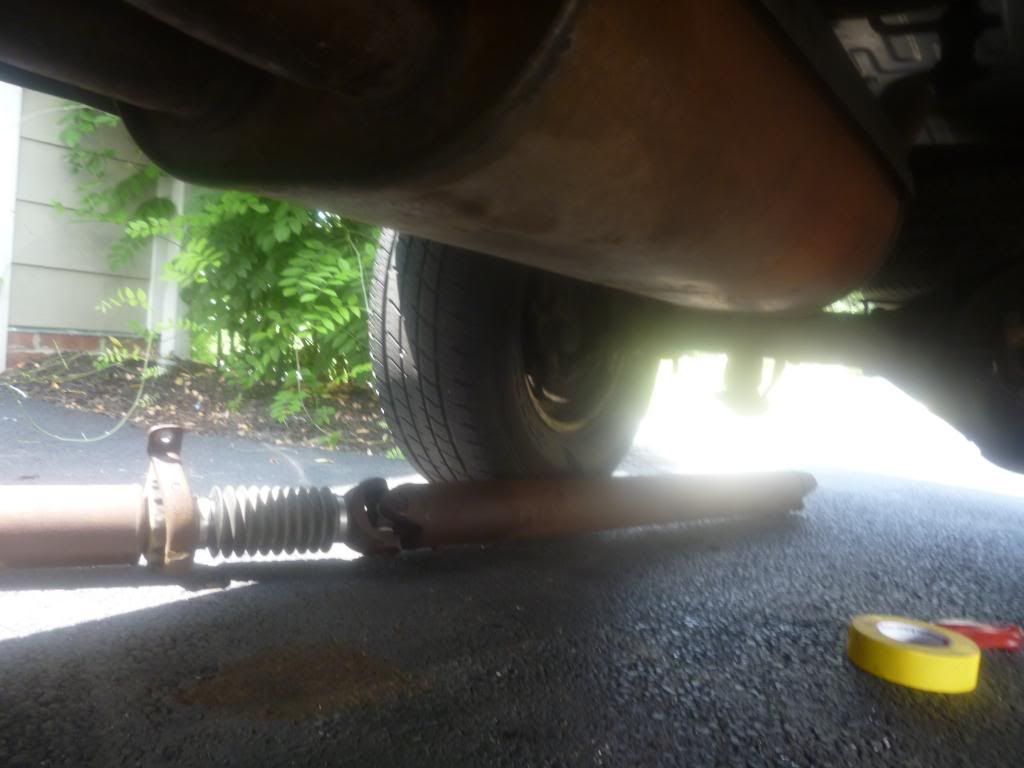
        Then I removed the Drive Shaft.

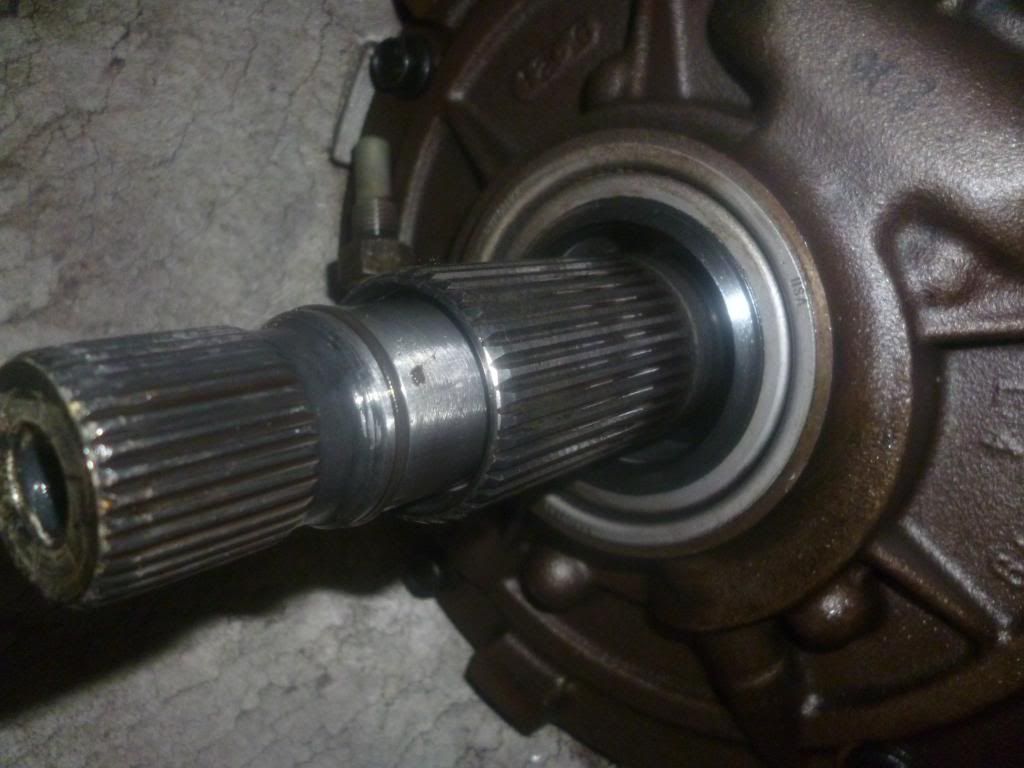
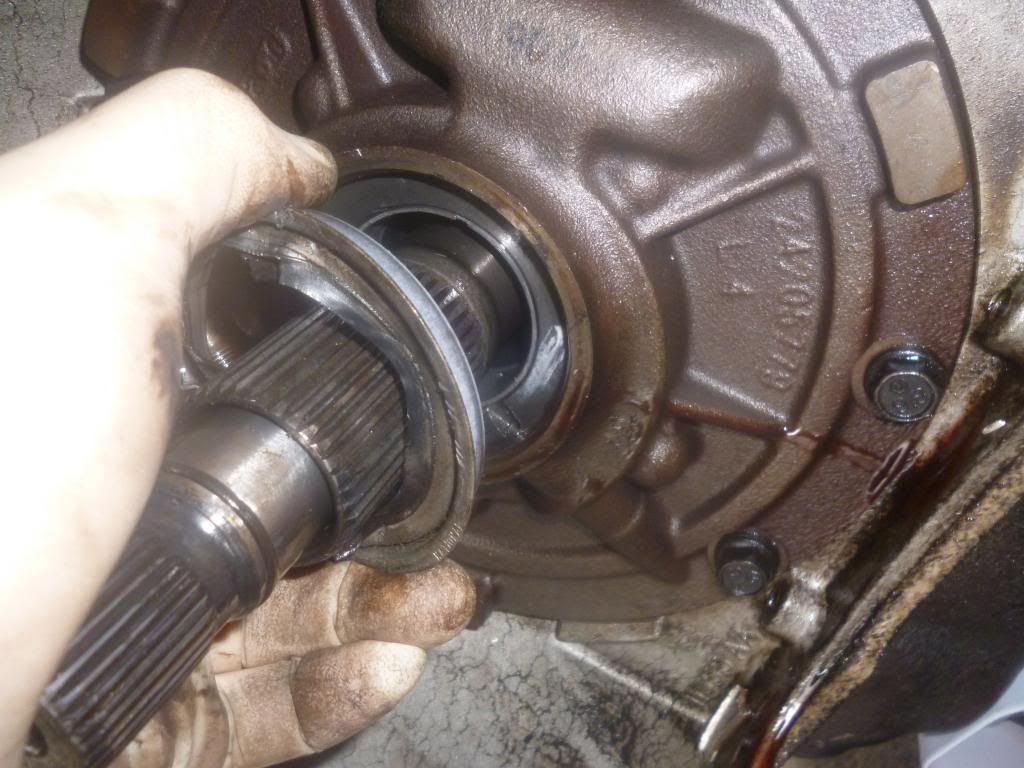
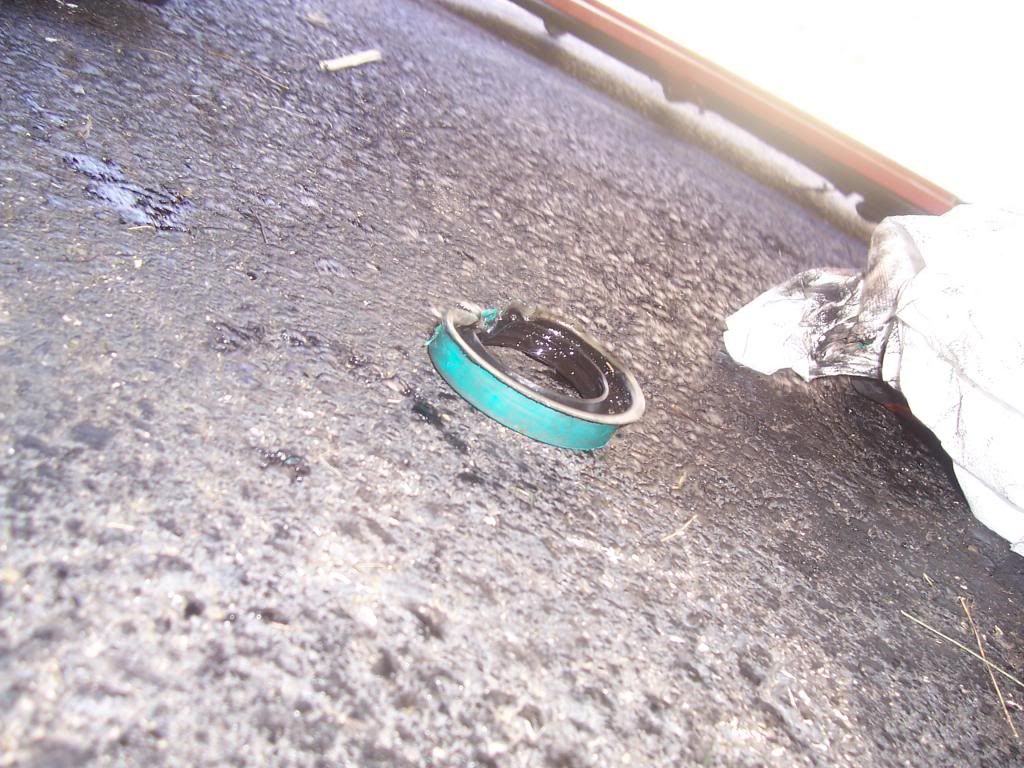
        The transmission output shaft seal… Seen better days…

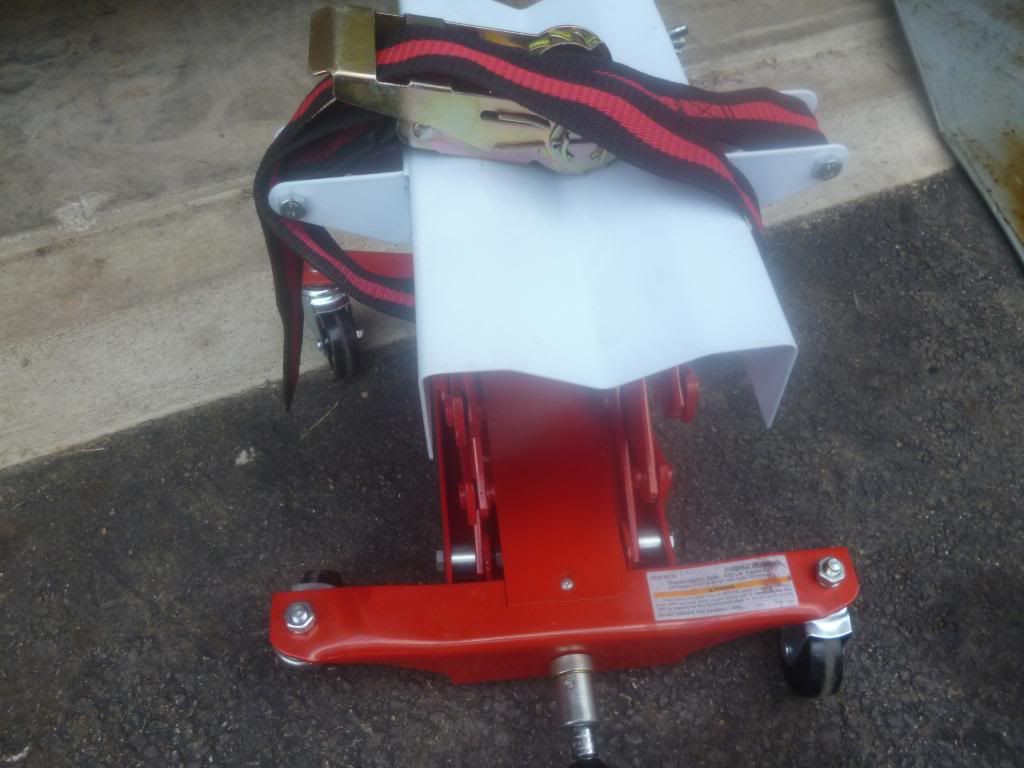
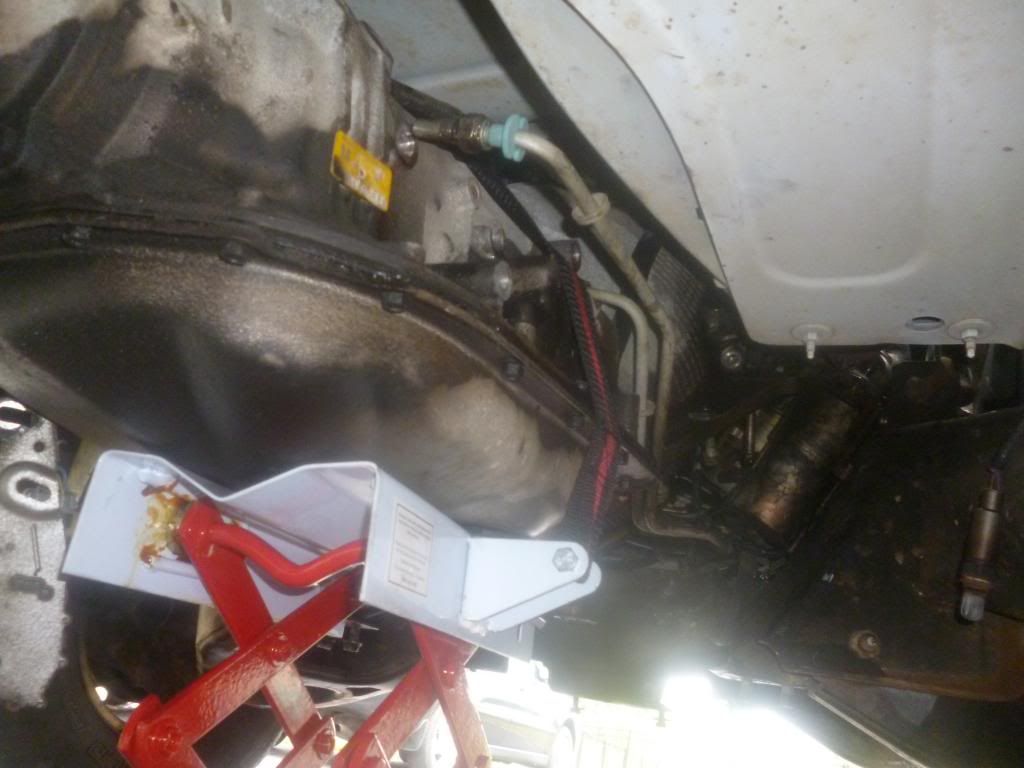
        Now to my “trusty” HF Transmission Jack… Best to get the warranty with these… I have broken them before… This one is fresh!!!

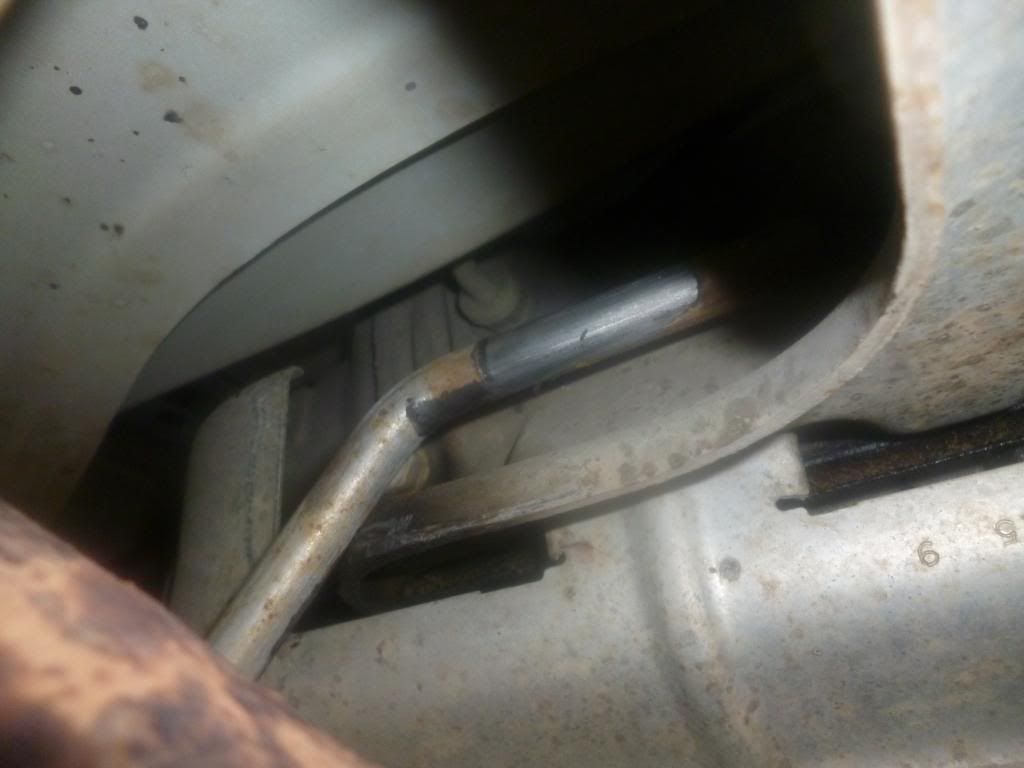
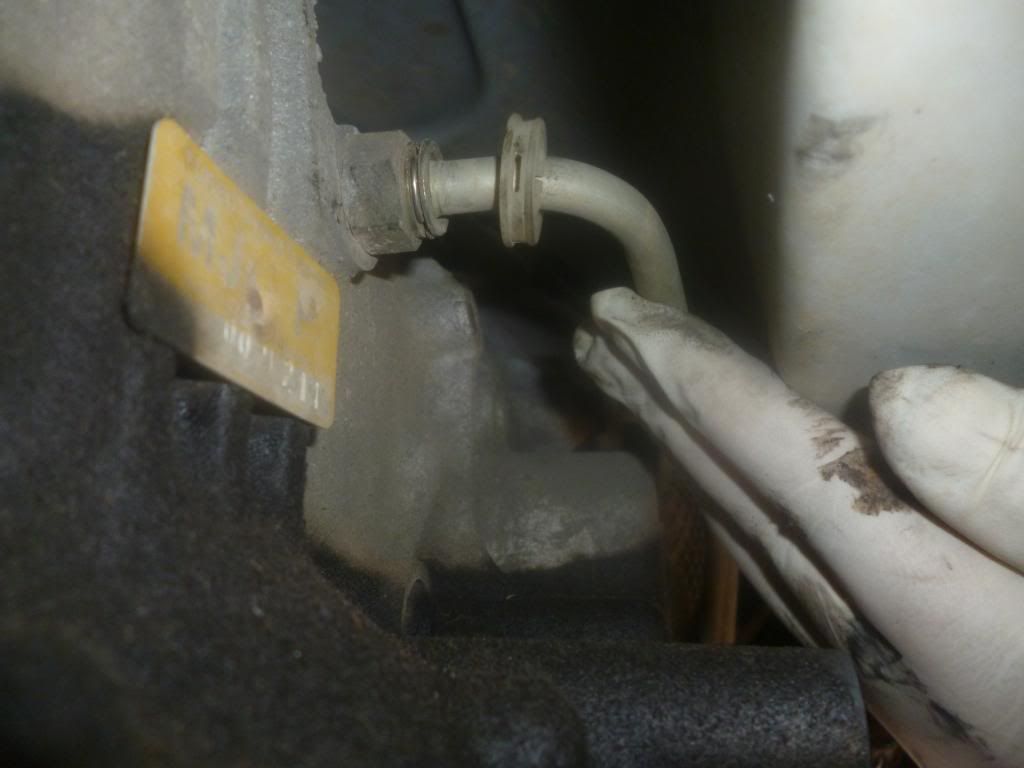
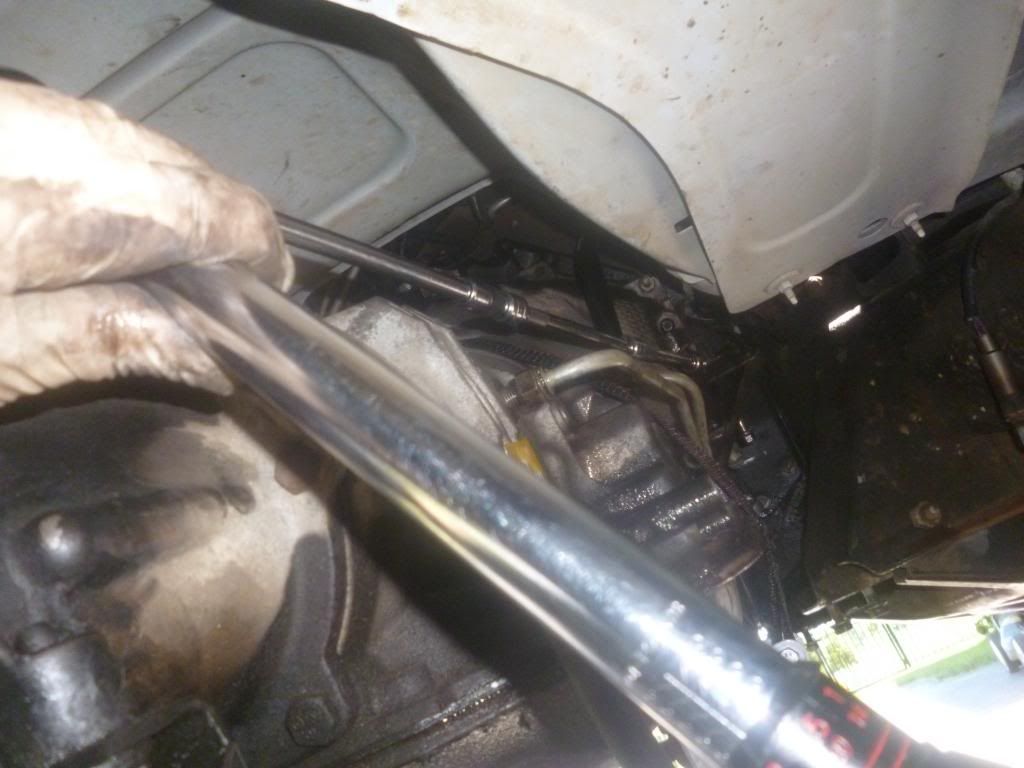
        Next came time to remove the final attachment to the transmission… The fluid lines. I did not have the quick disconnect tool to remove these and didn’t feel like dropping $20 to my Snap on guy for a rarely used tool, so I just removed the bolts. Once again… SAE! Size ¾”.

        The proper tool an OTC7937… made for this application

        Next came the rear transmission bolt holding it to the rear support bracket. This was 15mm

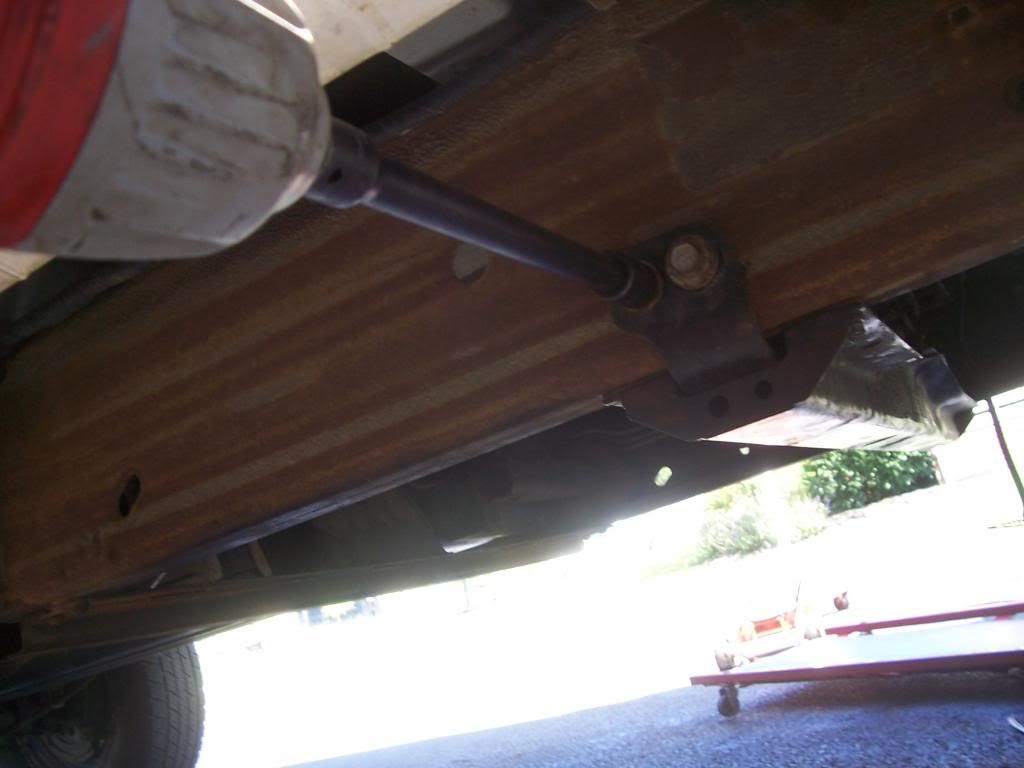
        Now time to remove the rear support bracket. These were 18mm with an 18mm wrench holding the nut tight then hit the bottom with my impact… easy work

        Now the side bolts holding it in place… I did not photo these before taking them off, so I took a pic after I put them back on for storage… These were 15mm

        HIGH AND MIGHTY!

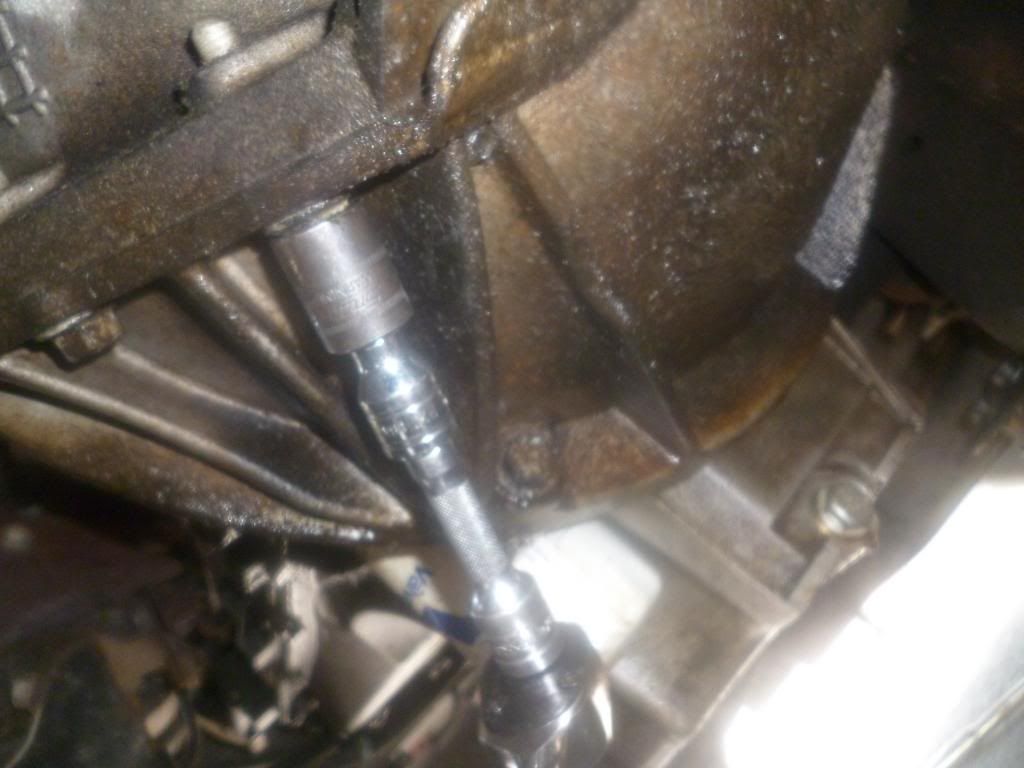
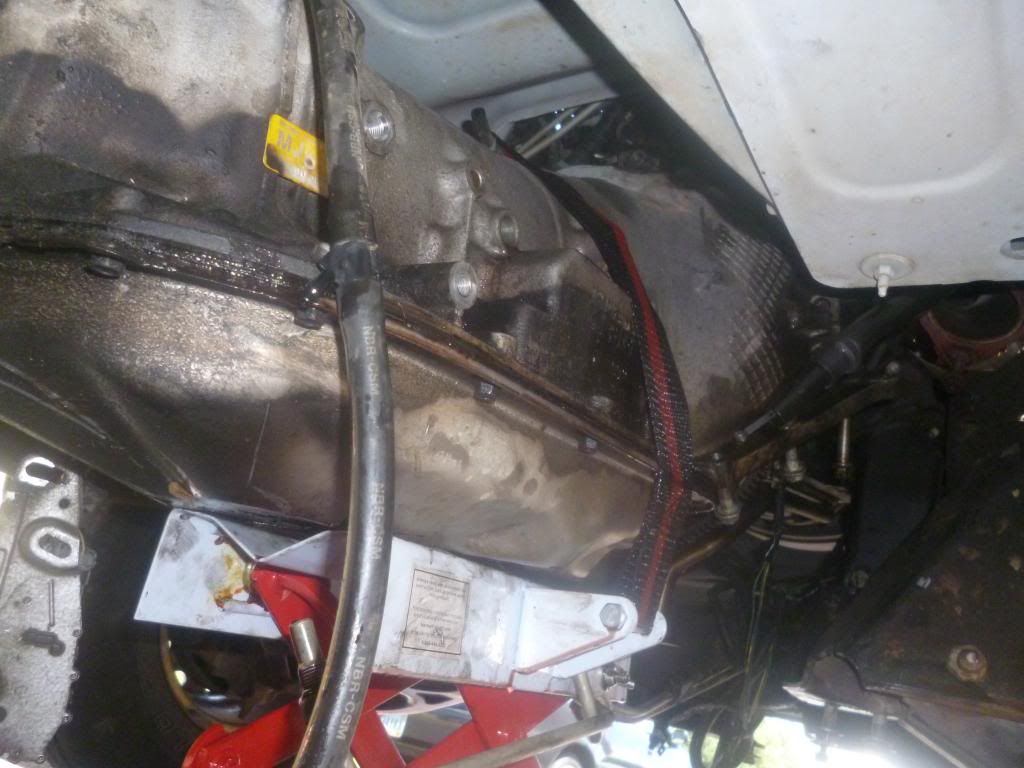
        Now the fun part… The Transmission to engine bolts. There are six of them all the same length and were 15mm..… The top three have 13mm nuts on them holding on different brackets and one holding on the dipstick. Several extensions with a universal joint adapter and deep socket make these fairly painless… Just lining up on them s the only issue..

        Then I lowered the jack to get access to the two at the top… not too bad…

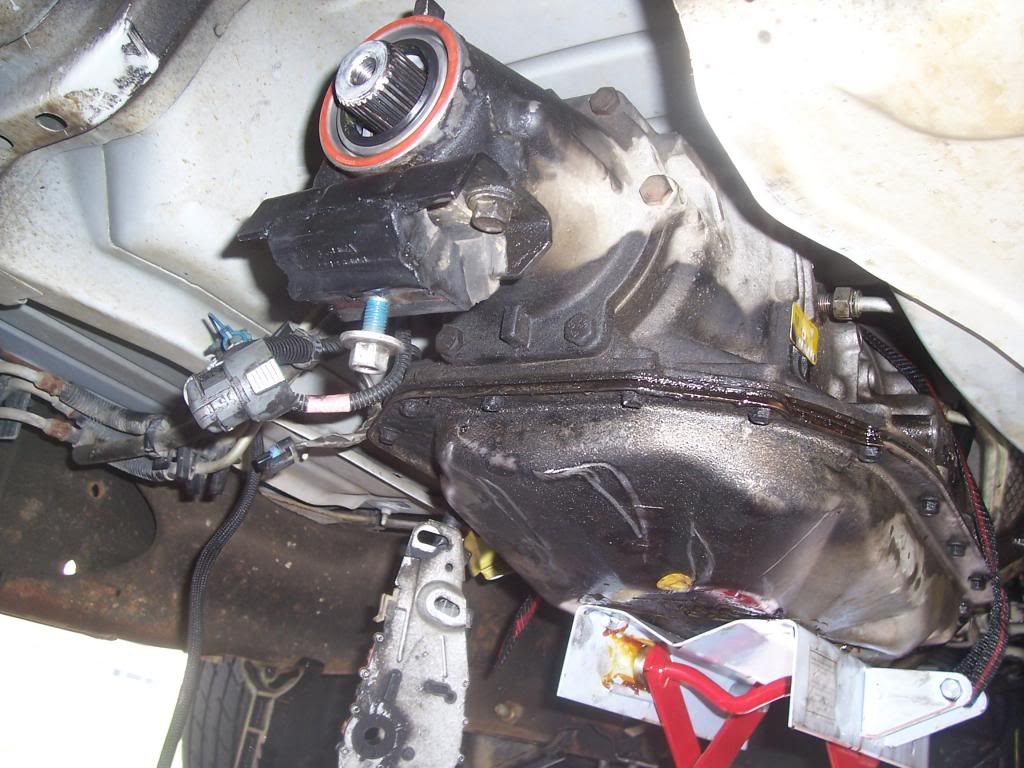
        Transmission dropped…

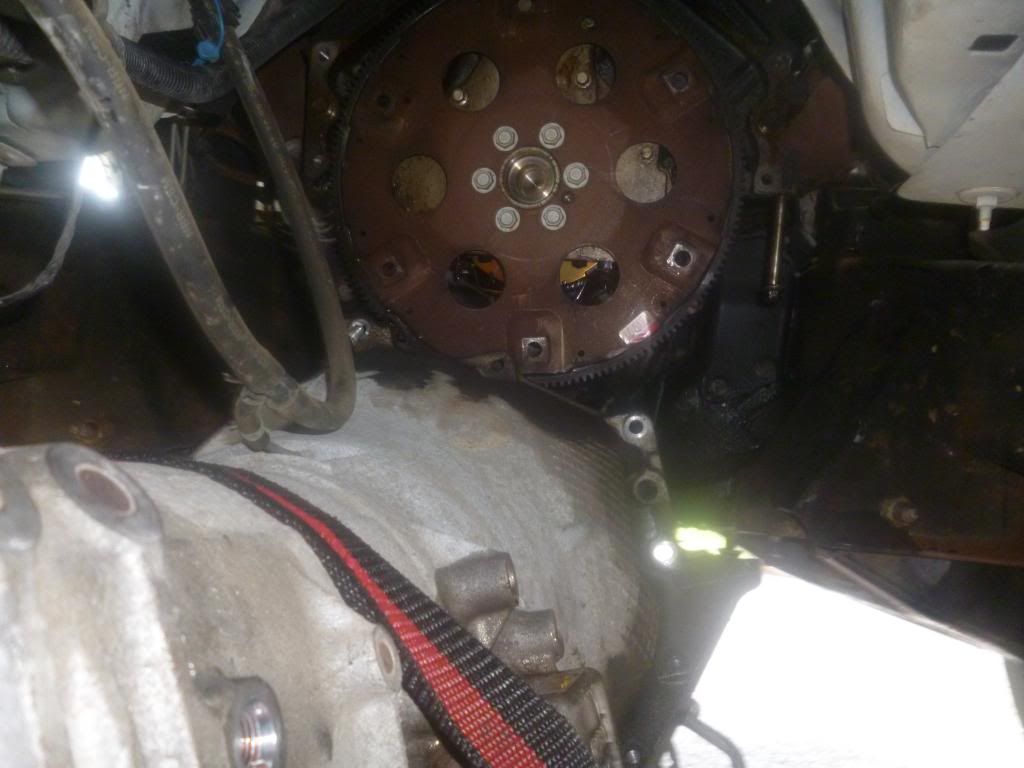
        Unfortunately, my camera battery died and I had to recharge it, so I don’t have pics of me taking off the flex plate bolts… there were 6 of them and got them off with my 15mm impact… Easy work Then stuck a pry bar behind the length of the flex plate and jiggled… She popped right off

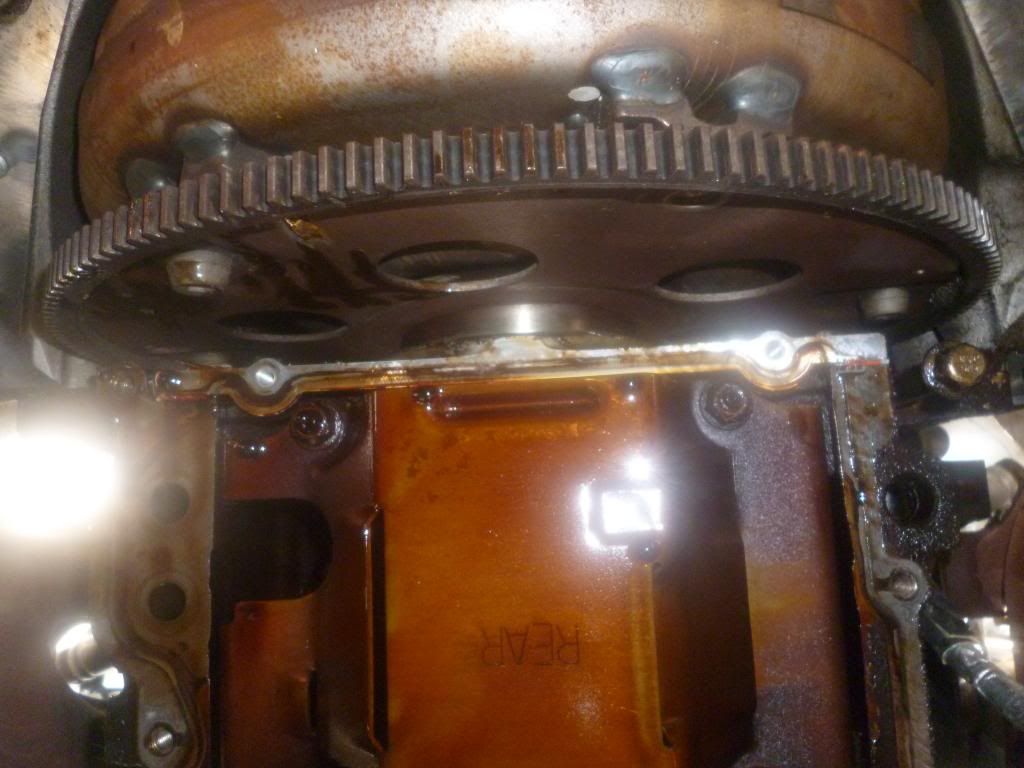
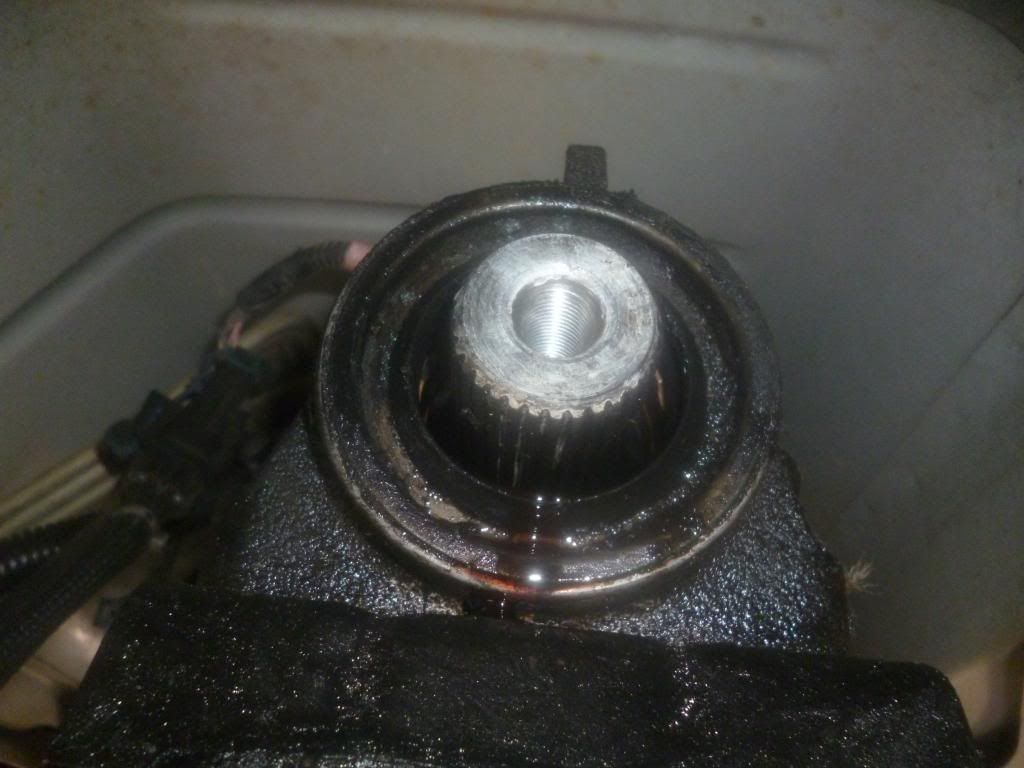
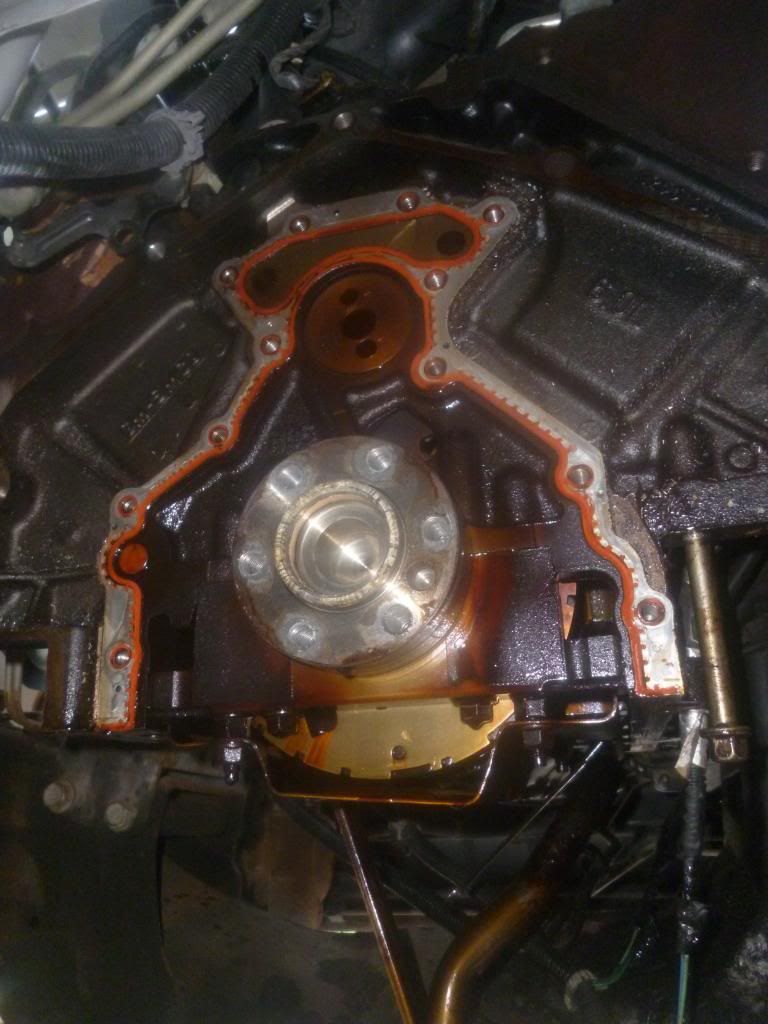
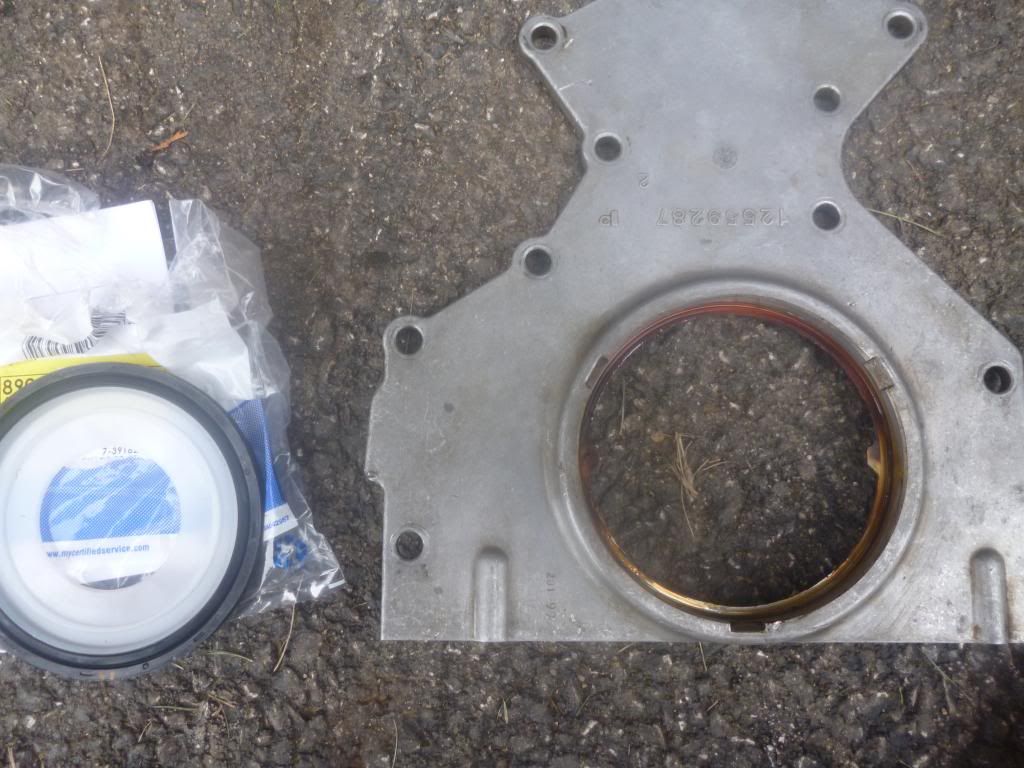
        Then I removed the cover of the rear main seal housing and there she is… Shining like a shrine that Indiana Jones just found…. The cover bolts here were all 10mm and the same length.

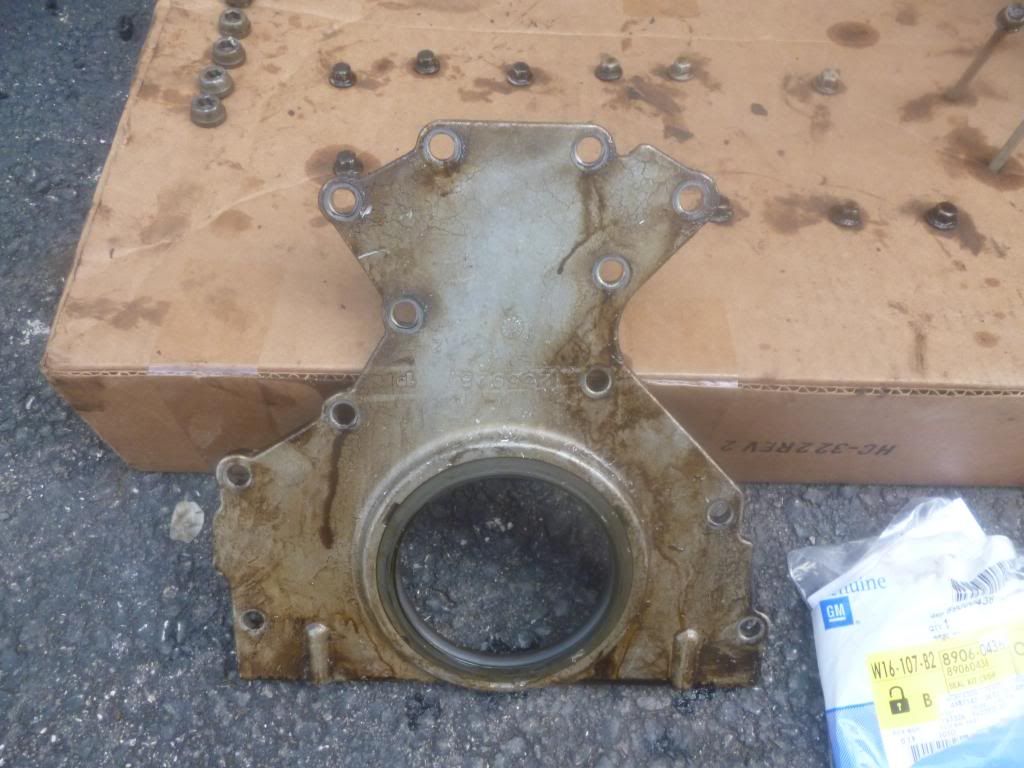
        Here is the cover with the seal.

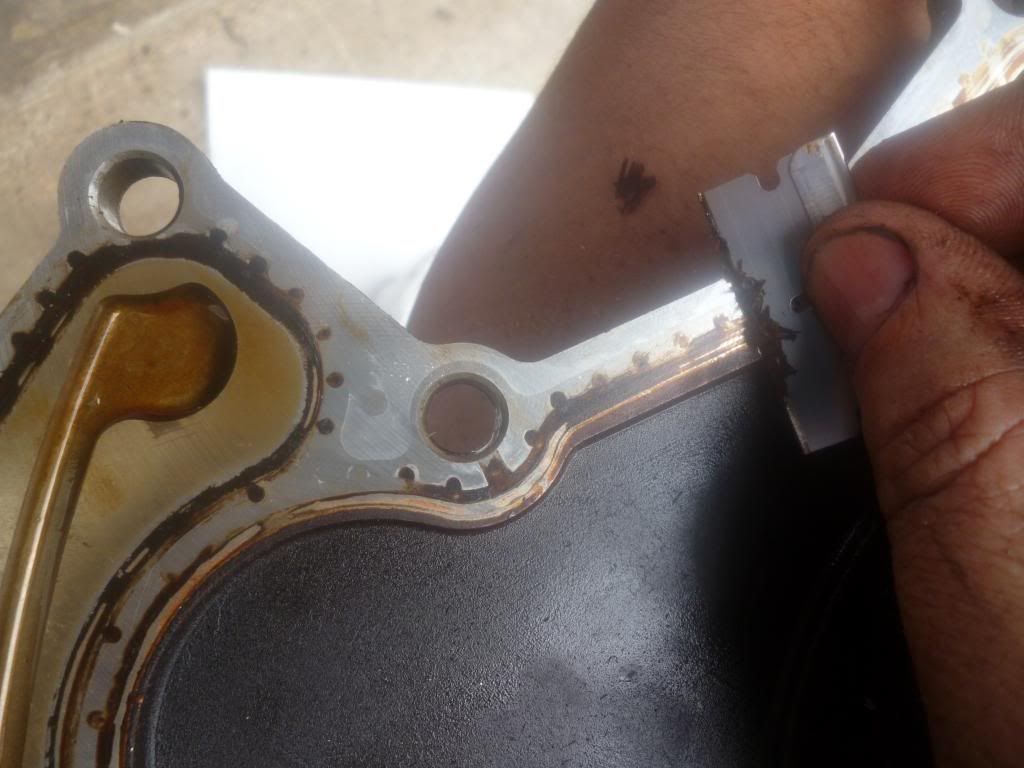
        Me cleaning the cover.

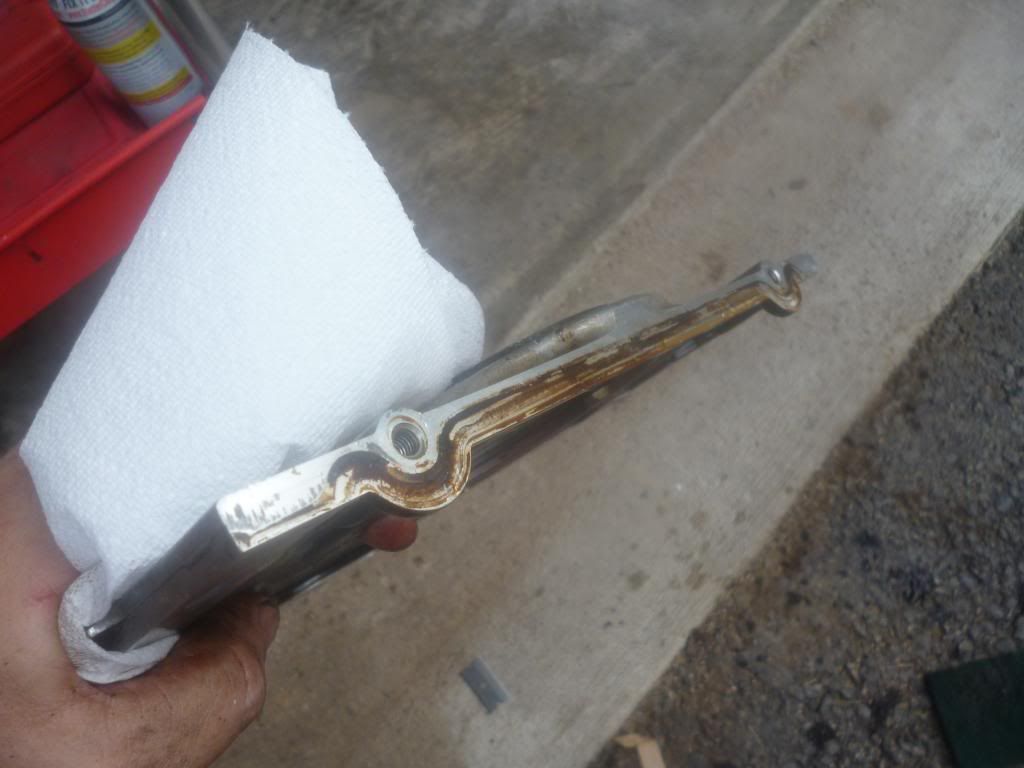
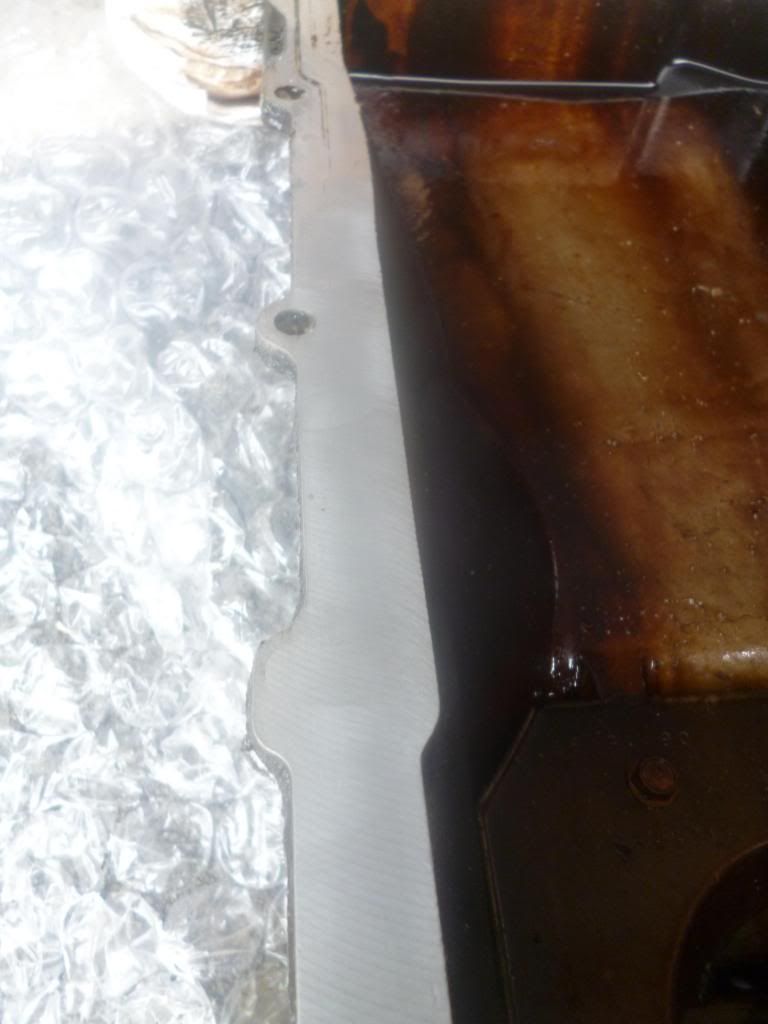
        I scraped with a razor for a couple of minutes but then switched to a scotch brite pad with some simple green… It took off all remnants of the gasket materiel and was much less invasive… Also, don’t forget the bottom…

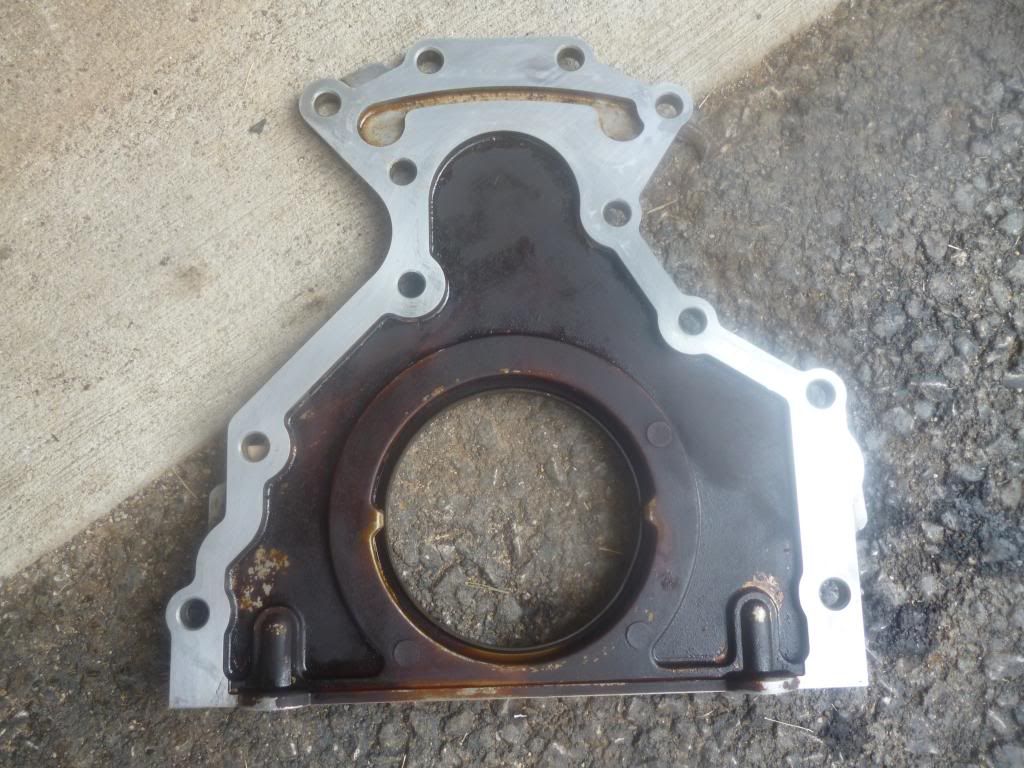
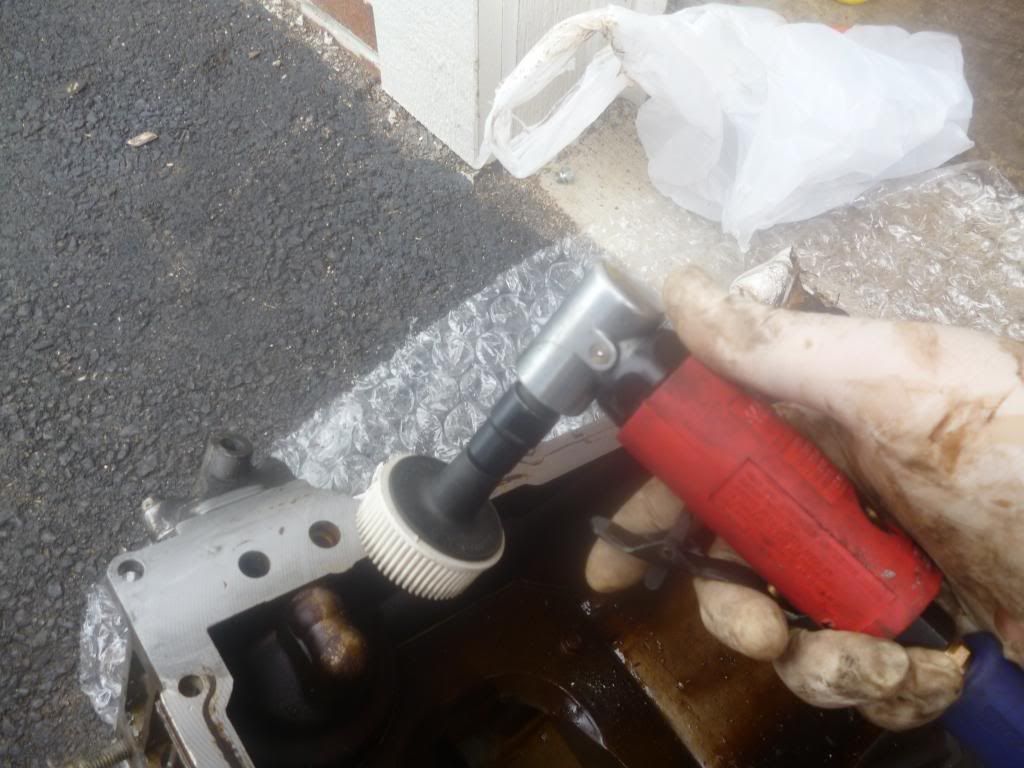
        This is important to get the clean and smooth here… Don’t get lazy when you get this far into it… these need to be CLEAN… Also this is aluminum, so don’t use steel wool and if you want to use a roloc pad, don’t use anything other than a rubber finger roloc pad.

        Here it is… all clean and nice… A storm was brewing and I had 3.5 hours into this in the 95 degree heat, so I didn’t mind calling it a day here… Tomorrow is the remainder of the cleanup on the engine and the seal work, then the fun part… Putting the tranny back on the engine.. Stay tuned!

        Cheers!

        Karl

        #538075
        A toyotakarlIts me
        Moderator

          Crazy day… Had all the intentions of getting the job done… Didn’t happen… I was called to go into work, and then had to pick up friend from hospital, then rain…… Didn’t get much done tonight. Managed to get in some cleaning though and prepping the oil pan for re-installation… I have a nice HF parts washer, but no washer fluid, so Purple power had to suffice.

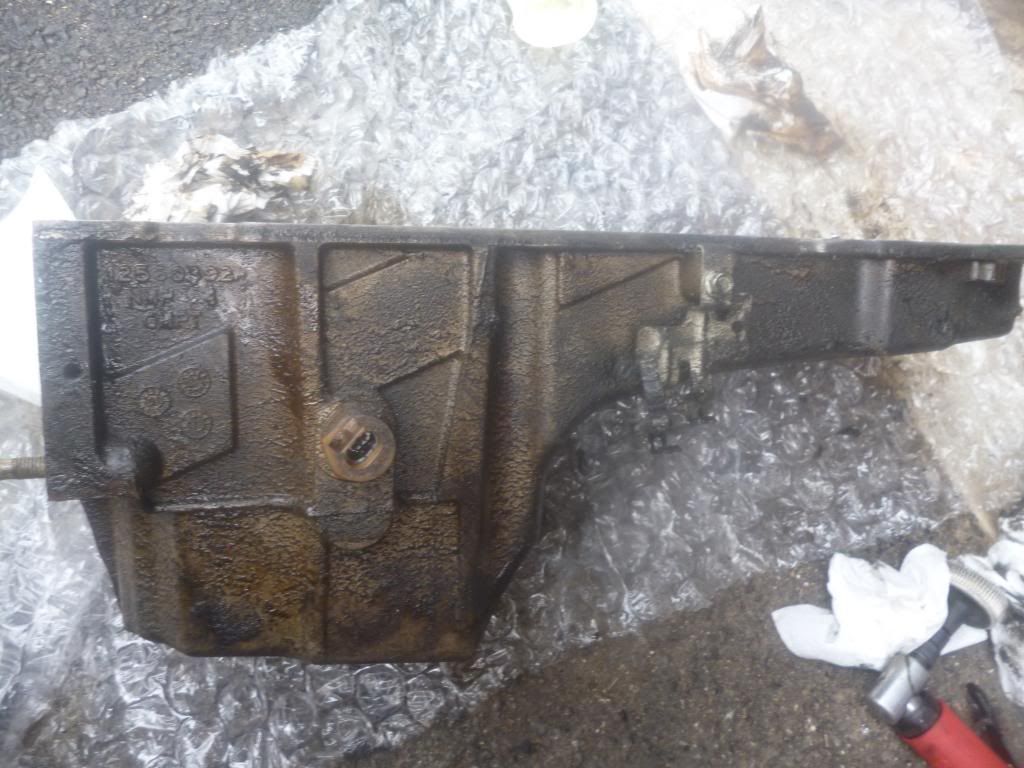
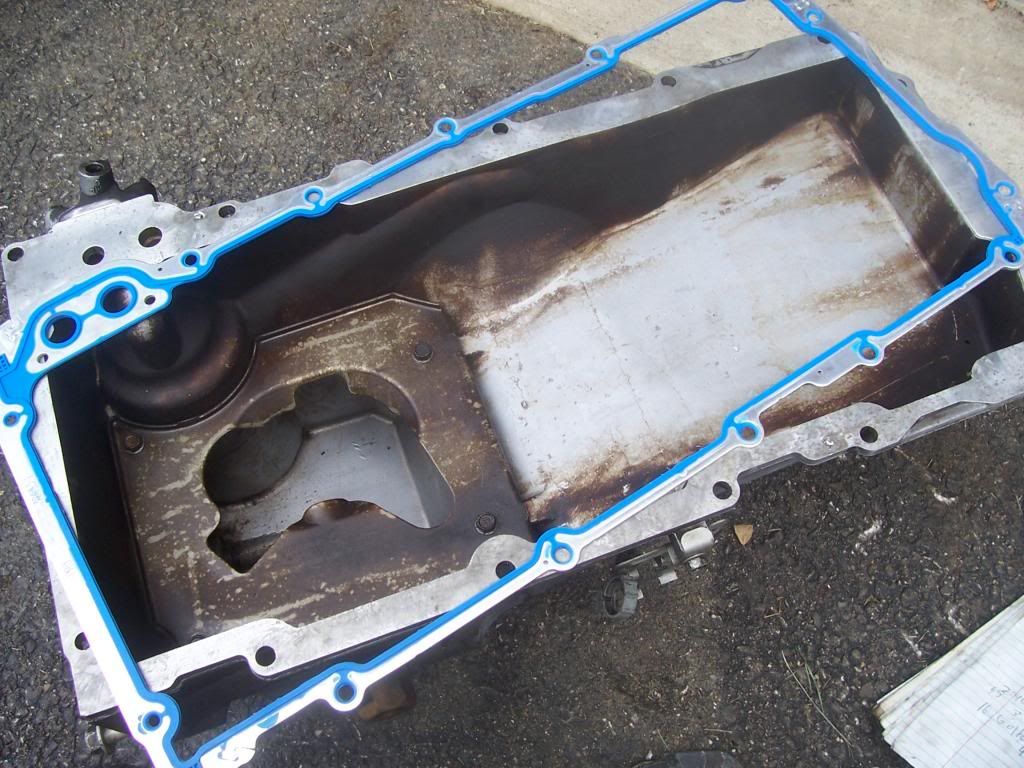
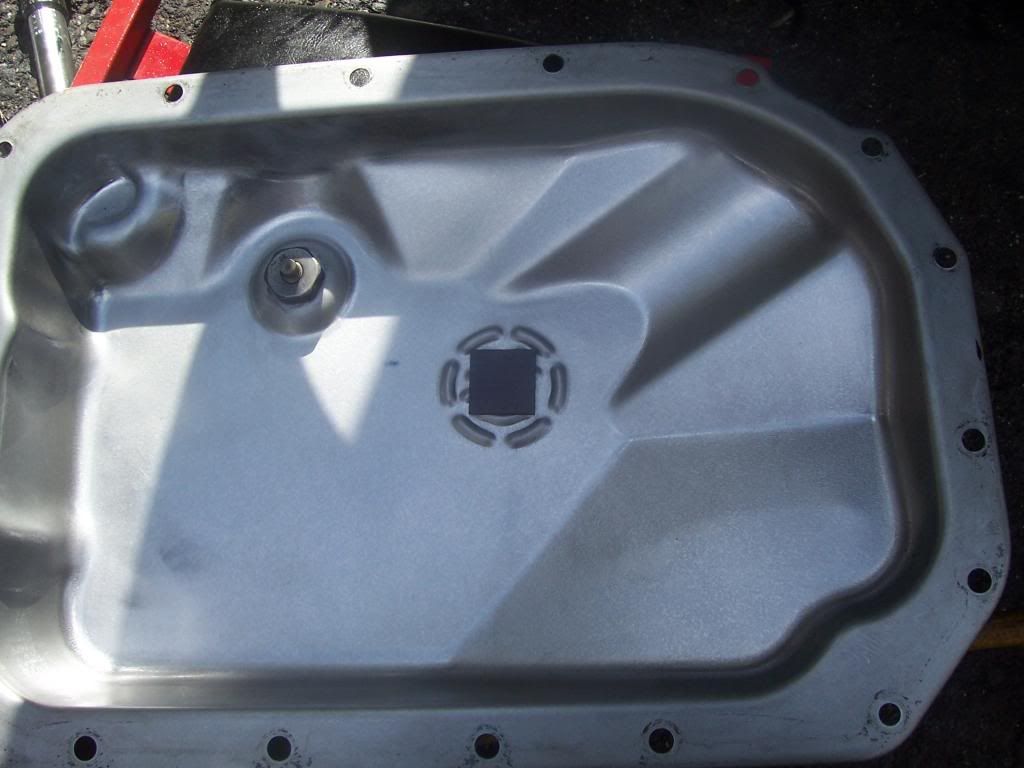
          Oil pan gasket came of nicely with the plastic Roloc disc… These things make quick work of the project.

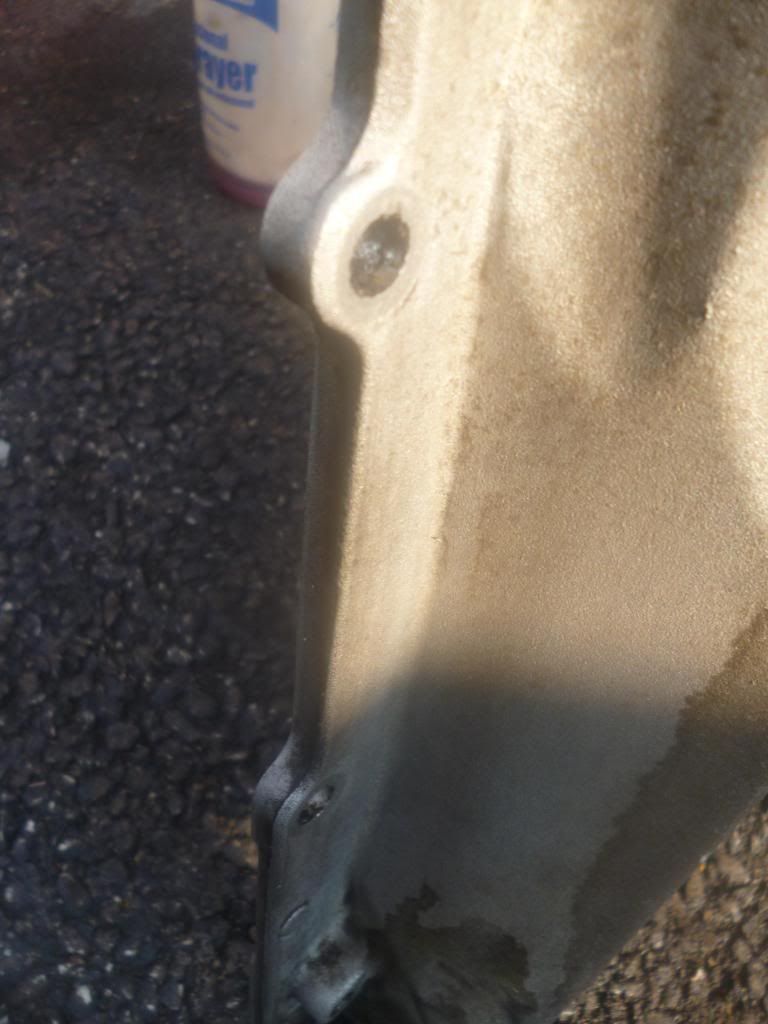
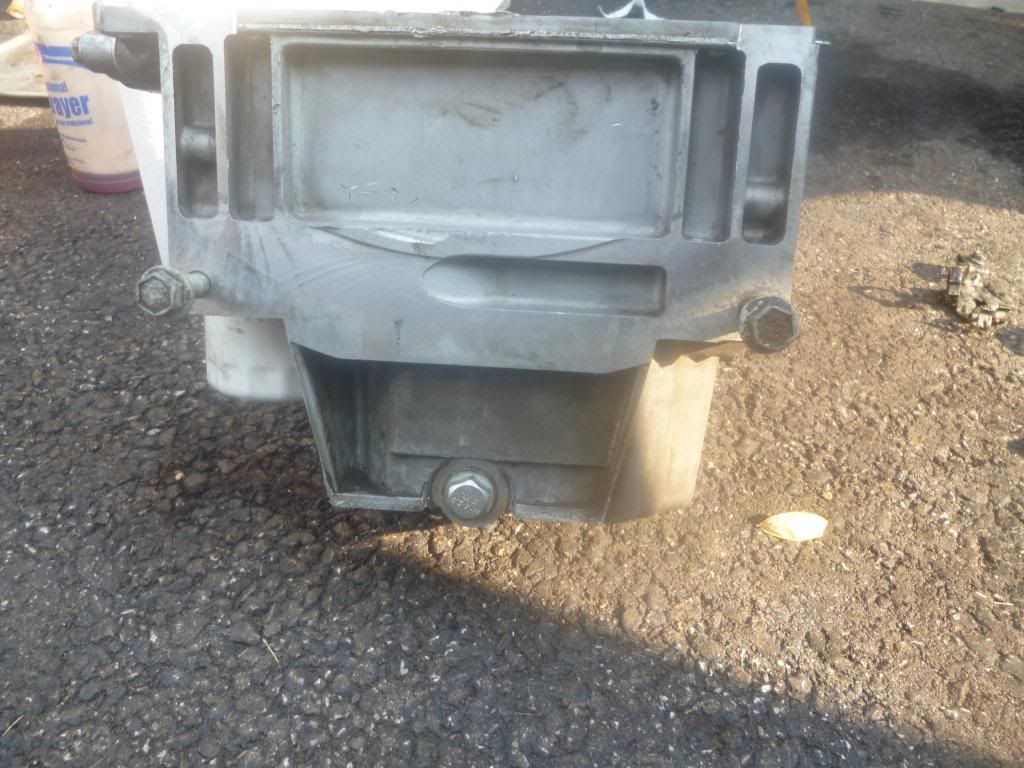
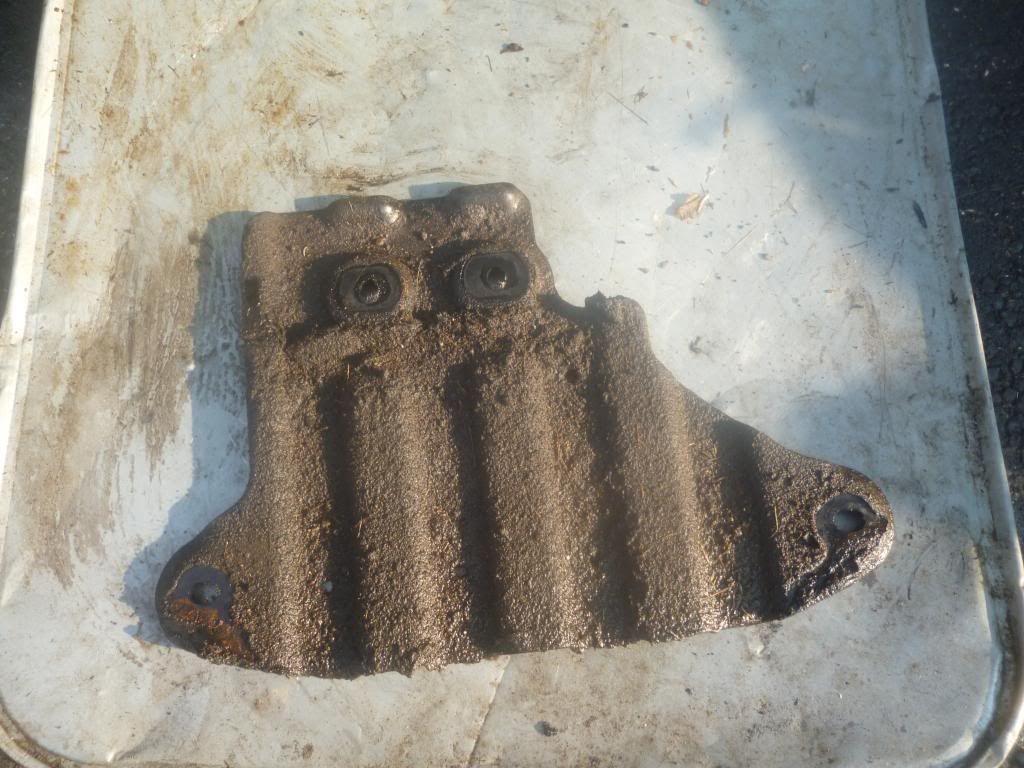
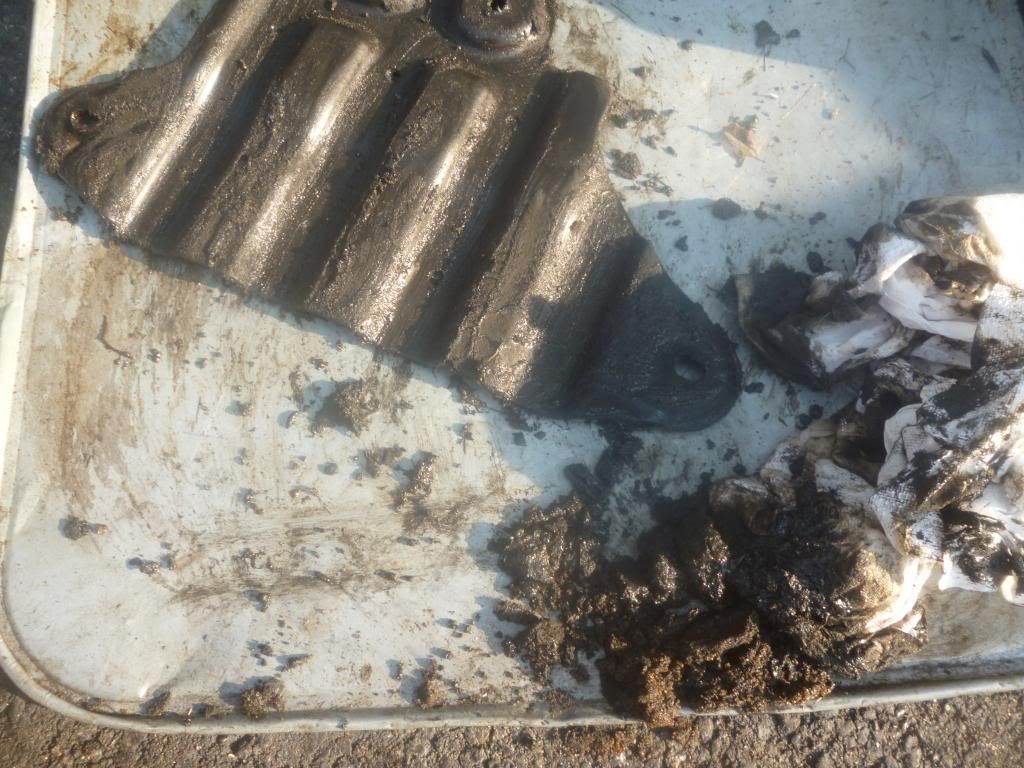
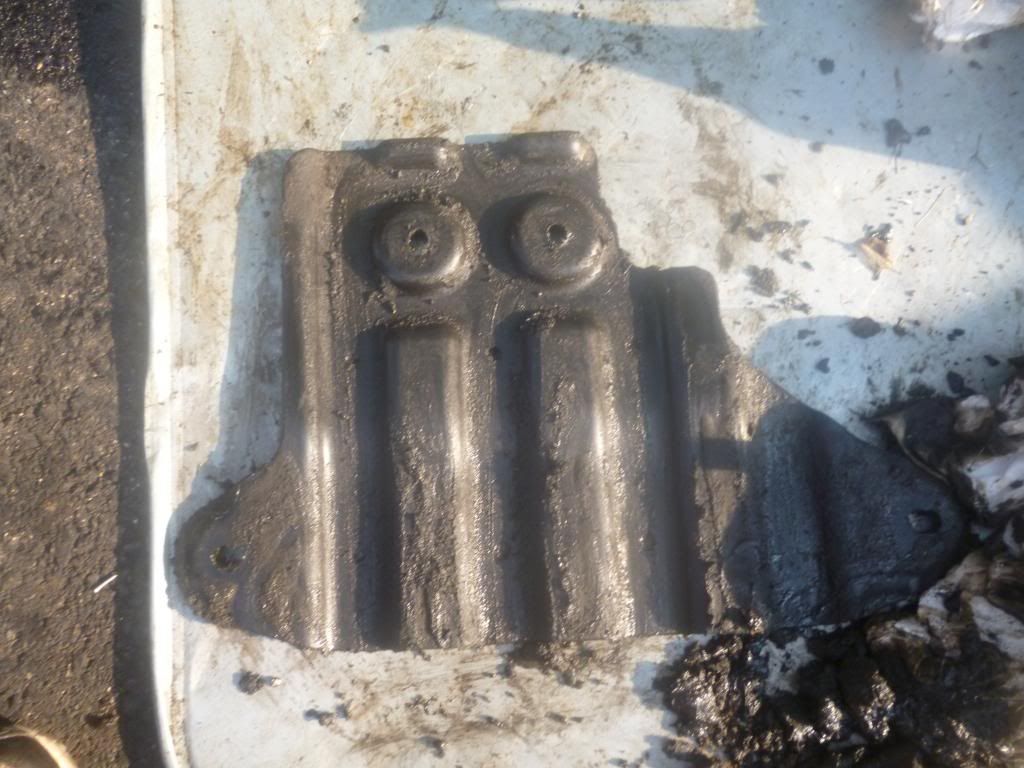
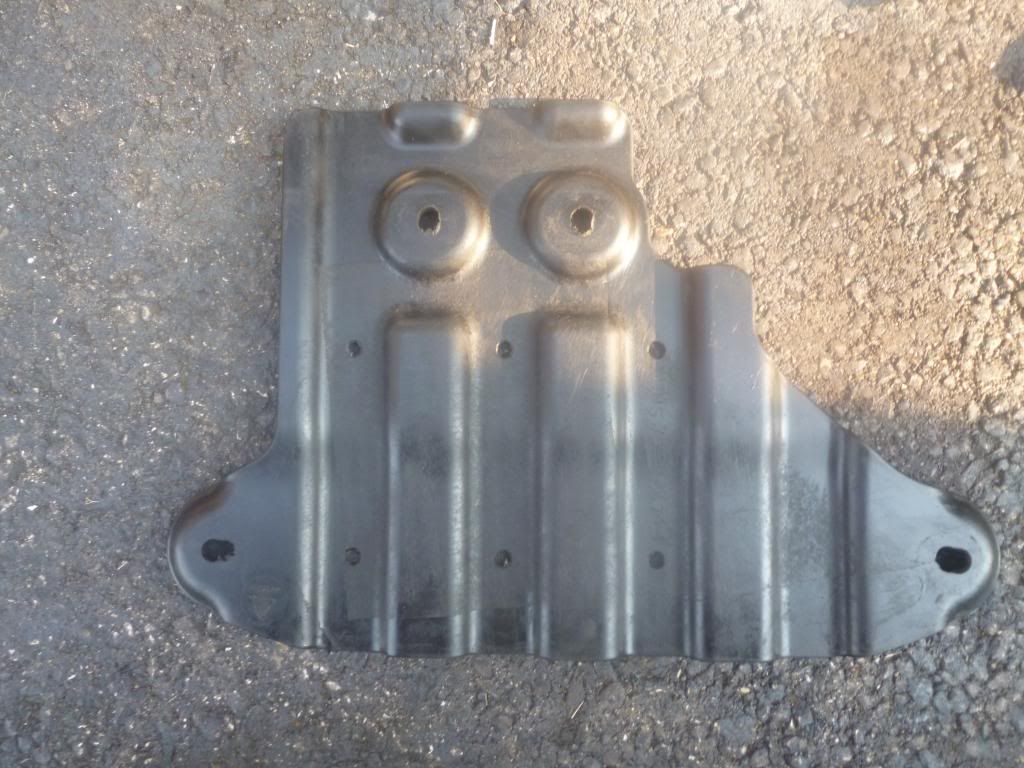
          Cleaned off the bottom skids… As you can see one was pretty dirty… The smaller one took me 20 minutes to get all the mud/oil mixture off.

          The flywheel cover

          Finished up by cleaning the support bracket…

          Not much but some… Gonna have to wait until Sunday due to the ETCG get together tomorrow!

          Cheers!

          Karl

          #538247
          BillBill
          Participant

            That was EXCELLENT ,ToyotaKarl

            #538330
            Krys KozlowskiKrys Kozlowski
            Participant

              Bloody brilliant I must say !!!

              #538387
              richiepearcerichiepearce
              Participant

                very informative, great pictures and descriptions.

                #538845
                A toyotakarlIts me
                Moderator

                  Sorry for no recent update… As some may know from the ETCG get together, I threw my back out that day (on that Saturday shortly before I arrived to the ETCG get-together)… Still hurts a bit and I have been out of town and will be until Friday… Hopefully will have something for you Saturday.

                  -Karl

                  #540143
                  A toyotakarlIts me
                  Moderator

                    Today had a break in the weather (Saturday it rained all day here)…
                    Started working around 10am and it was nice to have a cool day here for once… Even had a sweatshirt on all day!

                    I started by cleaning up the contact surface on the engine for the oil pan…

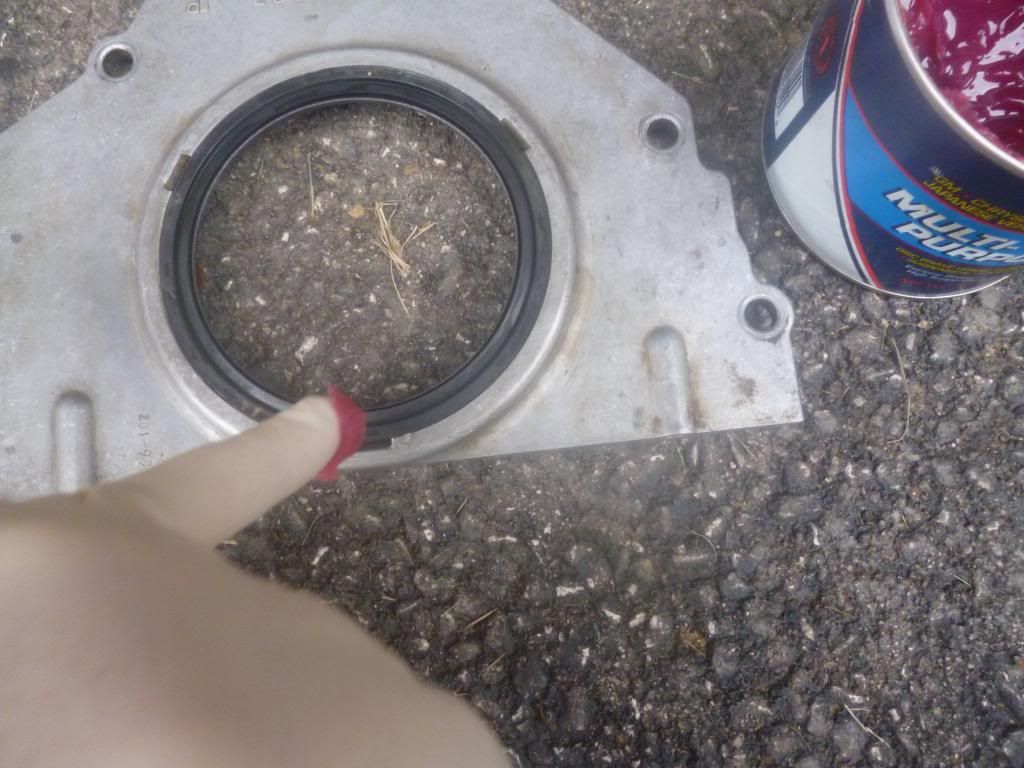
                    Then I replaced the seal… Popped to old one out and had the new one replaced in no time.


                    Greased the seal

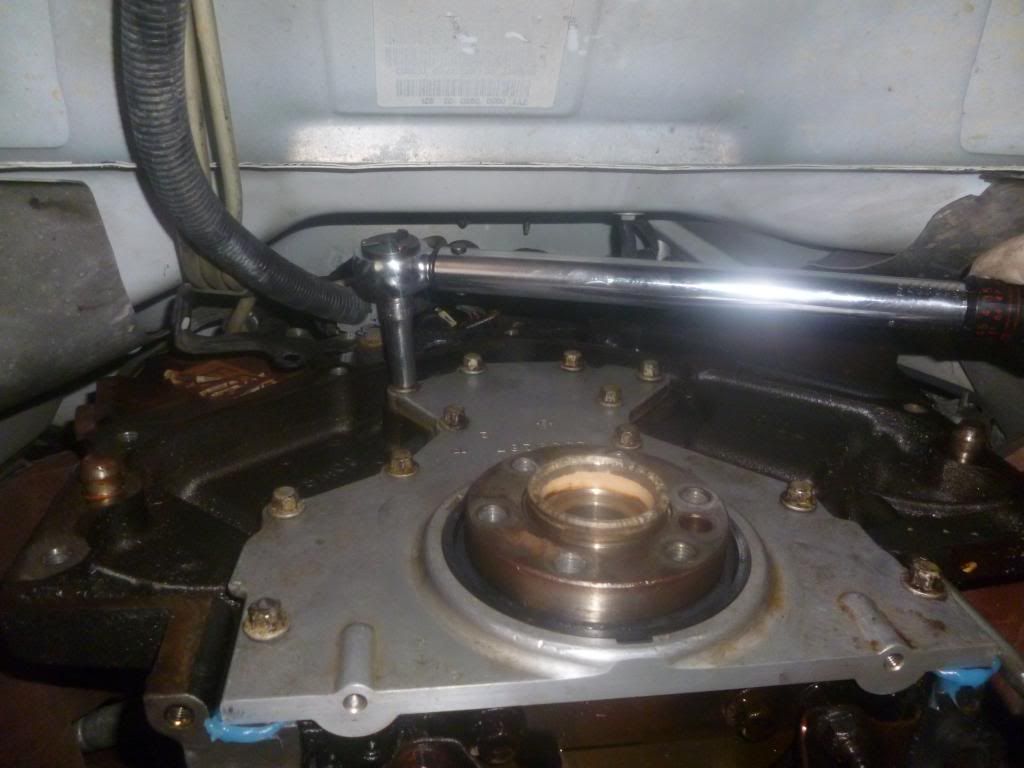
                    Next I installed the rear main seal housing…. These bolts were all 10mm and were torqued to 18 Ft-lbs.

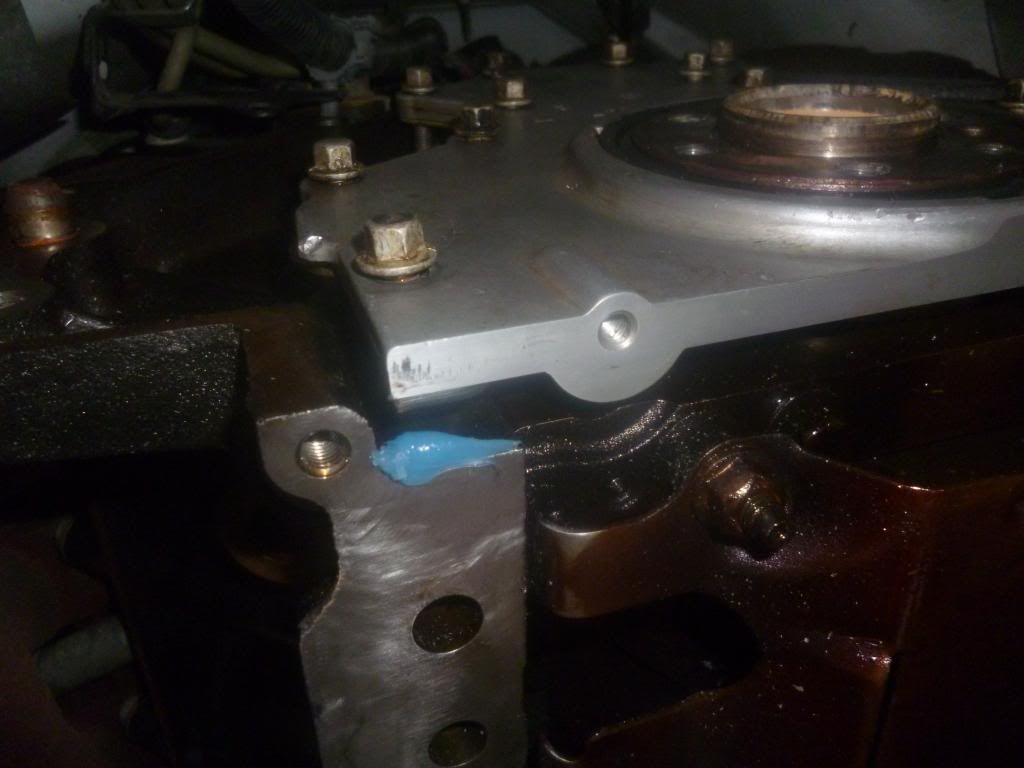
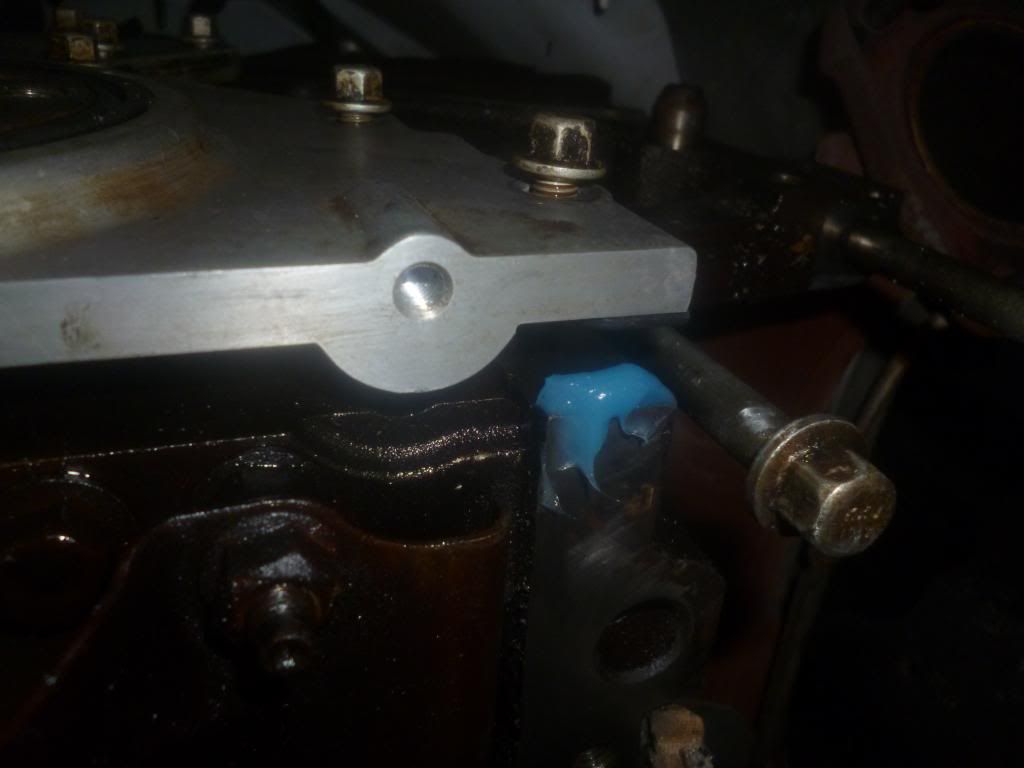
                    Added silicon seal to those pesky corners

                    Torque applied…

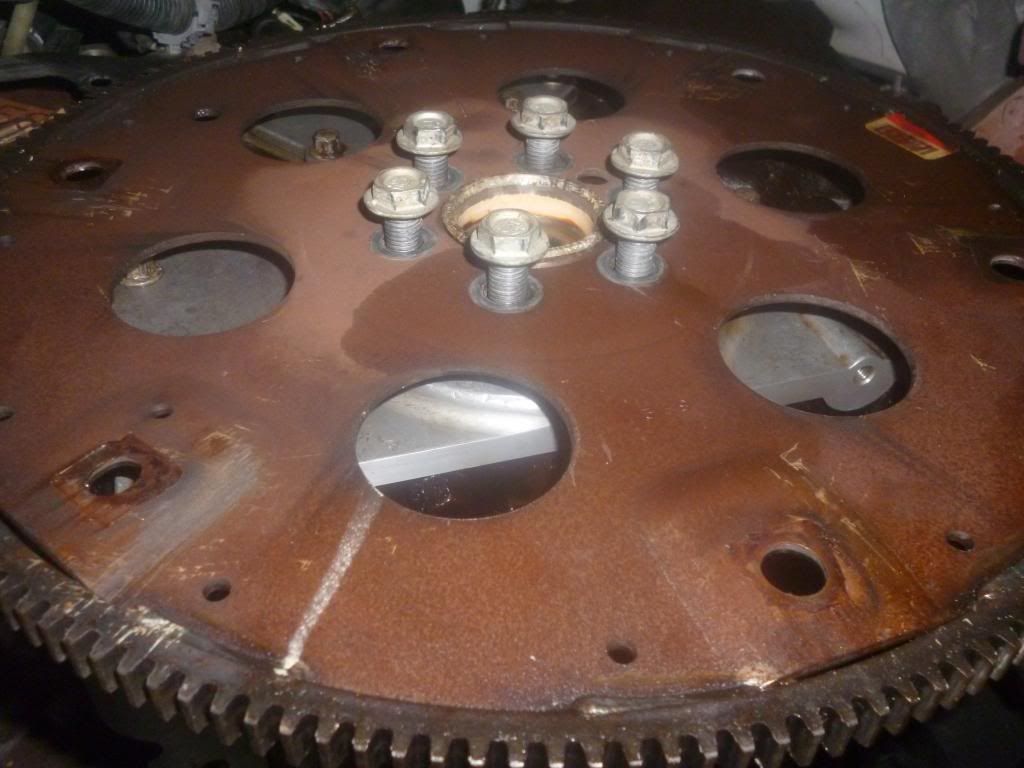
                    Then I installed the flex plate… It was torque in three stages… 15, 37 then finally 74 Ft-lbs..

                    Now the tranny was time to be mounted, but not before changing the seal… The seal inside was in good condition, but since I am here…..

                    New seal installed…

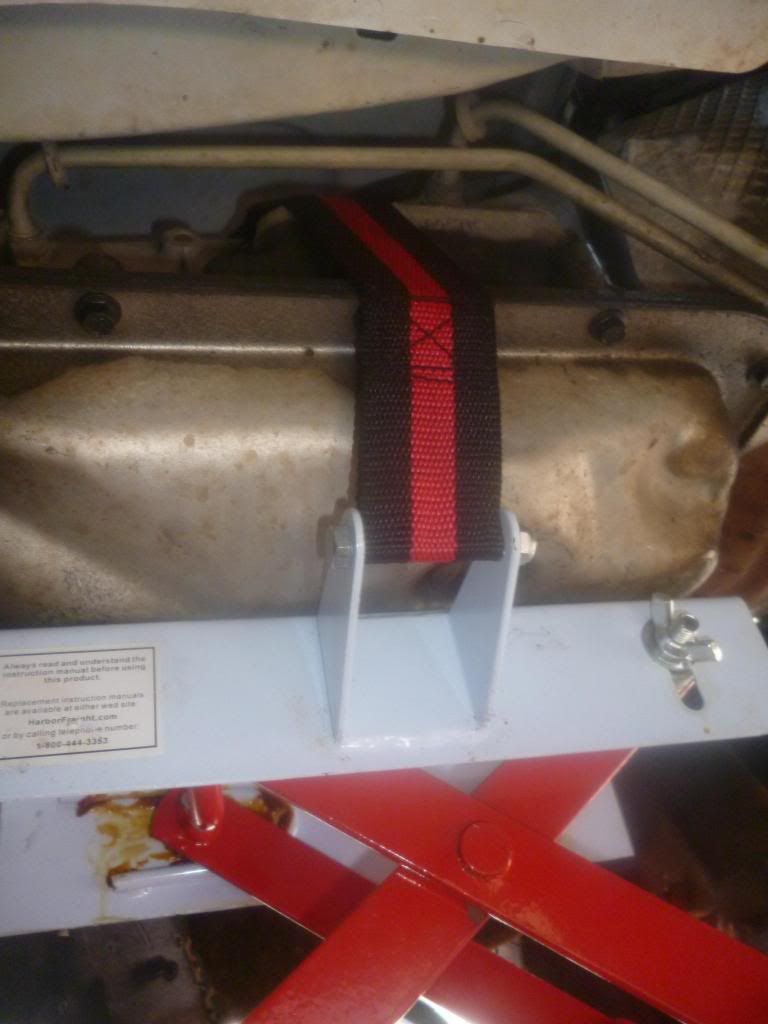
                    Next was getting the Jack aligned… I will say this, the HF Jack held up… Barely… This was a big transmission. I have physically just “bomb mounted” transmissions before when I was younger..no jack just brute strength.. There was no way this one could be done that way…. When I was jacking the transmission up, it slid to one side and then off the jack….. I am thinking about getting some skateboard tape or something to put on the mating surface of the Jack… With Trans fluid here and there, that slick painted surface gets real slippery.
                    I had to get my neighbor and we pulled the transmission out from under the truck where we could both lift it up and put it back on the jack… I got much better placement this time… but there was one little error… I will show you later….. Anyway… Jacked the truck up as high as my jack could go and we got the jack and transmission back under the truck….

                    It mounted up in relatively no time… Had no issues lining this one up…. Bolts all started easy… All torqued to 37 Ft-Lbs.

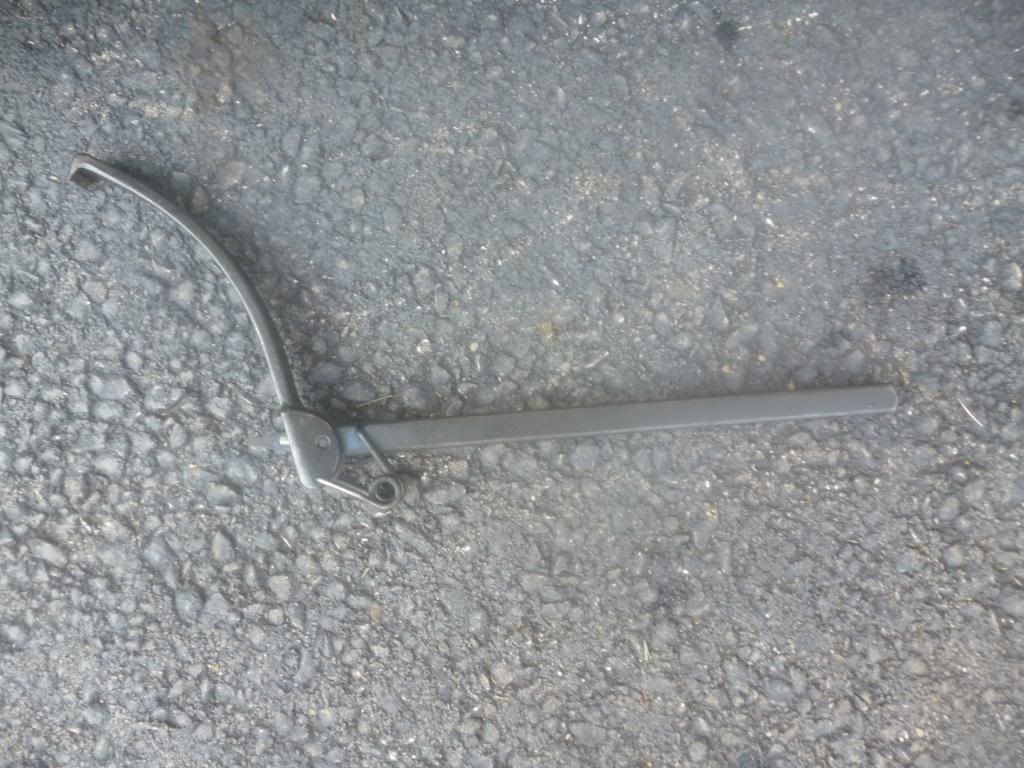
                    Mounted the Dipstick.

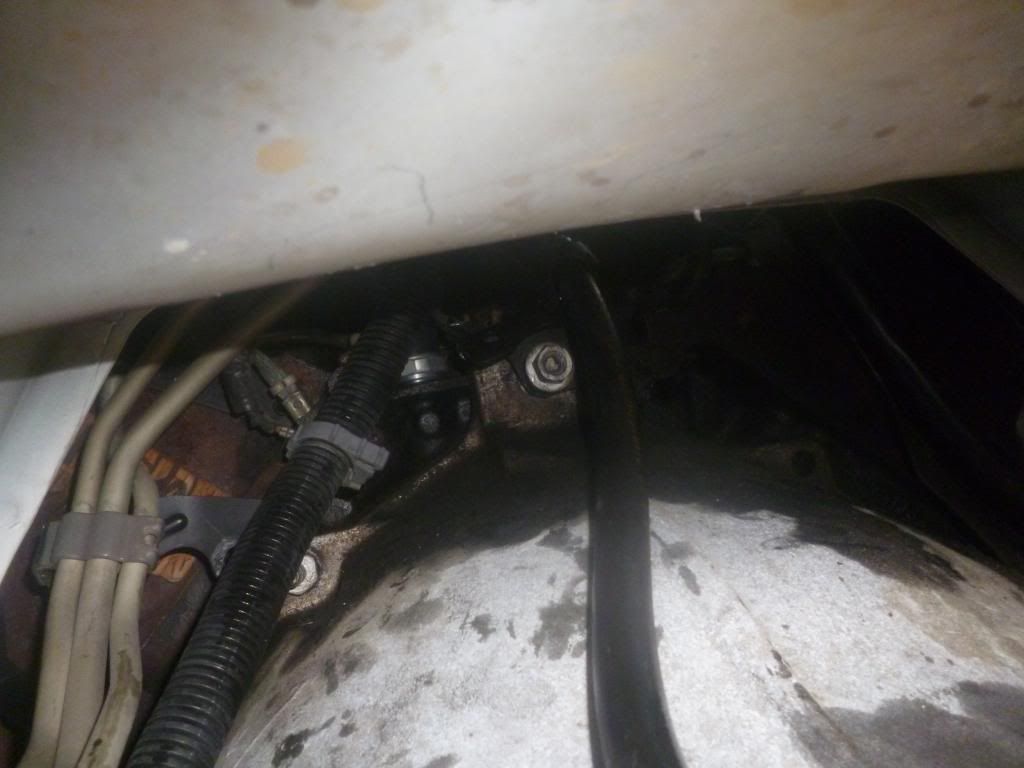
                    vent hose bracket attached

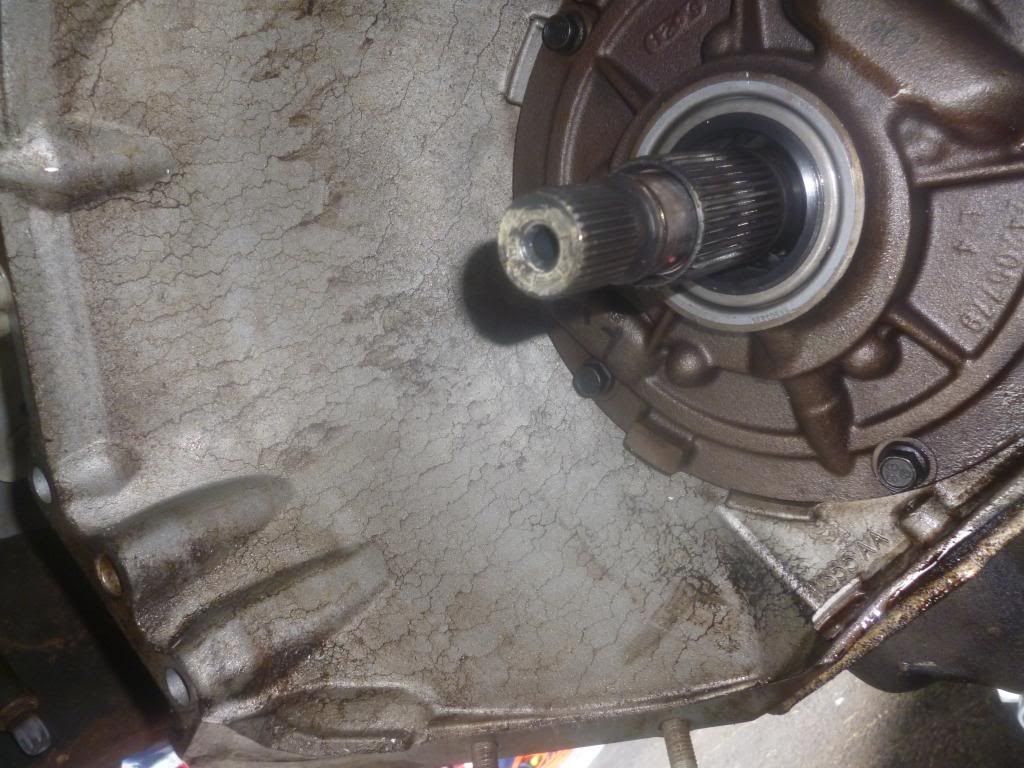
                    Now if figured I would install the rear oil seal while I still had some good access to it……
                    New Seal

                    The old seal

                    Then I attached the Transmission support…..

                    And dropped the transmission down and bolted up the 15mm nut to hold the rear of the transmission in place.

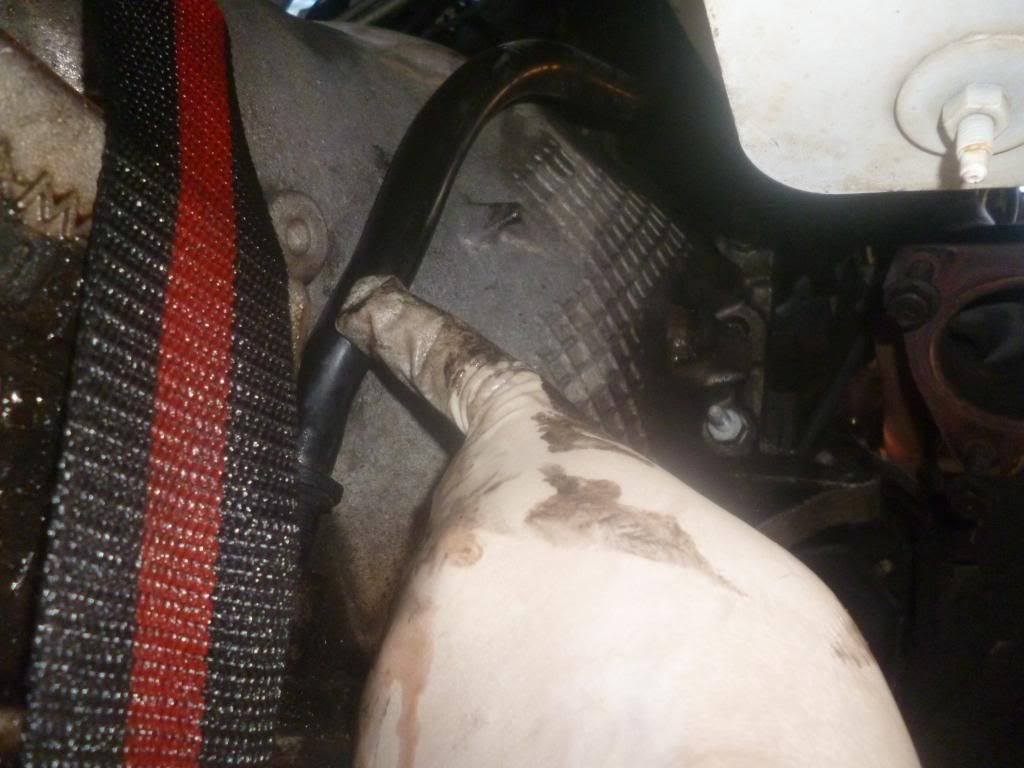
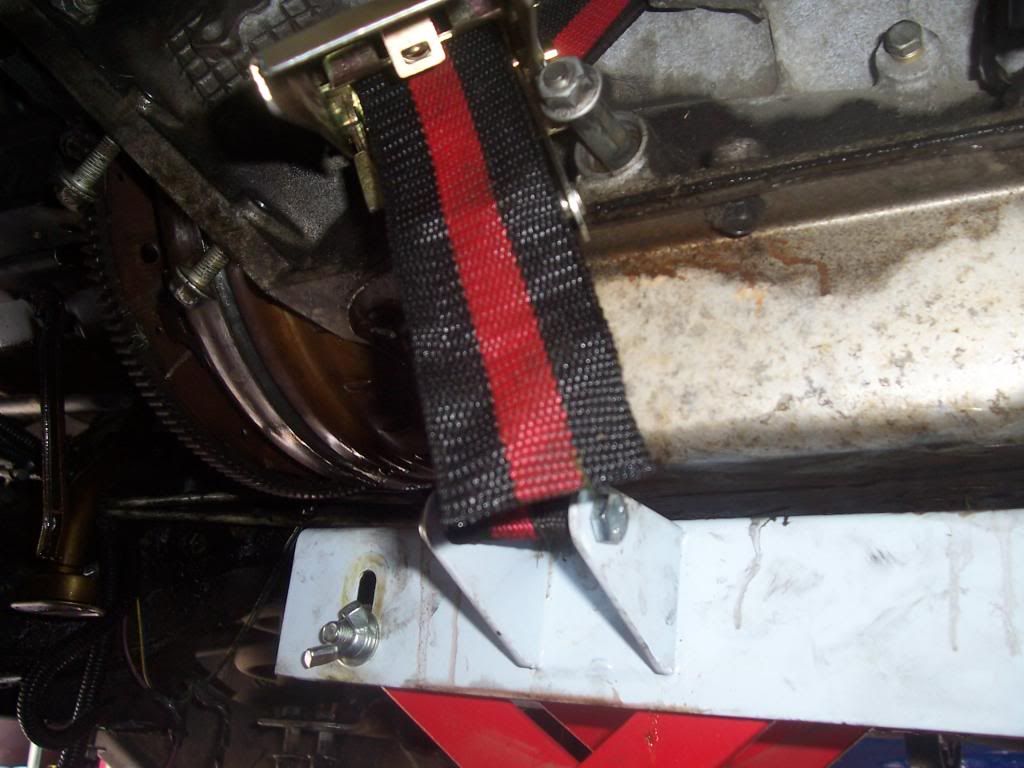
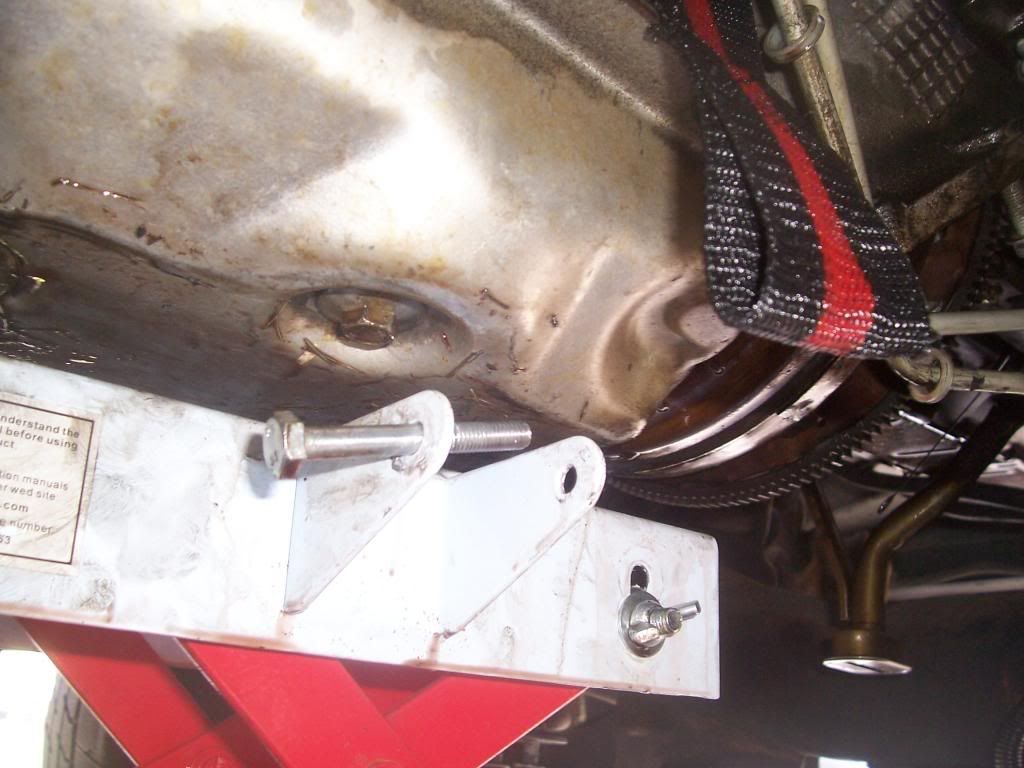
                    Now I could drop the transmission jack… Remember where I told you I messed up… Well there was no access to release the ratcheting mechanism… So I had to remove the bolt that holds the belt….

                    Now was the time to re-attach the transmission fluid lines… This turned out to be a real time waster…. No wonder the quick releases are there… It was hard get the lines and the bolts square in the threads… I got it, but was really thinking that quick release tool would have saved me some serious time here…. Remember that if you ever do this…. That $20 for that specialty tool might be well worth it….

                    fluid lines re-attached.

                    Next was the driveshaft… no issues here… Lined right up…

                    Intermediate support bolted back up…

                    Back in place

                    Next was putting all the linkage and sensor connectors back on….. Note, a T40 torx is required to remove and replace the bracket for the linkage…

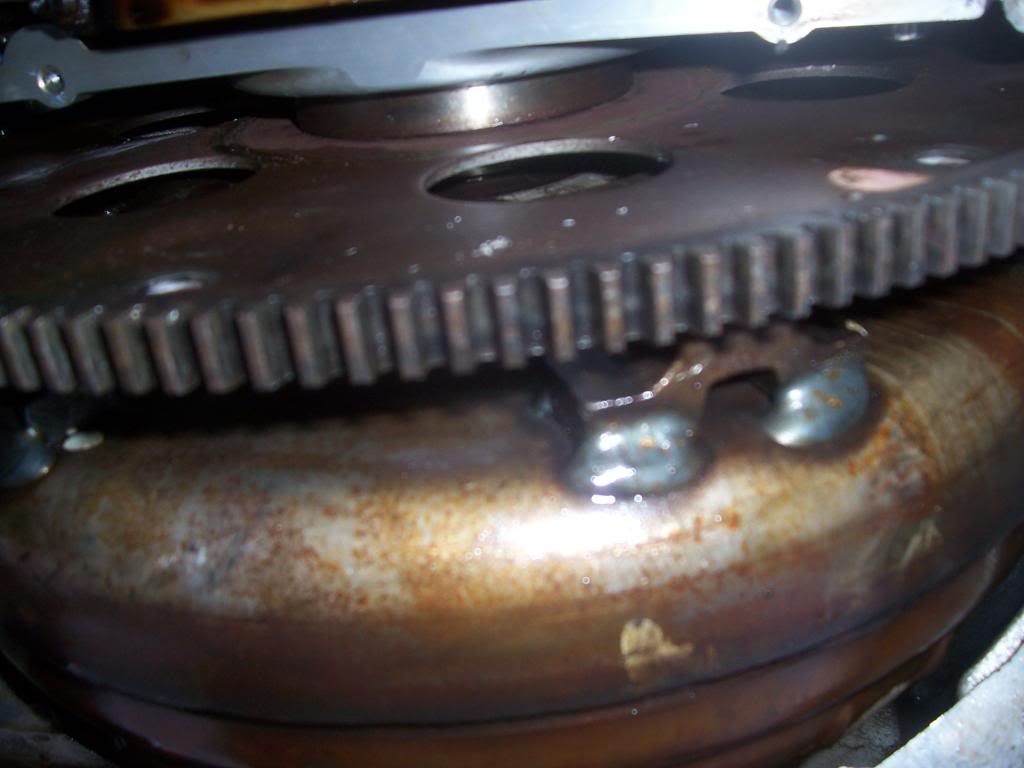
                    Now was the time to attach the torque converter to the flex plate…… I almost crapped when I thought I put the flex plate on backwards, It appears there is a difference, but the photos I took before removing it shows it in the same configuration….. Which got me thinking…. I think it is in backwards….. I think someone was in there before me because the recesses for the torque converter mounts are on the engine side…. Anyway, it is in the way I got it…. I should have watched that better… Anyway, I torqued all the 8mm hex allen bolts to 44 Ft-lbs….

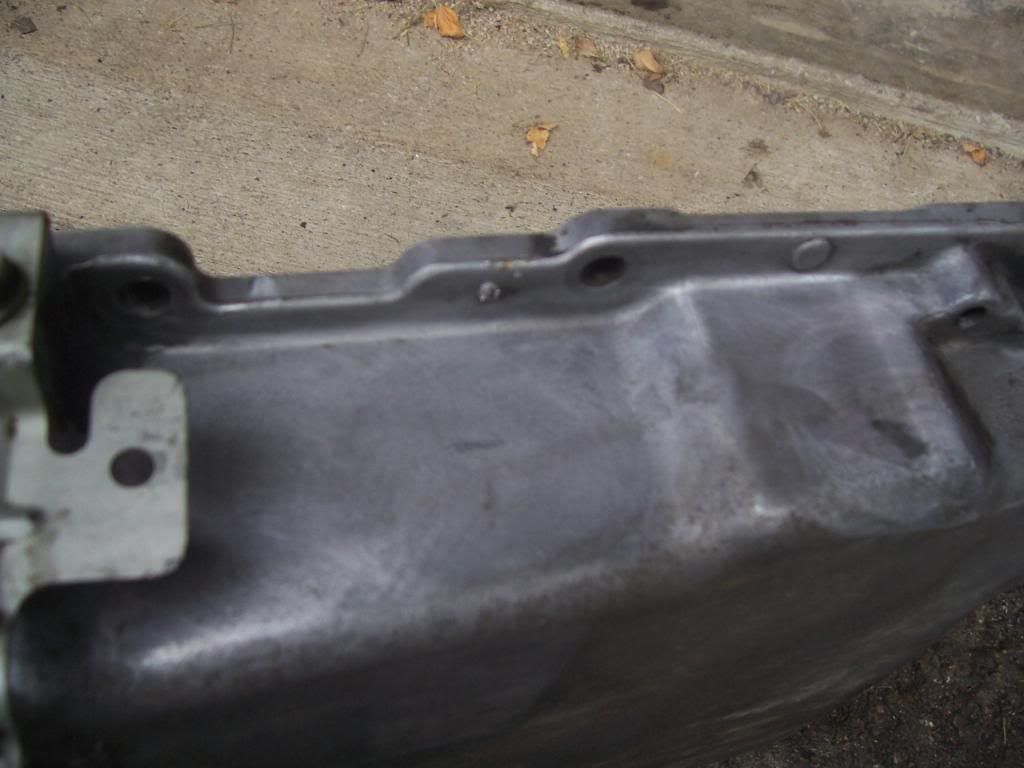
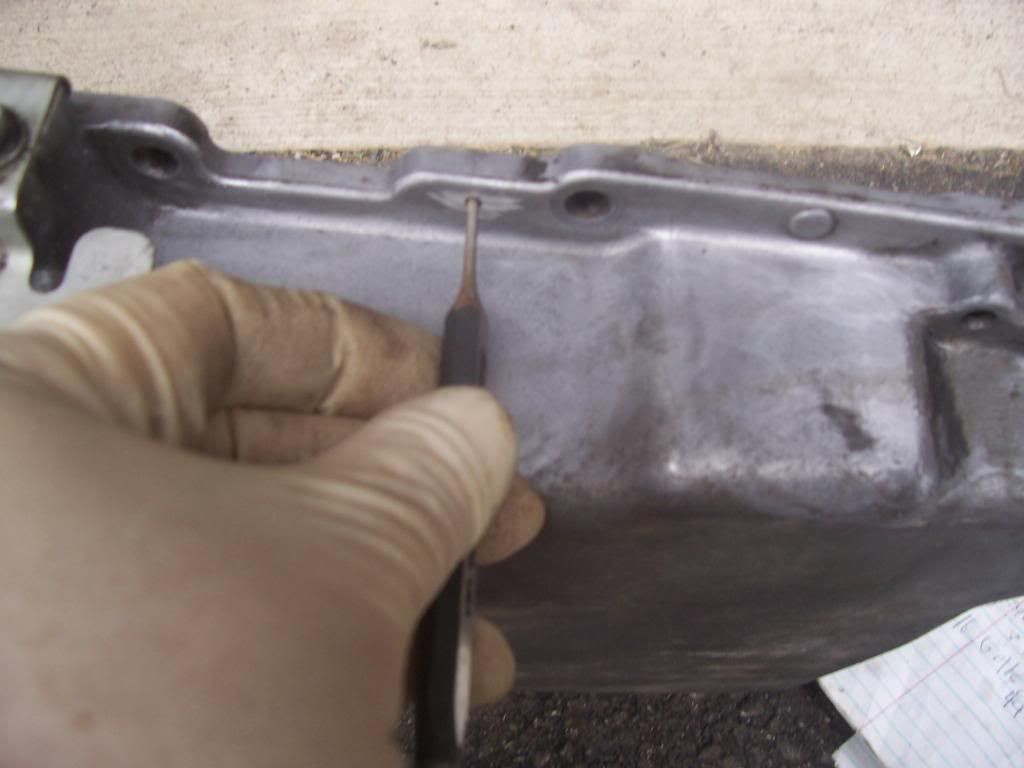
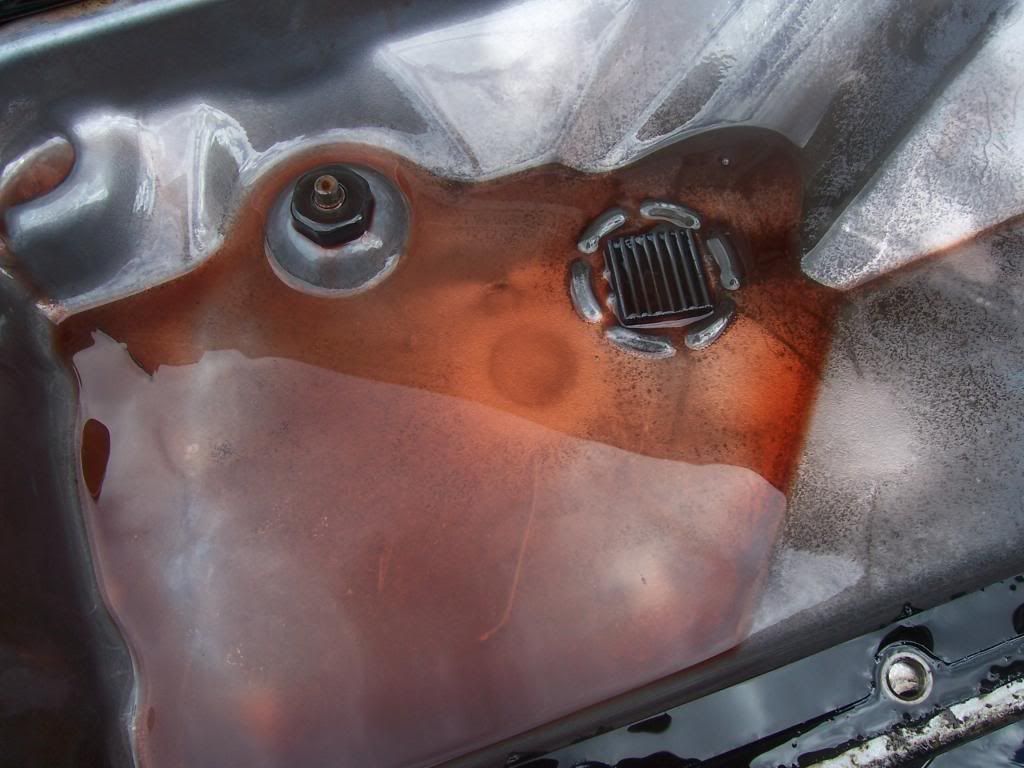
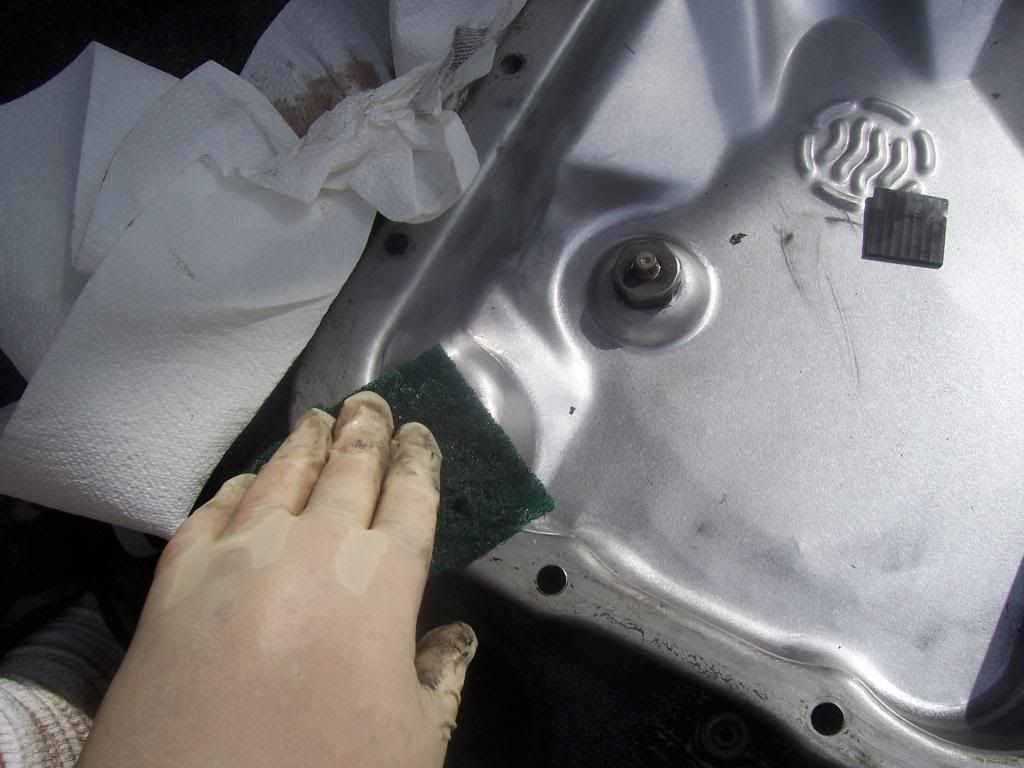
                    Now was the time to attach the oil pan… I had to prep the pan by getting it clean and removing the rivets that held the old gasket on… There were two rivets… I had to use a grinder to cut the bottom of the rivet off and then use a punch to remove the remaining portion…

                    Re-installed the oil pan…

                    1 – bolt all regular sized10mm bolts on the pan to 18 Ft-lbs
                    2- bolt the 2 long rear 10mm bolts to 108 In-lbs…

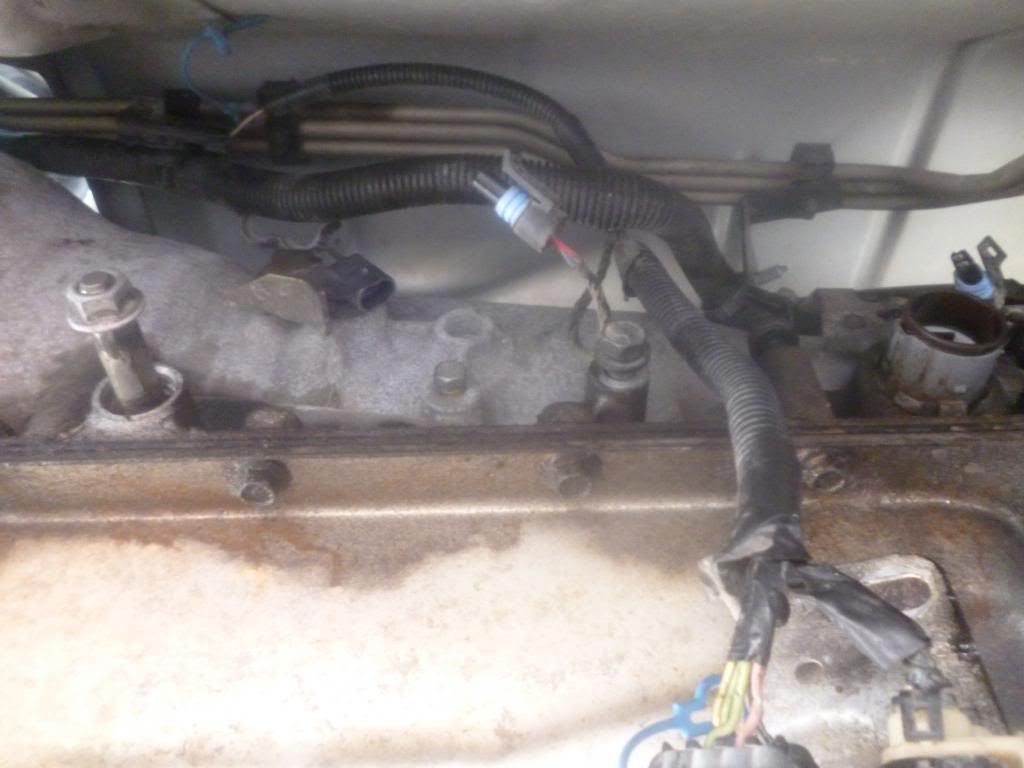
                    Had to get all the wires and lines all back in proper place.

                    Next was the starter… Piece of cake…. 2 X 13mm bolts

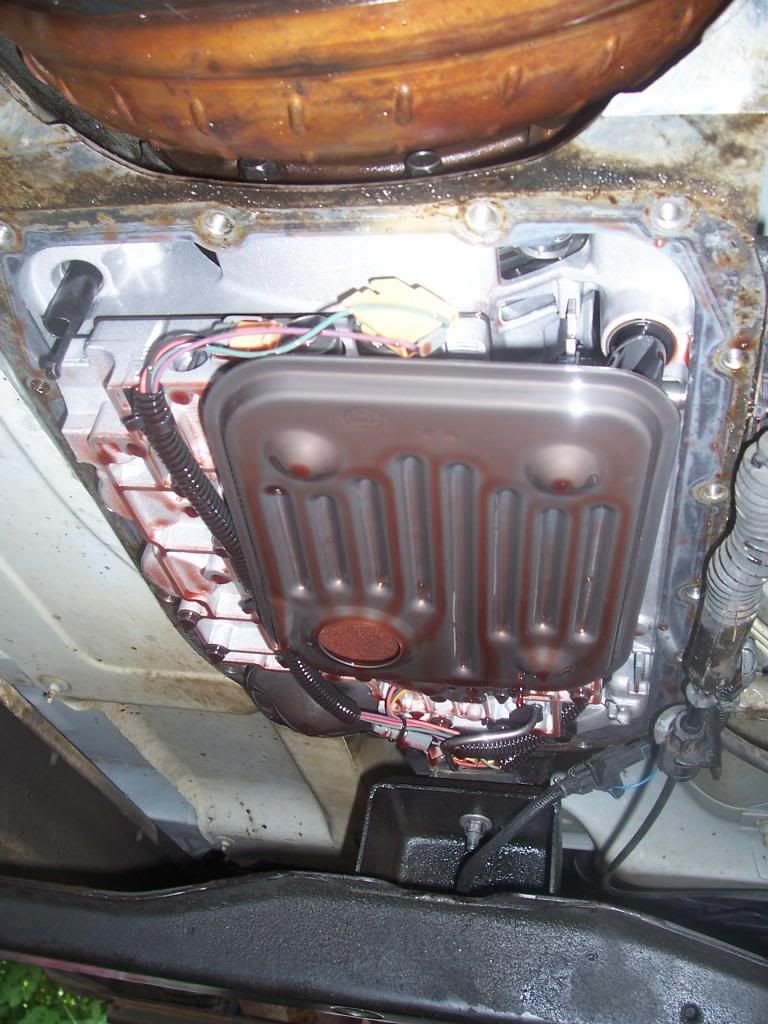
                    The next step in re-assembly would be the exhaust pipes, but I liked the good access I had to the Trans fluid pan… So I was now going to change the filter

                    Dropped the pan…

                    Not bad…

                    Clean up

                    Re-assembled All bolts torqued to 97 In-Lbs.

                    Finally I got all the exhaust pipes back in position…. So tomorrow I will just need to attach the heat shield and tighten down all the exhaust connections…

                    So after 7 hours today (took my time ) I decided to call it a day and finish it tomorrow…. I could do this much faster without the photos (and interested neighbors who come over to talk to me)…..

                    Cheers,

                    Karl

                    #540336
                    A toyotakarlIts me
                    Moderator

                      OK… Last day of the project.

                      Got the exhaust all bolted up…

                      It helped considerably getting the heat shield bolts in place with the exhaust all bolted down… Still not much access…

                      Then I re-attached the O2 sensors…

                      Then I changed the oil filter for the new oil and attached the flywheel cover…

                      Then re-assembled bracket to hold on the lower splash shields..

                      Then more of the shields…

                      Then I added the oil and trans fluid… Fired her up and ran her for an hour with not a single drop spotted.

                      Mission accomplished

                      -Karl

                      #541430
                      Roy FrenchRoy French
                      Participant

                        Nice work Karl! I have a similar job on a van to do soon. The van is going to the auction in about 6 months, but needs the leaks repaired now. Do you think the rear main could be replaced without dropping the oil pan? Is the oil pan gasket badly damaged by removing the seal housing? I was thinking some ultra blue might save me that step. No fun pulling a van oil pan.

                        #541471
                        A toyotakarlIts me
                        Moderator

                          [quote=”roywrench22″ post=68987]Nice work Karl! I have a similar job on a van to do soon. The van is going to the auction in about 6 months, but needs the leaks repaired now. Do you think the rear main could be replaced without dropping the oil pan? Is the oil pan gasket badly damaged by removing the seal housing? I was thinking some ultra blue might save me that step. No fun pulling a van oil pan.[/quote]

                          It may depend on the engine (is it a 6L?), you may still have to pull the oil pan. I HAD to pull it on mine because I could not access the torque converter to flexplate bolts unless I removed the oil pan. It was physically impossible to remove those bolts with the oil pan in place.

                          The oil pan gasket on mine was metal and rubber, and came off with no issues… I suppose it could be re-used if it were still in good condition.

                          If you can get a peek at it you can see if it must be removed.

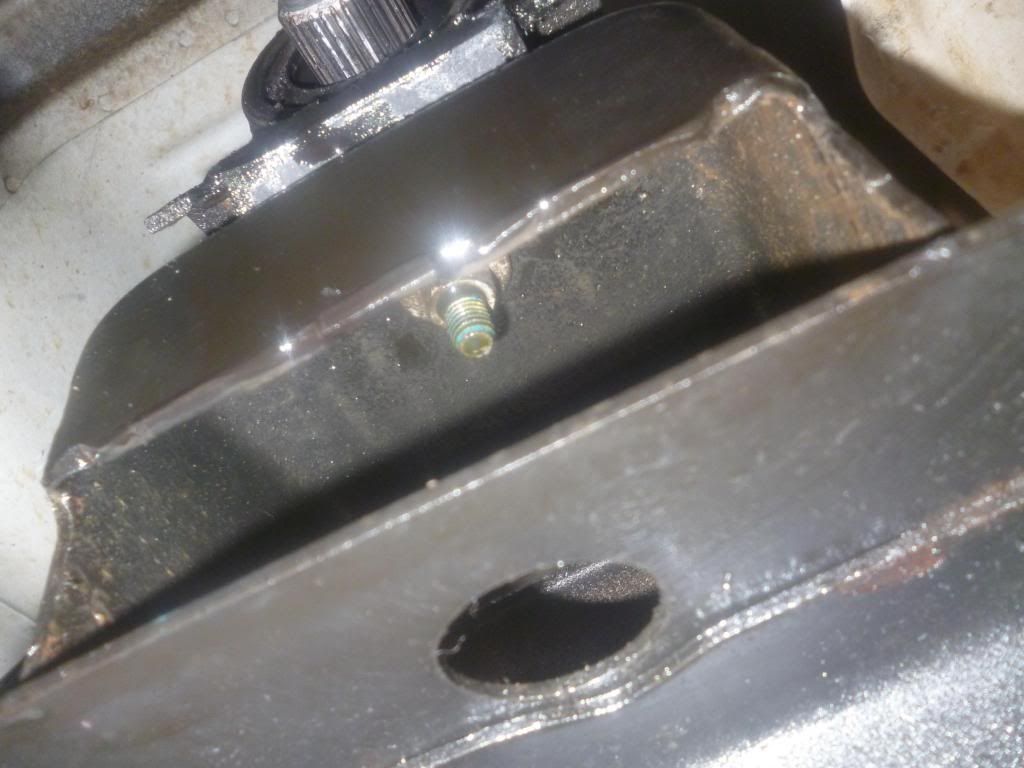
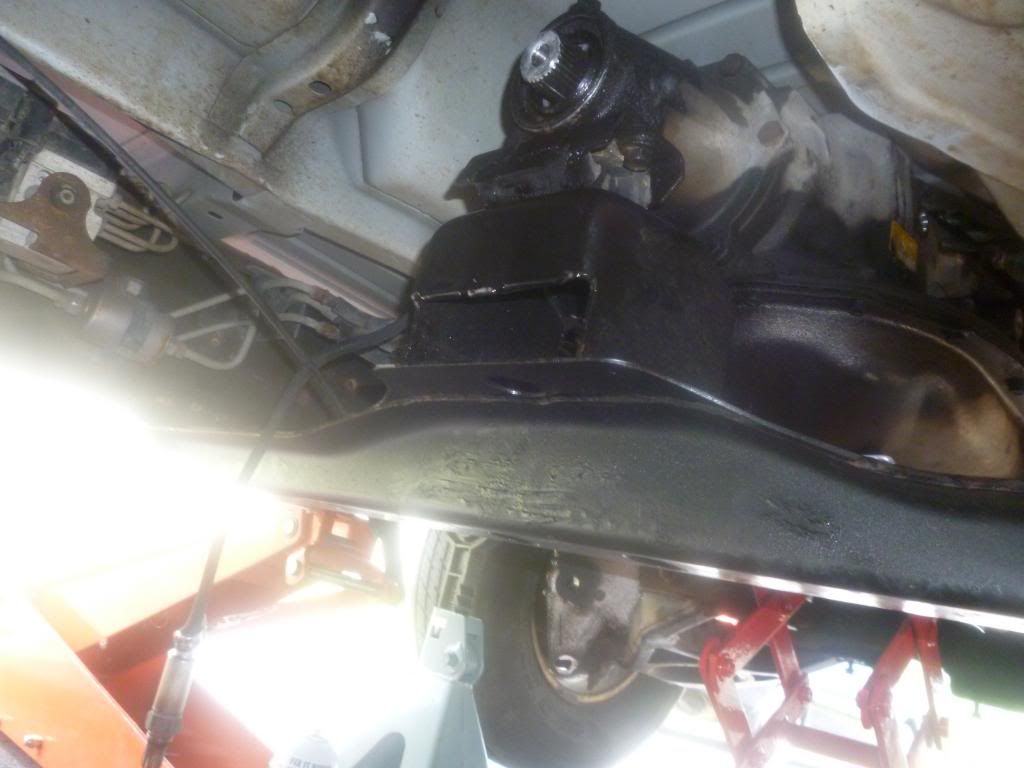
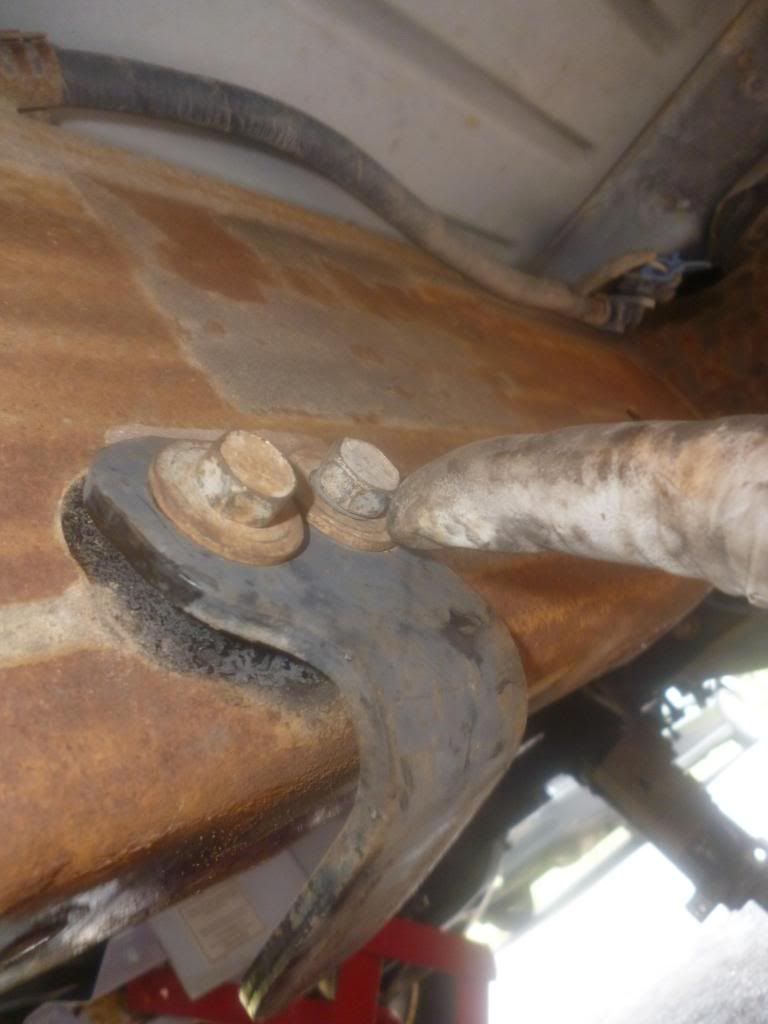
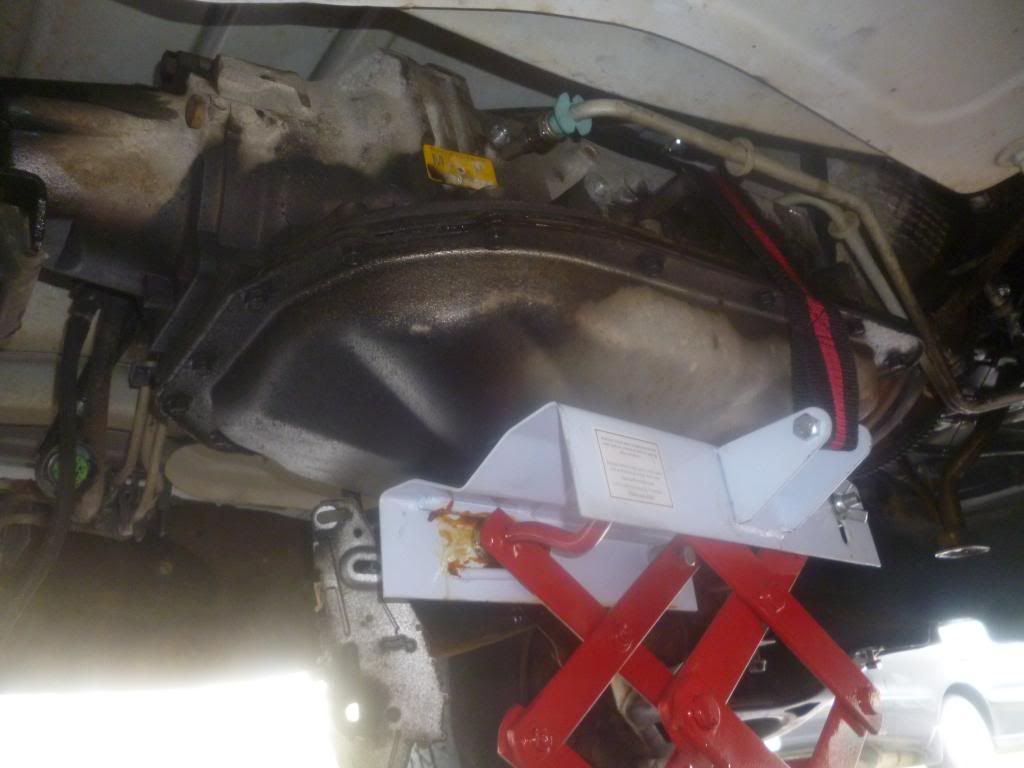
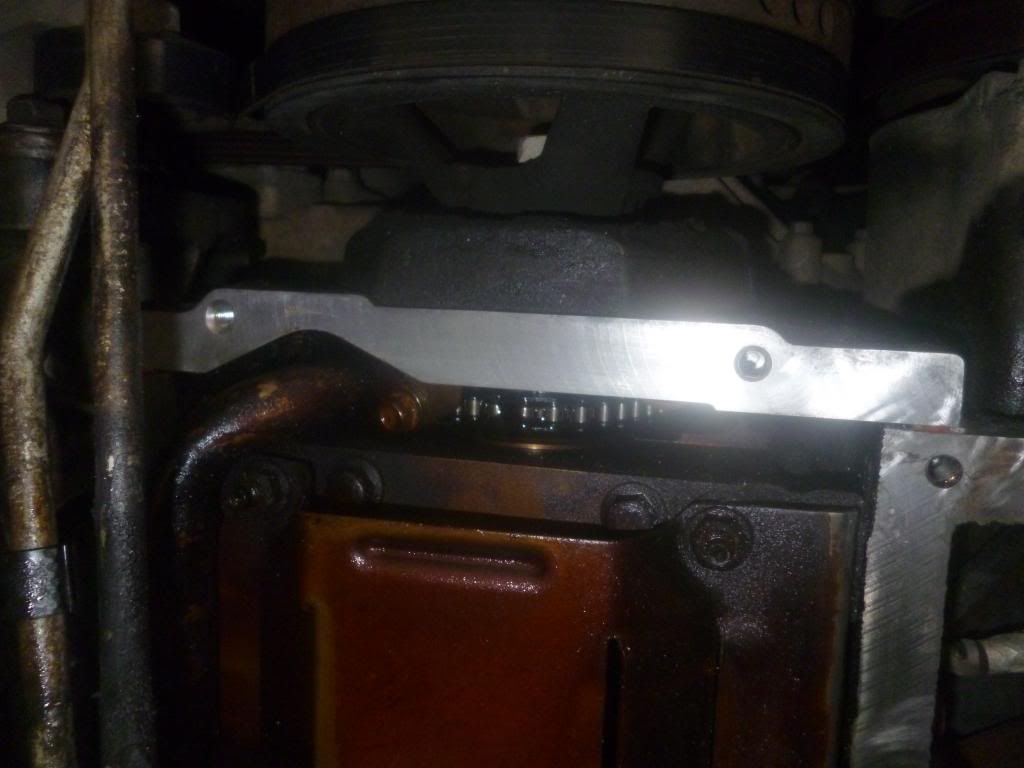
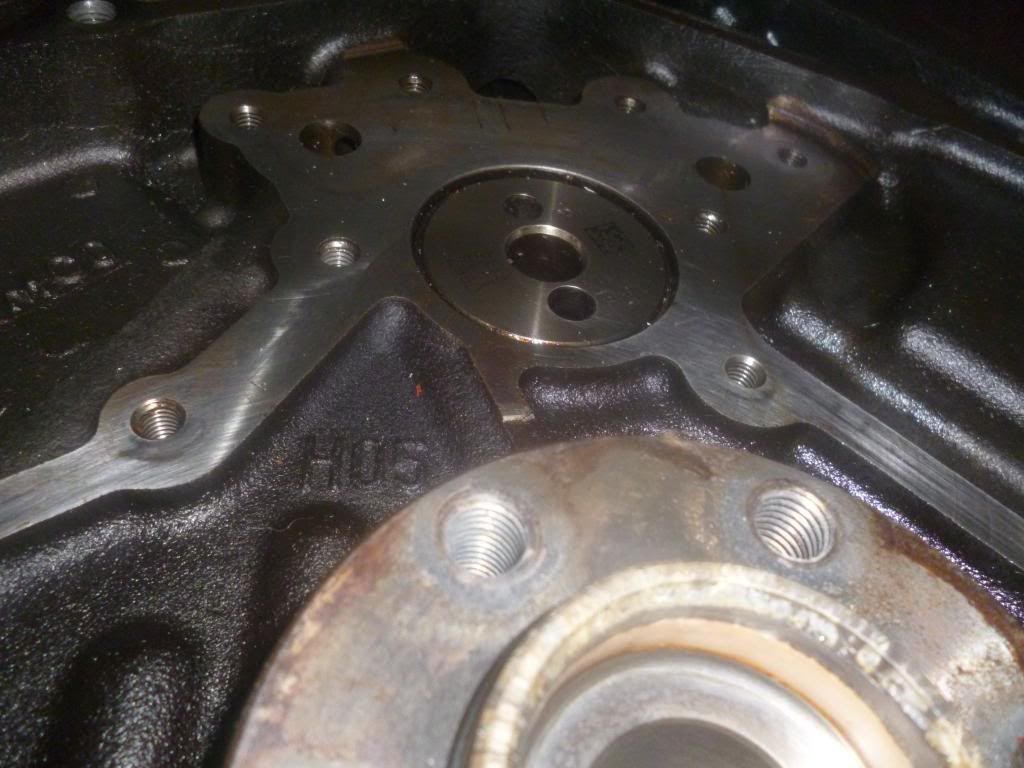
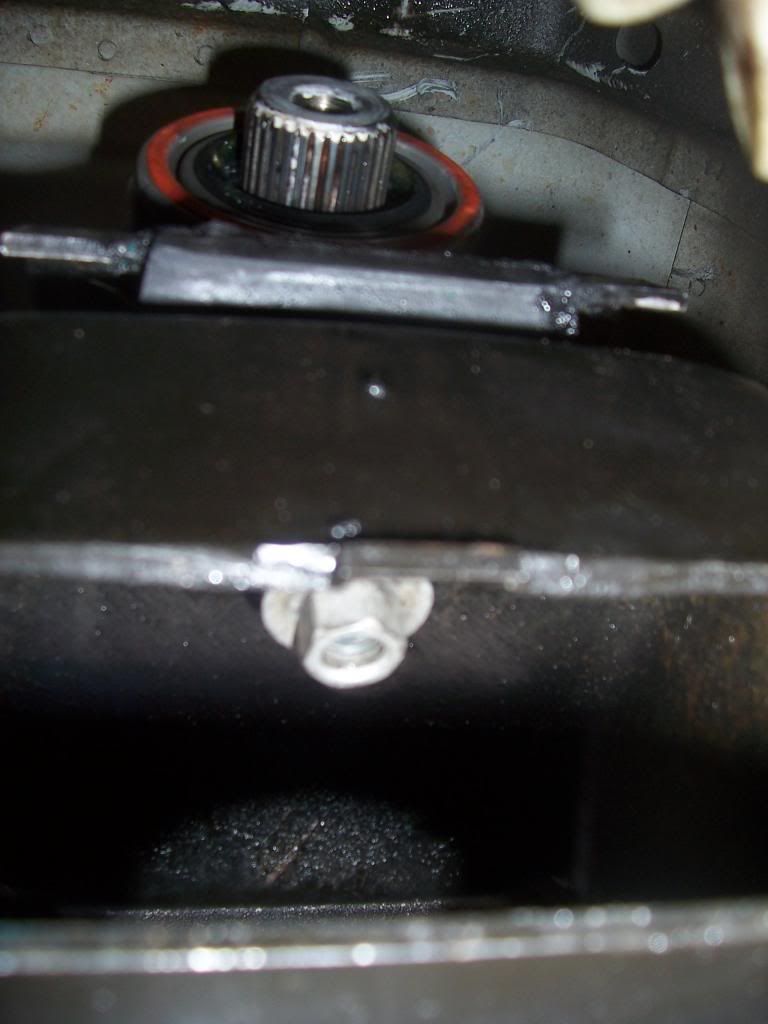
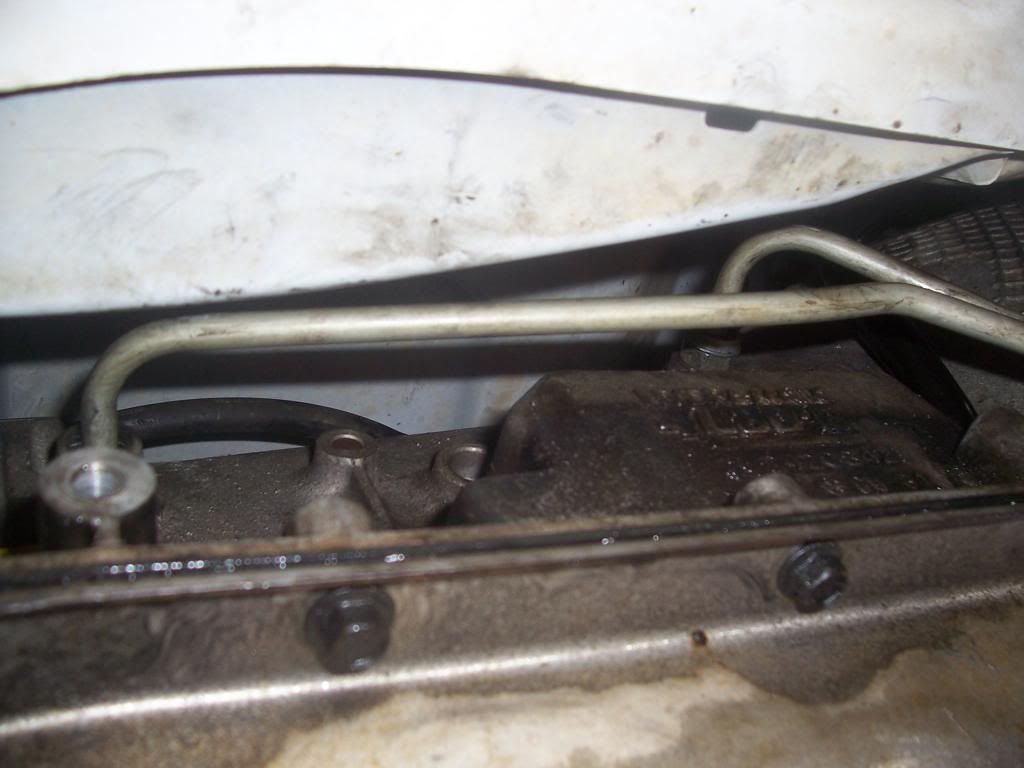
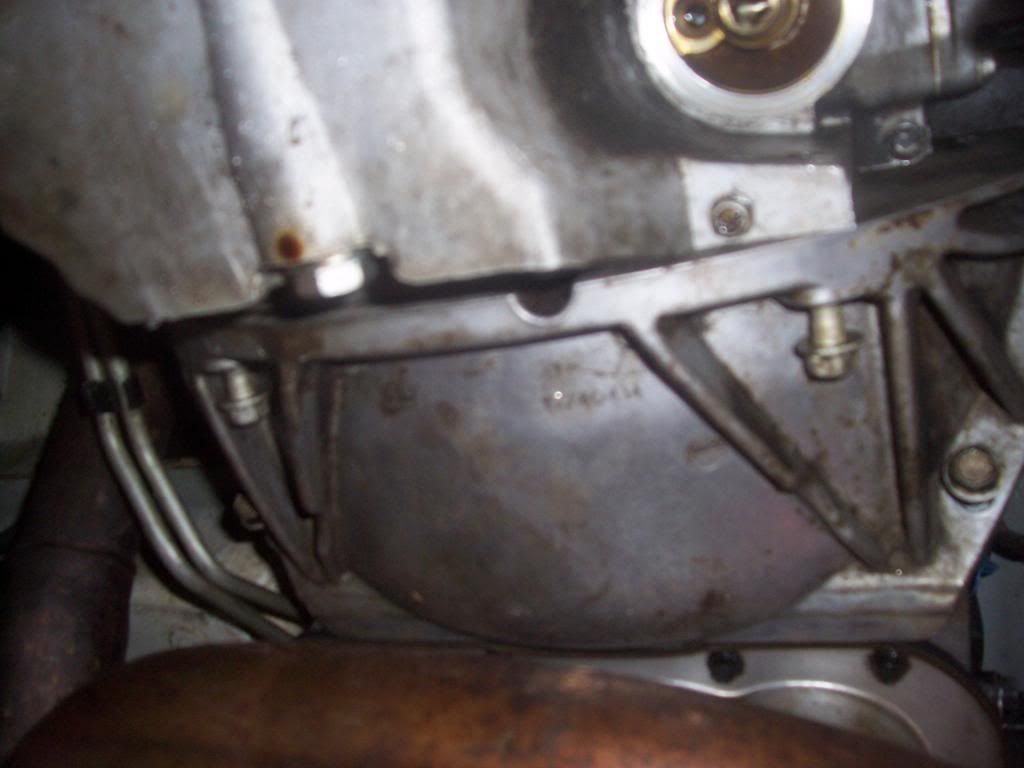
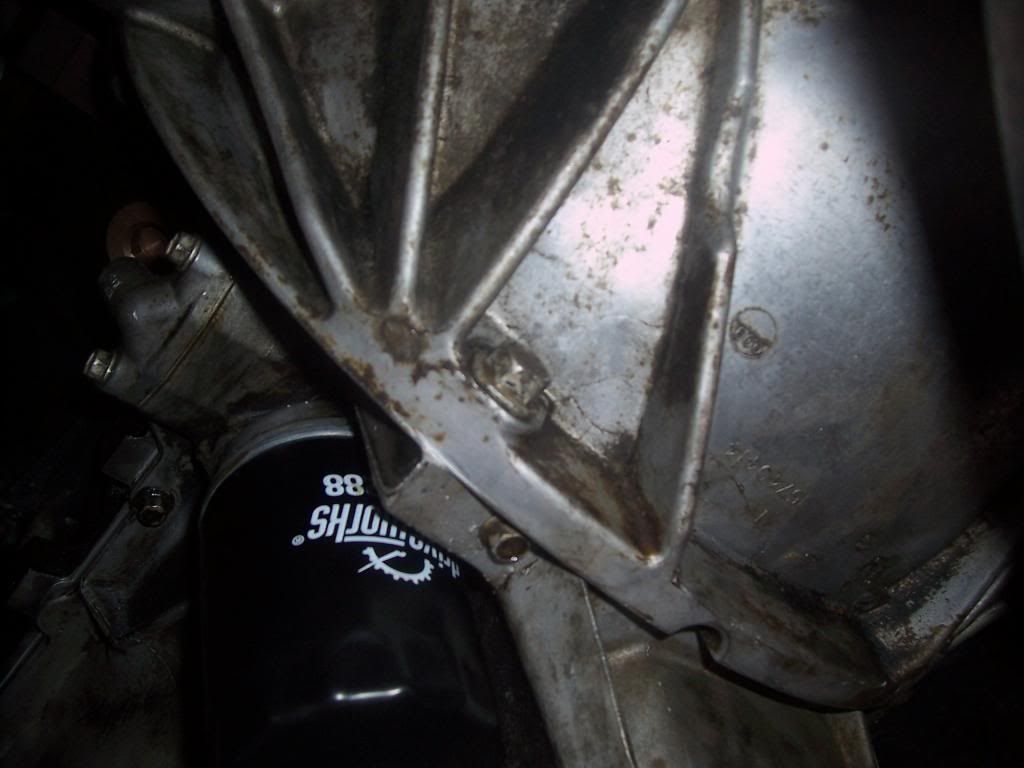
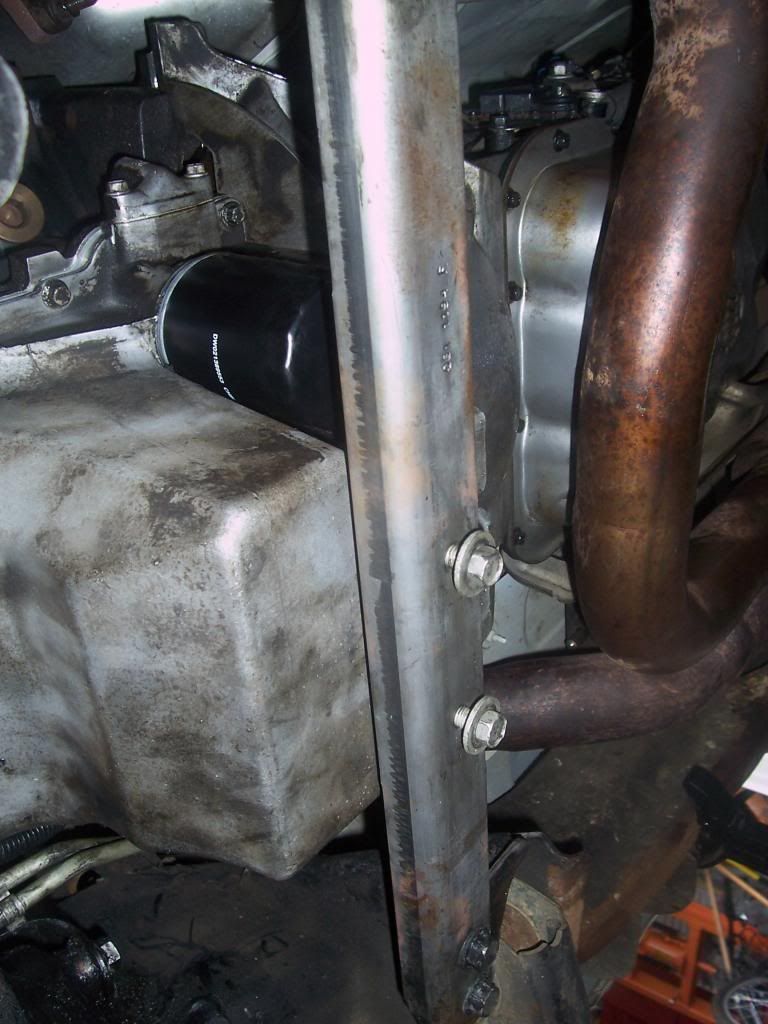
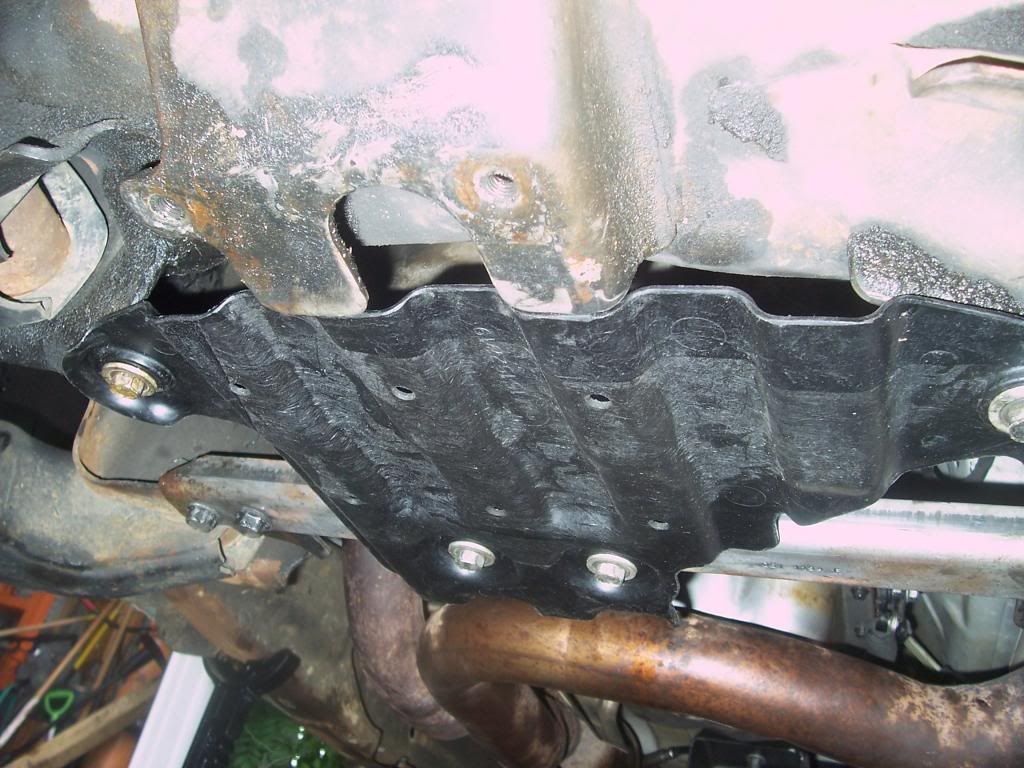
                          Note in these pics the bolt holes on the engine (the rear seal assembly cover), those are for the rear oil pan bolts.

                          #541666
                          Roy FrenchRoy French
                          Participant

                            It is a 6.0, so I guess I’ll be pulling the pan. No short cut for me this time.

                          Viewing 11 replies - 1 through 11 (of 11 total)
                          • You must be logged in to reply to this topic.
                          Loading…
                          toto togel situs toto situs toto