- This topic has 6 replies, 6 voices, and was last updated 11 years ago by .
-
Topic
-
Yesterday, my neighbor comes over while I am finishing up the GMC Sierra and asks if I will listen to his car. It is a 2005 Chrysler 300 with a 3.5L engine and 68k miles on the Odometer. I hear him coming right after he starts his car… It had a LOUD clicking.
I lift the hood and isolate the noise to the drivers side bank…. He had a case of a bad Rocker arm assembly. The rocker arm assemblies have pins that provide oil to all the arms and they are a known pattern failure. The pins shear off and do not provide enough lubrication to the lash adjusters and loud clicking ensues.
I tell him to pick up a new rocker arm assembly from the local Chrysler dealer as well as a new valve cover gasket and plenum gasket. All total he spends $300 for the assembly at the Chrysler dealership and $35 at Advance Auto for the gaskets.
Today, we commence to tear into it.
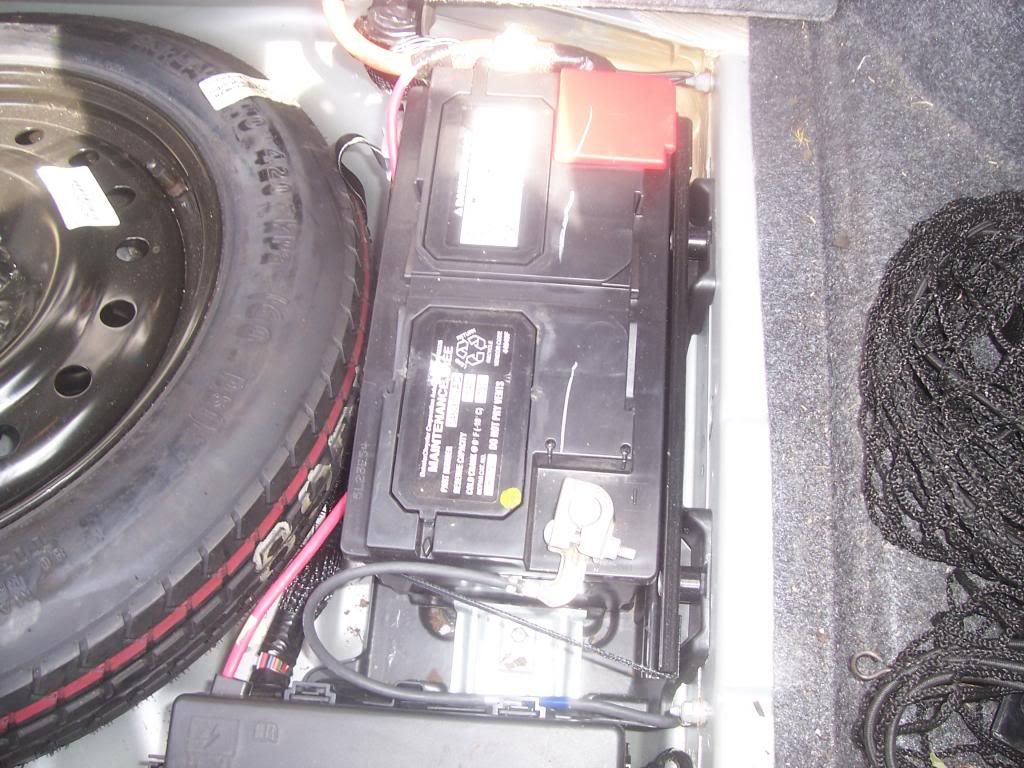
First we disconnect the negative battery cable in the trunk. Note.. it is easier to disconnect the 10mm ground attachment right next to the battery than the battery terminal connector…

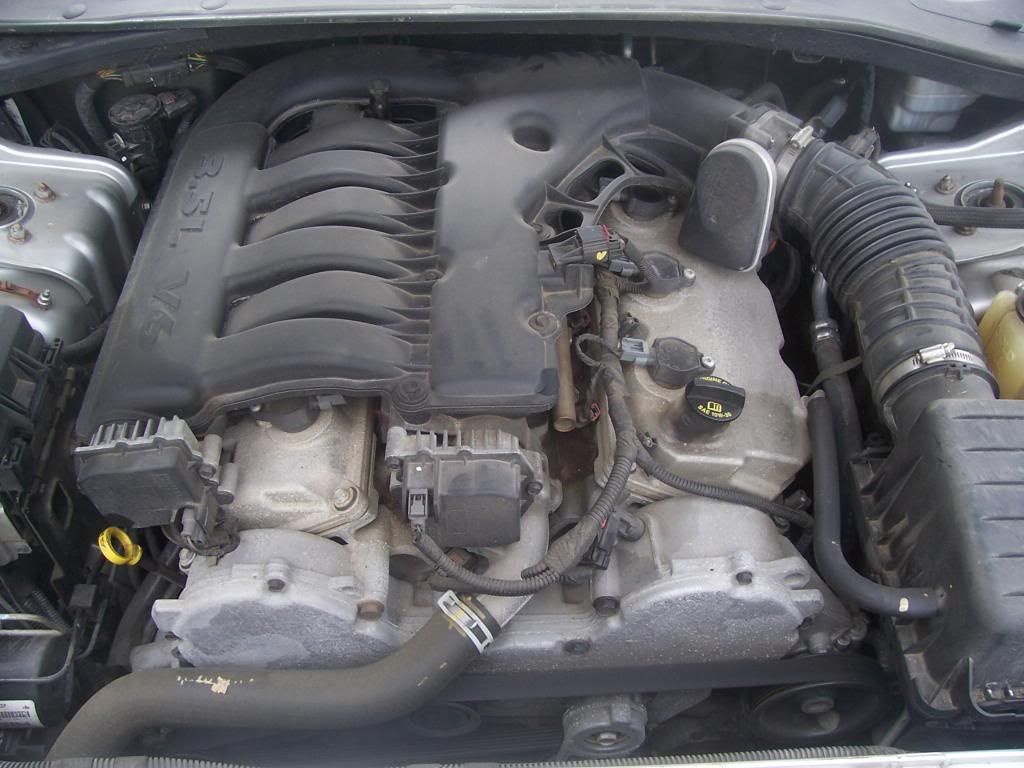
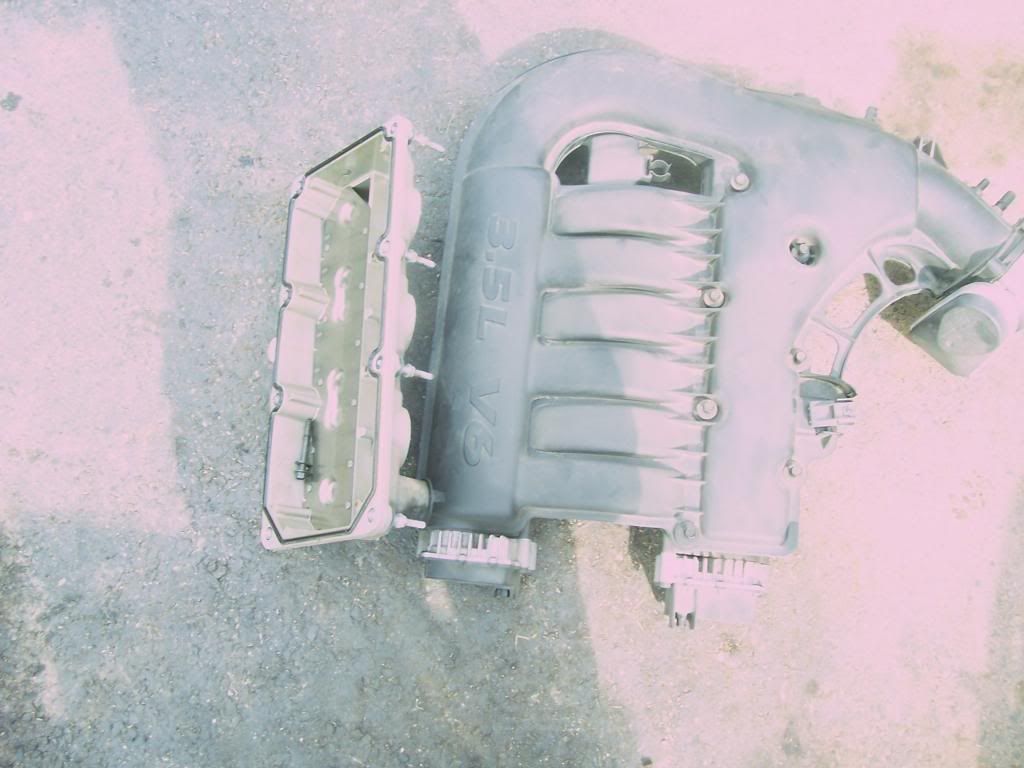
The subject at hand. Even though we are working on the drivers side, we still will have to remove the intake plenum.

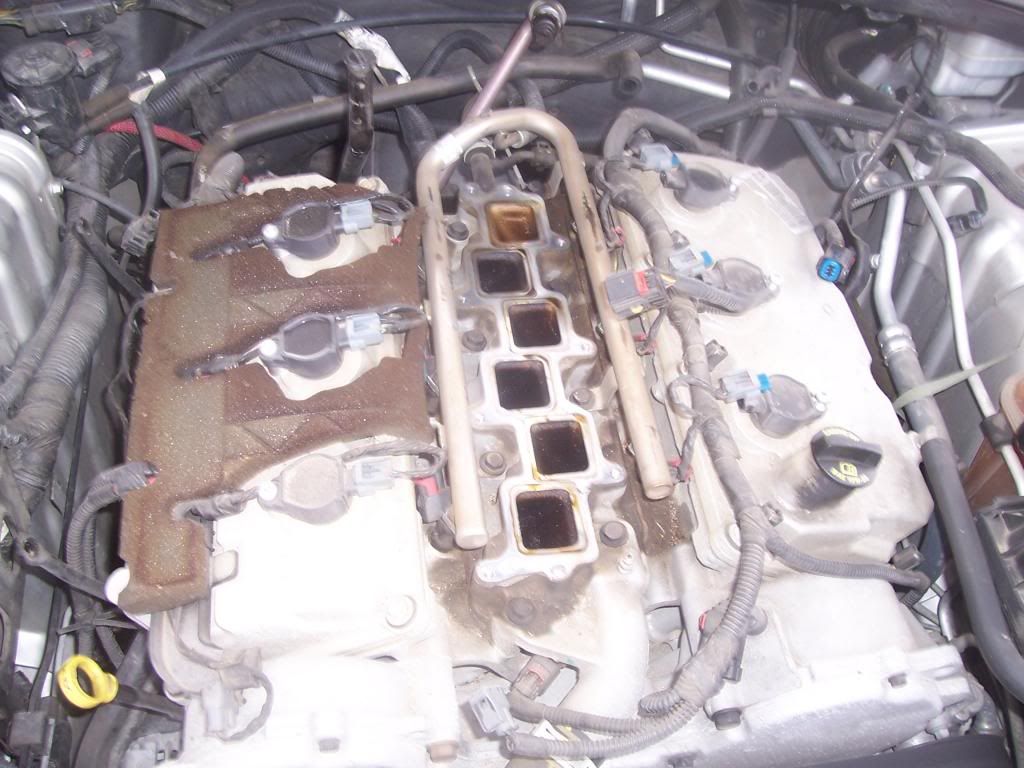
After removing the air intake hose, we start to unbolt the plenum, there are 7X10mm bolts holding the plenum on. There are 3 hoses in the back of the plenum as well as the EGR system which simply plugs into the back. All the electrical connections are removed. Additionally there are 2X10mm nuts on the passenger side supporting the plenum and 2X10mm nuts attaching the plenum to the throttle body bracket. Carefully lift the plenum up and out.

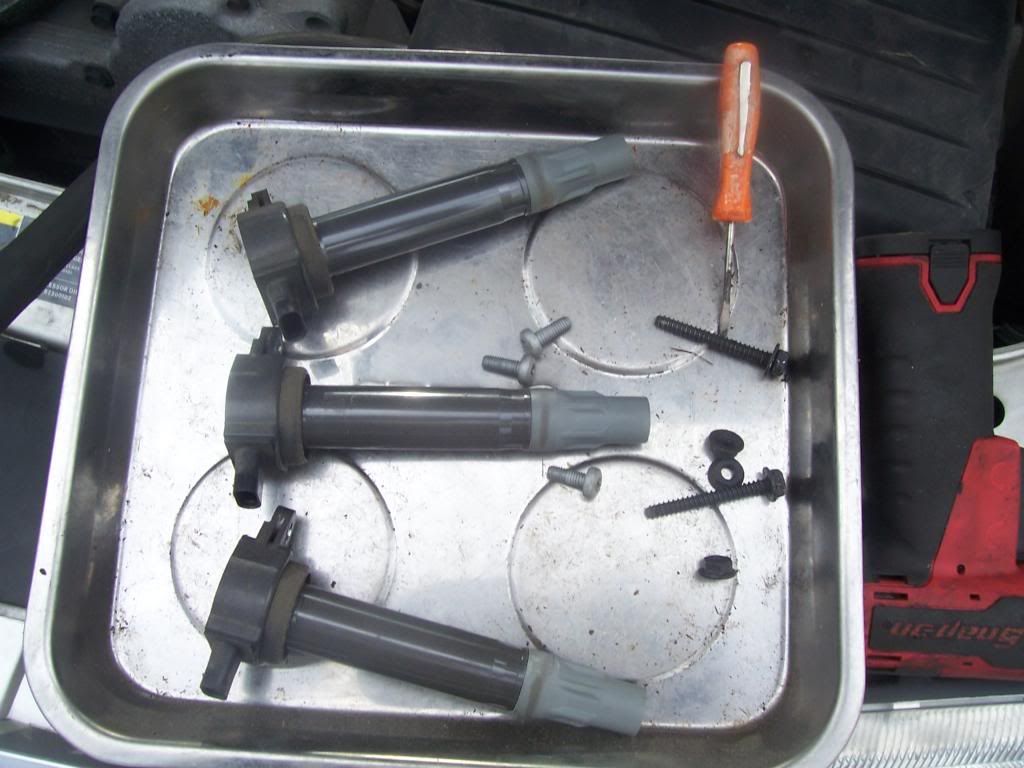
Next the COPs are removed.

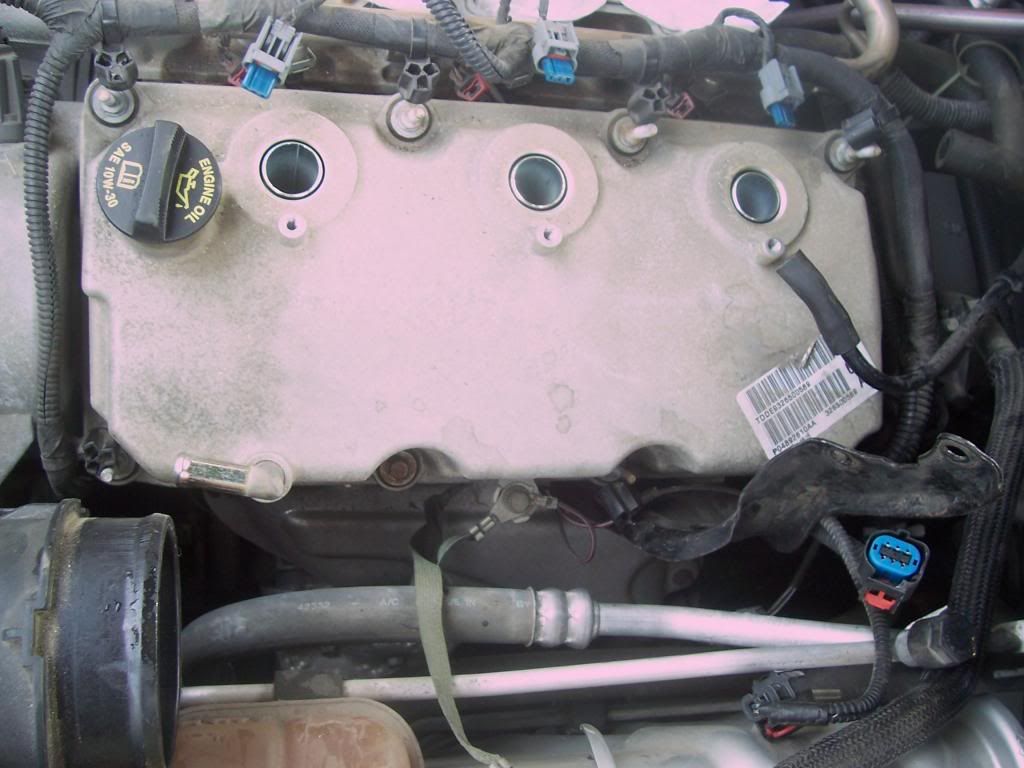
Now we have to remove the clips that hold the wiring assemblies in place. You can get a pocket flat tip screwdriver down them to unclip one of the three clips that hold them on the screw top. Wiggle and pop them out. In the photo they are the black pieces that have three sections to them.
After that remove the ground bolt and remove grounds and then remove the valve cover bolts and the valve cover.


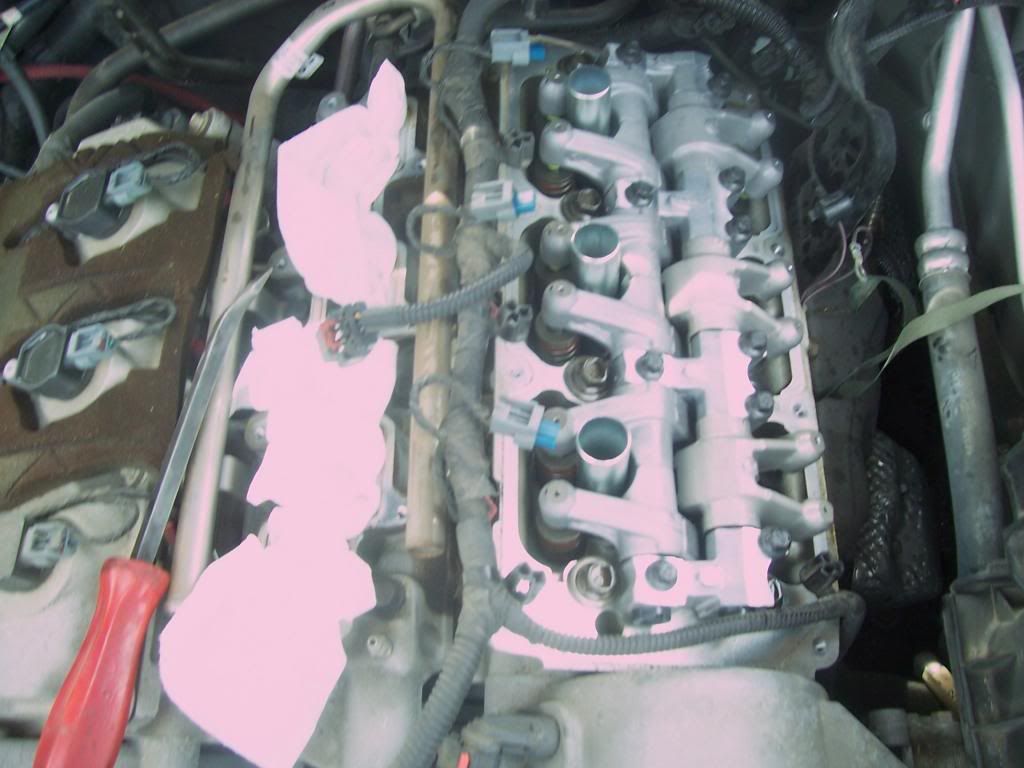
Next remove the 10 X 10mm bolts holding the rocker arm assembly in place
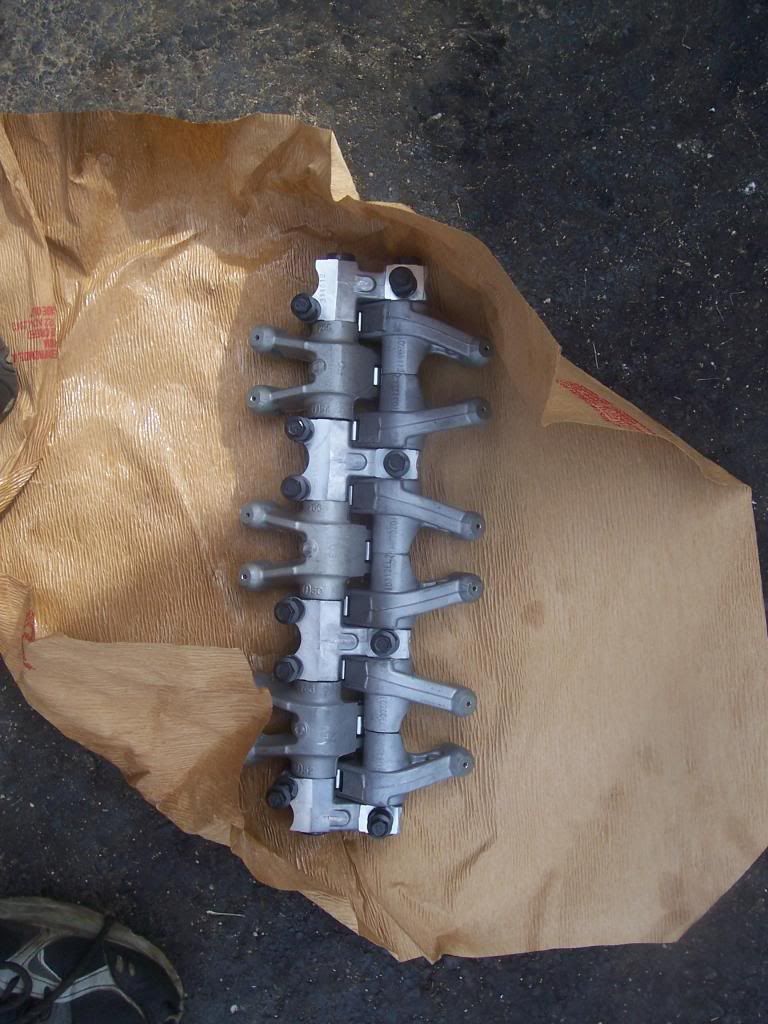
Now remove the old rocker arm assembly and install the new one…. Here is the new one. Came with new bolts.

Torque the new bolts into place. 23 Ft-lbs each

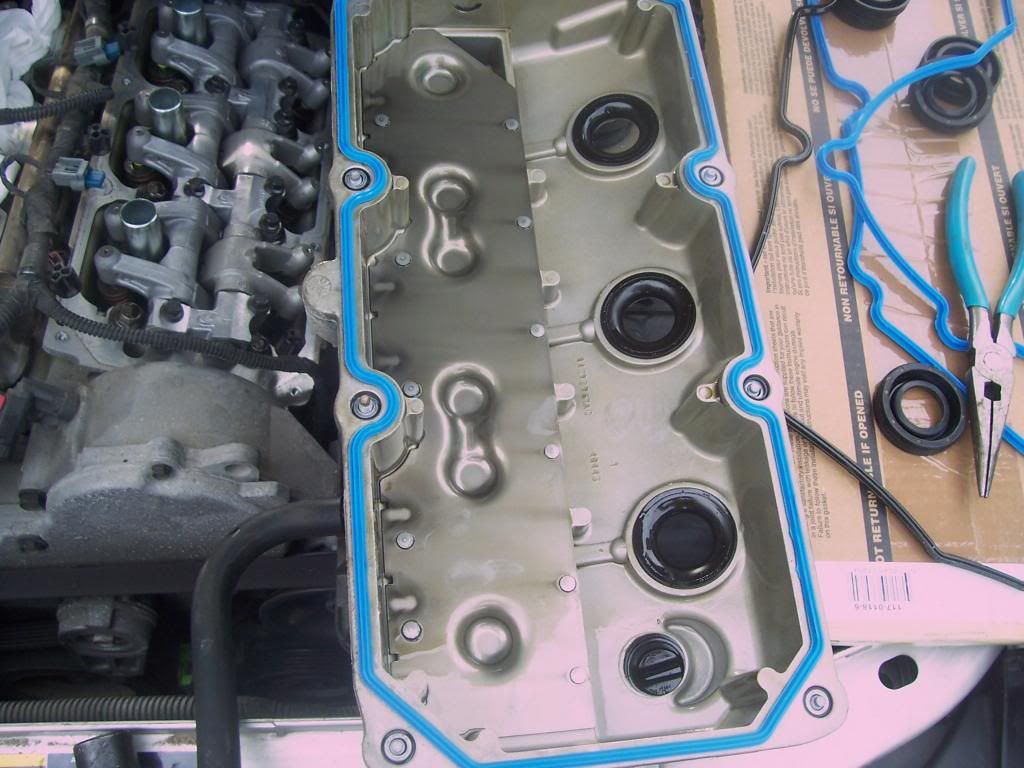
Replace the valve cover gasket

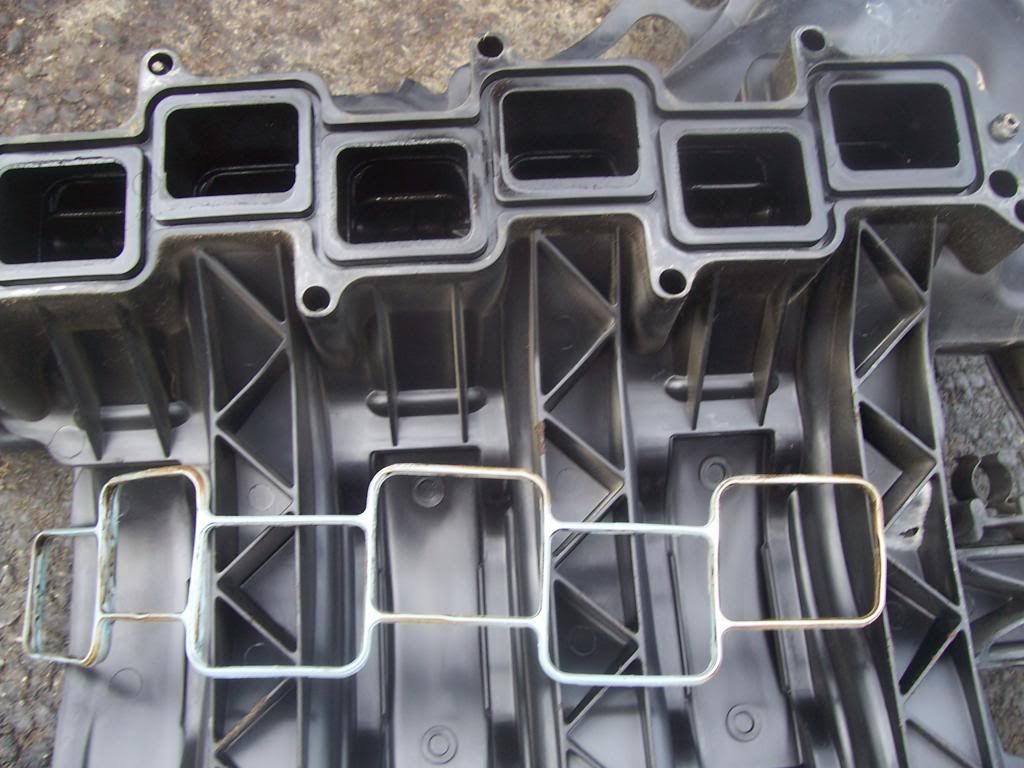
Replace plenum gasket… Old

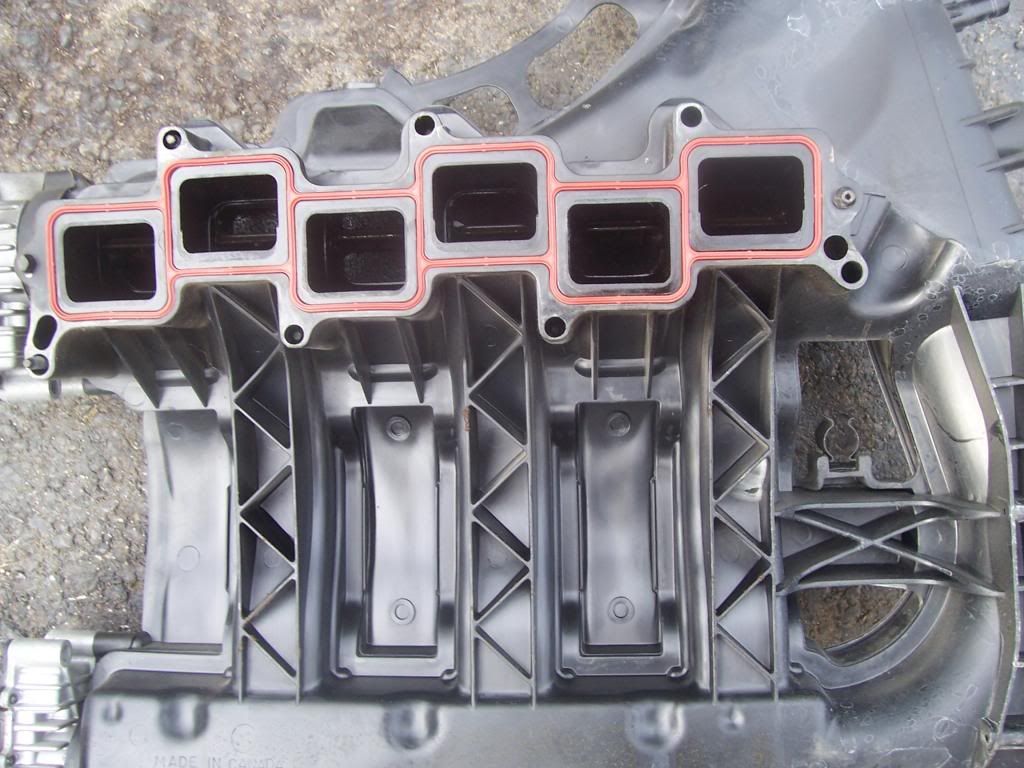
And new

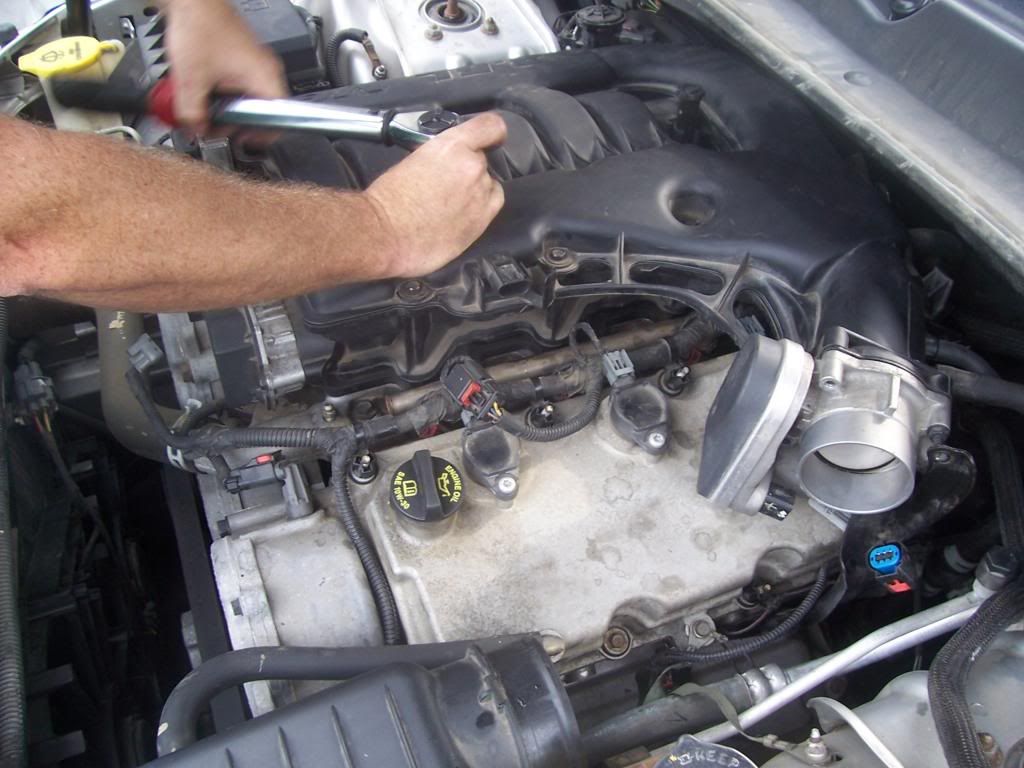
Re-install plenum. Ensure you get EGR pipe lined up properly! Torque bolts to 108 In-lbs.
Re-install nuts for support and and on throttle body.

Re-installed all plugs and hoses and re-attach negative ground to the battery and fire her up.
She fired up and clicked for about 2 seconds then total silence… just the hum of the engine… project complete.
POSTMORTEM.
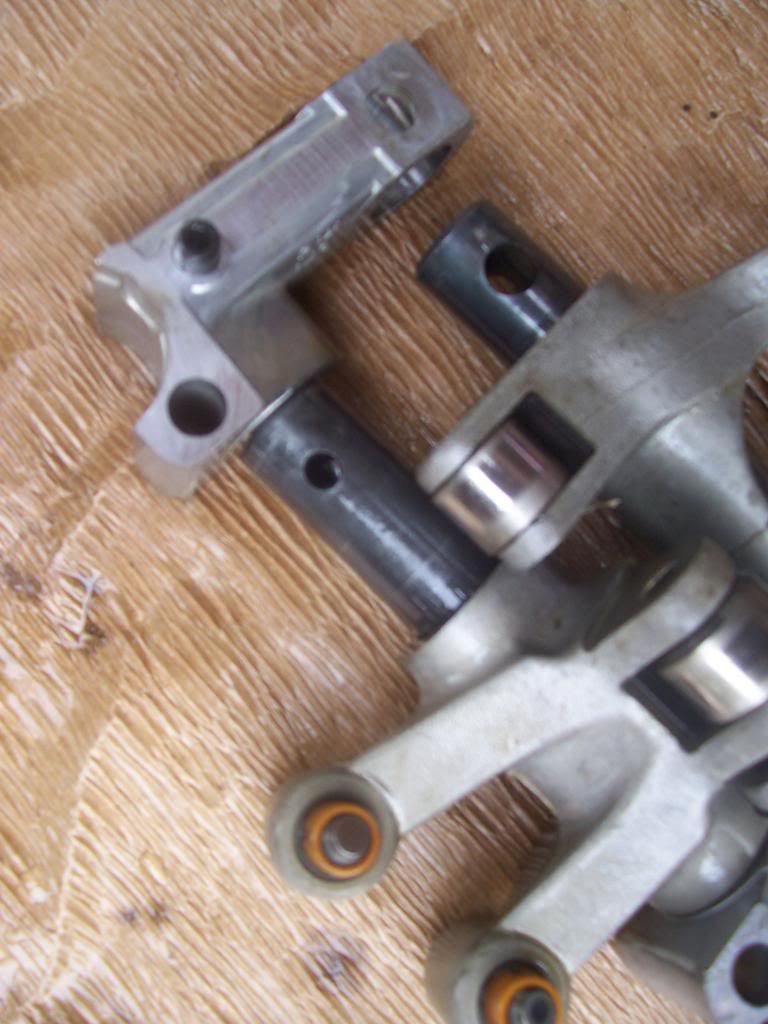
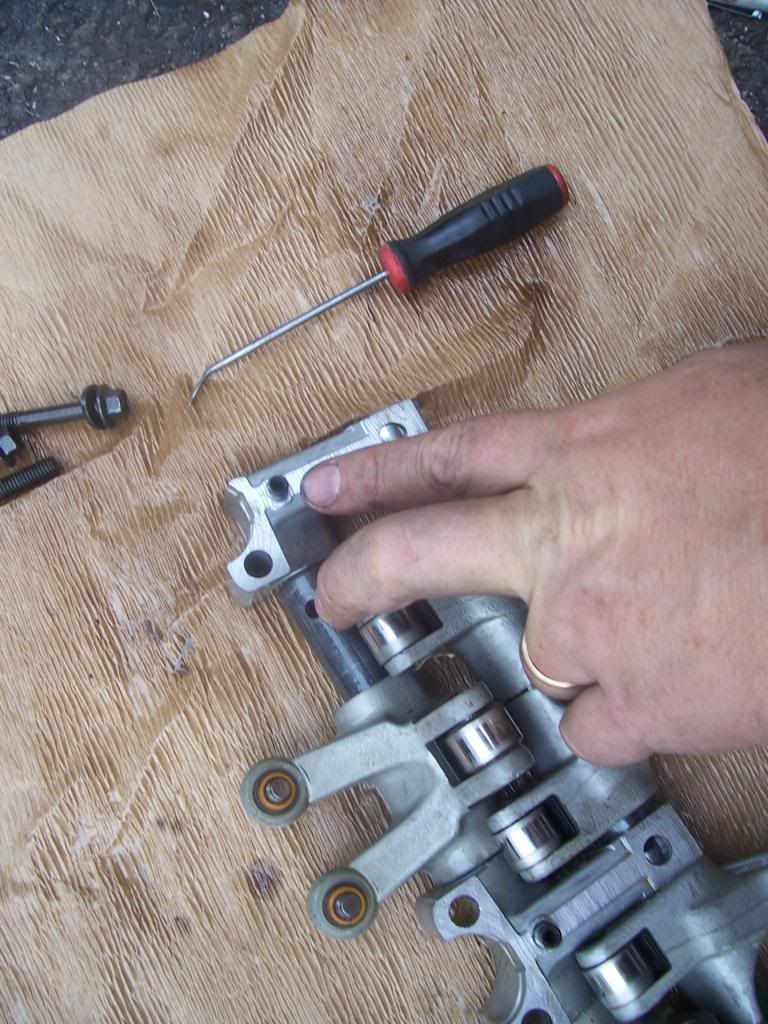
Here are some pics of the bad rocker arm assembly. The pins I am pointing to shear off and the tube assembly cannot provide good oil flow down to the lash adjusters.

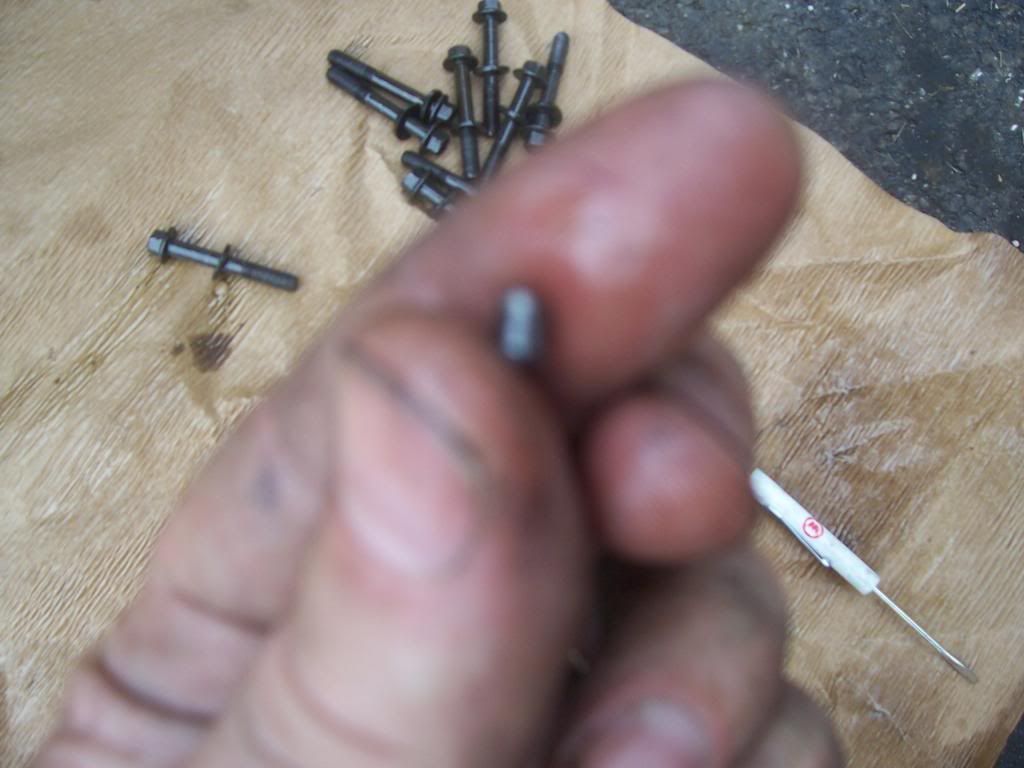
One of the pins that sheared. I had to get it out of the tube.

Here is the pin (index finger) and the hole (middle finger) that the other end of the pin should be seated in. This piece should not be able to slide off the tube…

These can be rebuilt, but Chrysler will only replace them as an assembly. This was a production problem with weak pins and Chrysler has since improved them. Also the pins have to be pressed in, so it is just easier to replace the whole assembly.
We only did one side, and that fixed the noise, but I reminded my neighbor to be prepared for the other side to go out…. A later project. All total it was a little over an hour to complete this.. It is relatively easy and the only special tools required were a couple of torque wrenches…
Cheers!
-Karl
- You must be logged in to reply to this topic.
 Our Address
