2004 Honda Element HID Fog Light Install (Part 1)
There IS a Premium Video for the 2004 Honda Element HID Fog Light Install Full!
“2,3,15,18,19,20,21,22,23”}
Premium Membership grants you access to Restricted Content! Click here to find out more!
“”
2004 Honda Element HID Fog Light Install (Part 1) -EricTheCarGuy Link to Fog Light Kit:
http://www.motorfiend.com/honda-element-2003-2004-light-p-2774.html
Price: $89.95
 3000K HID Kit:
http://www.motorfiend.com/3000K-Yellow-Xenon-HID-Kit-Single-Beam/?cPath=136
Price: $69.95
 Mini Ballasts:
http://www.motorfiend.com/mini-replacement-ballast-p-2784.html
Price: $32.95
There was a lot of controversy over my HID headlight install video. The reason being is that I installed the HID kit into a regular halogen housing. The opponents to this wanted me to install the kit into projector beam housings. While this is a good idea and required by law in some places, the added expense priced me out of that market. I can say however that I have not had anyone flash me or complain that my lights were blinding them. I think the key is to make sure that you properly aim the lights before you set out on the road. That said, I’m back installing HID’s into my new fog lights for my Honda Element. There is less chance of blinding anyone with these lights as the premise for auxiliary lighting is to mount it as low as possible. The reason for this is to make it easier to see in inclement weather.
You can use this video series as just a straight up install instructional for the fog light kit available from Motor Fiend. You can also use it to modify the kit to accommodate the HID bulbs. Since shooting this video 3 months ago I have not had any issues with blinding other drivers or issues with the kit other than some moisture that shows up in the housings from time to time. That’s probably due to the seal at the back of the housing. If I were to do this again I might make the hole in the back of the housing larger to accommodate just installing replacement bulbs without having to solder them in. Otherwise, it’s a great kit and I really enjoy using it. Just be sure to check your local laws regarding the installation and use of auxiliary lighting, as well as HID lighting before you commit to a project like this.
Here’s some useful links for you.
HID Headlight Install video:
Re: HID Headlight Install video:
HID Diagnosis:
Element Grill Installation:
“”
Tools
Power Probe:
Power Probe PP219FTC Power Probe II w/Case Diagnostic tool Kit
With the press of a switch you’ll have an instant hot lead or ground lead. Use the hot lead and ground lead simultaneously to activate components for continuity as well as identify positive, negative and open circuits without re-polarizing hook-up clips. Locate shorts without wasting fuses. The 20ft lead will allow you to test bumper to bumper without jumper leads. Audio tone indicates positive with a high pitched tone and negative by a low pitched tone.
Clip Removal Tool:
GearWrench 41850 3 piece Body Clip Set
http://www.jbtoolsales.com/gearwrench-41850-3-piece-body-clip-set/#oid=1002_1
Kit includes: 30? Push Pin Plier, 80? Push Pin Plier and a Panel Clip Plier with V” design for removal of standard upholstery clips without center push pins.
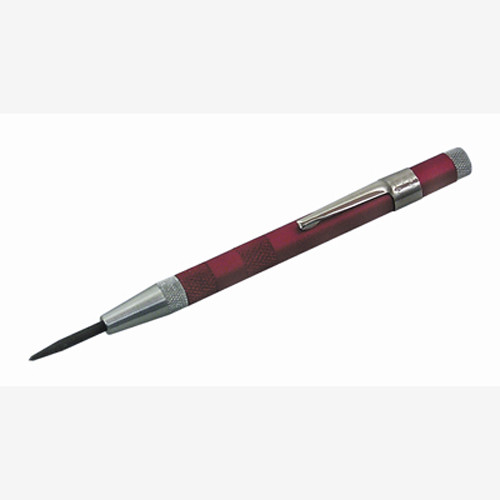
Automatic Center Punch:
Lisle 30280 Automatic Center Punch 5-1/2″ Long
http://www.jbtoolsales.com/lisle-30280-automatic-center-punch-5-1-2-long/#oid=1002_1
Stepped Drill Bit:
Irwin 10234CB Unibit Step Drill Bit 12 Hole (3/16″-7/8″)
http://www.jbtoolsales.com/lisle-30280-automatic-center-punch-5-1-2-long/#oid=1002_1
Soldering Iron:
Wall Lenk L40 40 Watt Soldering Iron
http://www.jbtoolsales.com/wall-lenk-l40-40-watt-soldering-iron/#oid=1002_1
Flux:
Firepower 1423-1101 Soldering Paste Flux, 2 oz Can, General Purpose
” ”
Discussion about this video: http://www.ericthecarguy.com/kunena/18-The-EricTheCarGuy-Video-Forum/48944-2004-element-hid-fog-light-installation#84677
ETCG
 Our Address


