
- This topic has 2 replies, 3 voices, and was last updated 11 years, 4 months ago by

 .
.
-
Topic
-
ToyotaKarl Case: 2010 Honda Accord front wheel bearing replacement.
Well, the bearings in my Wife’s 2010 Honda Accord EX-L decided to give up the ghost at around 60k miles… (Argghh, she should have gone with a Camry)…. Anyway, these bearings going were a bit too soon for my liking, and the more I searched the internet about this problem, I found out it is not uncommon for these to go out between 20-60k miles… And wouldn’t you know it; I am out of warranty for this problem… So here goes a couple hours of my Saturday.
Here is how I did it…
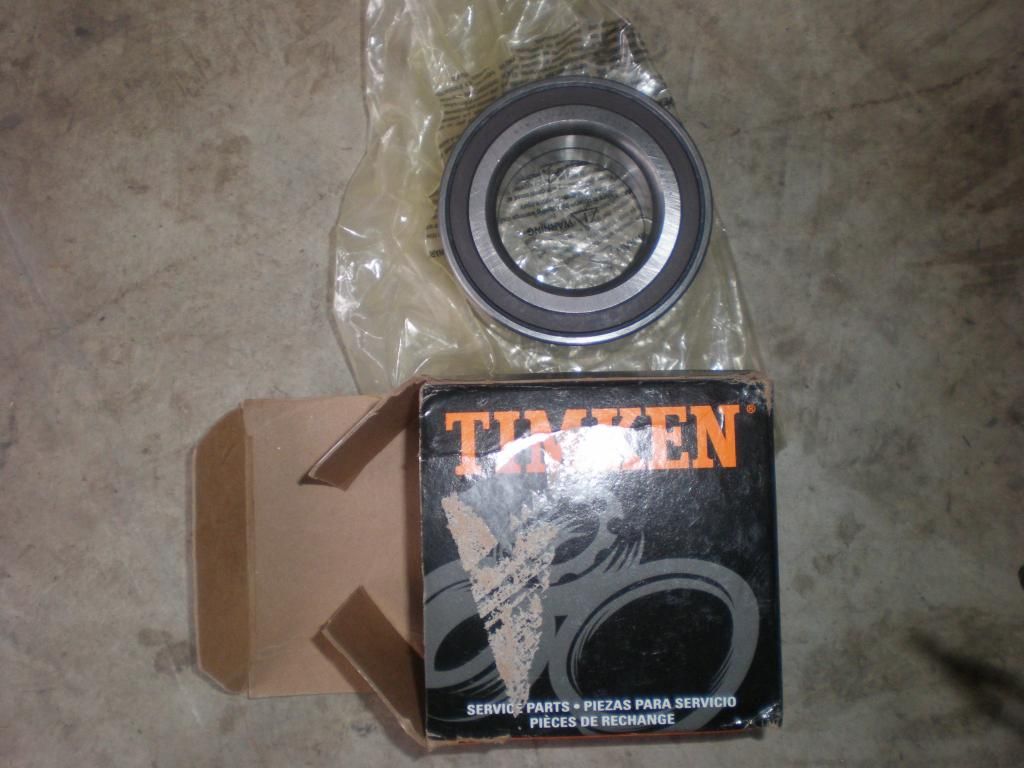
Started off by buying Timken bearings… A bit pricey at over $100 each… WOW!
I use Timken because they are quality bearings and given the failure of the OEM, I am not going to Honda to get new bearings….

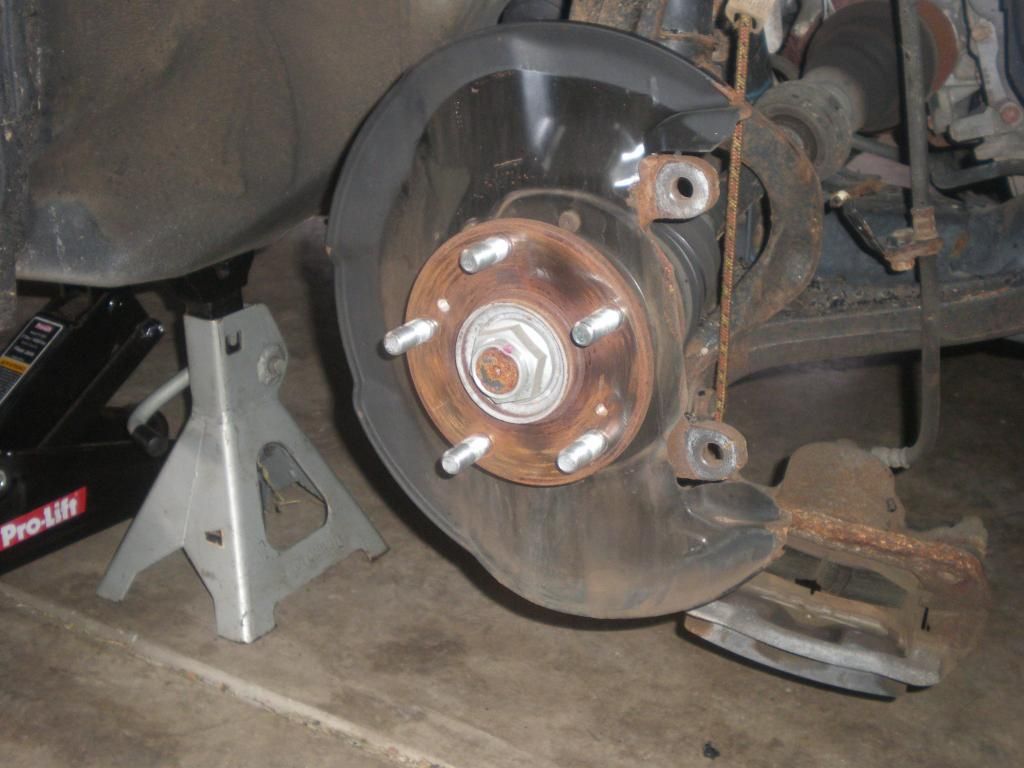
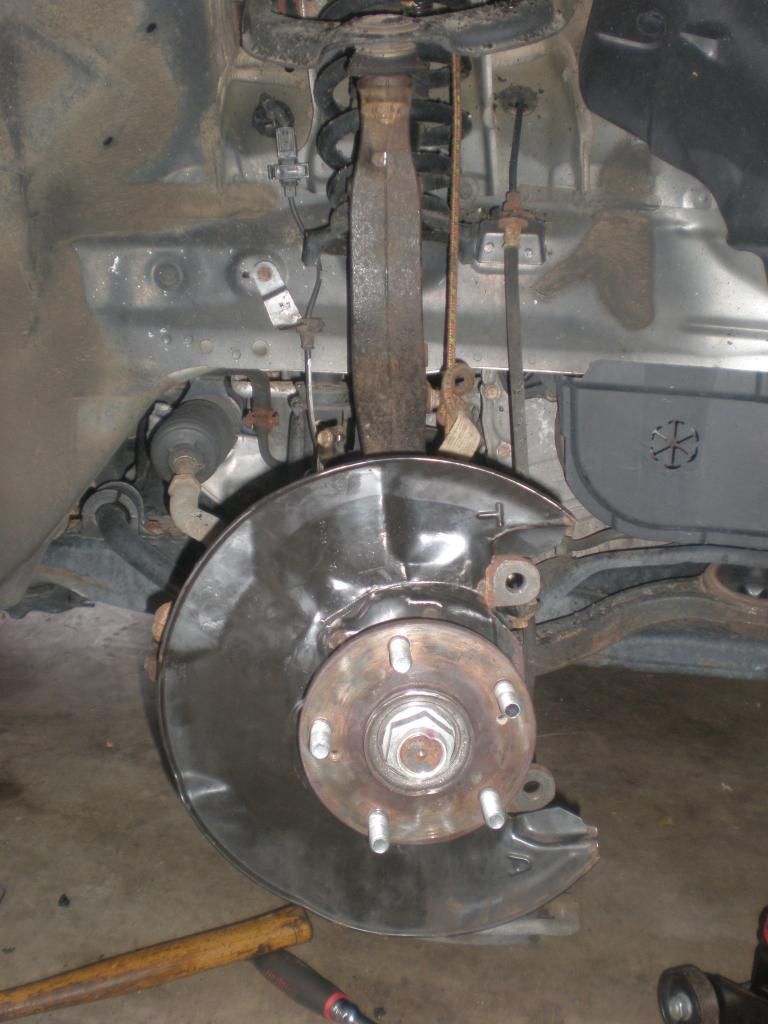
Then I set the parking brake, lifted the right front, set the vehicle on a jack stand and removed the wheel.
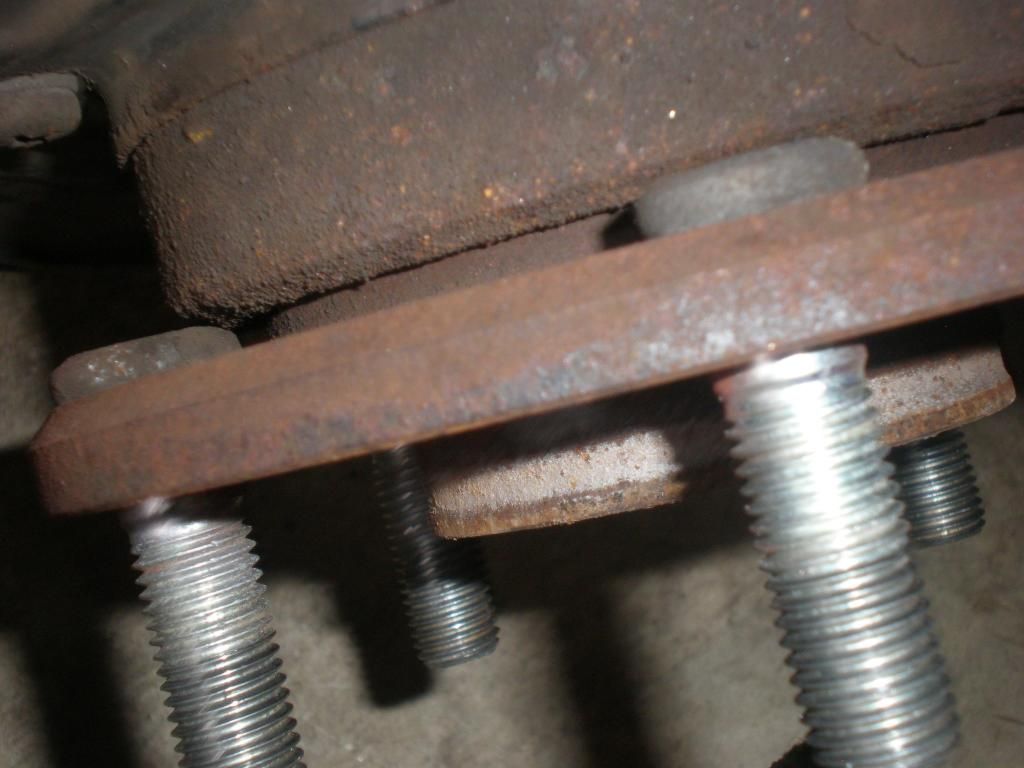
Removed the brake line bracket. This is a 12mm bolt.
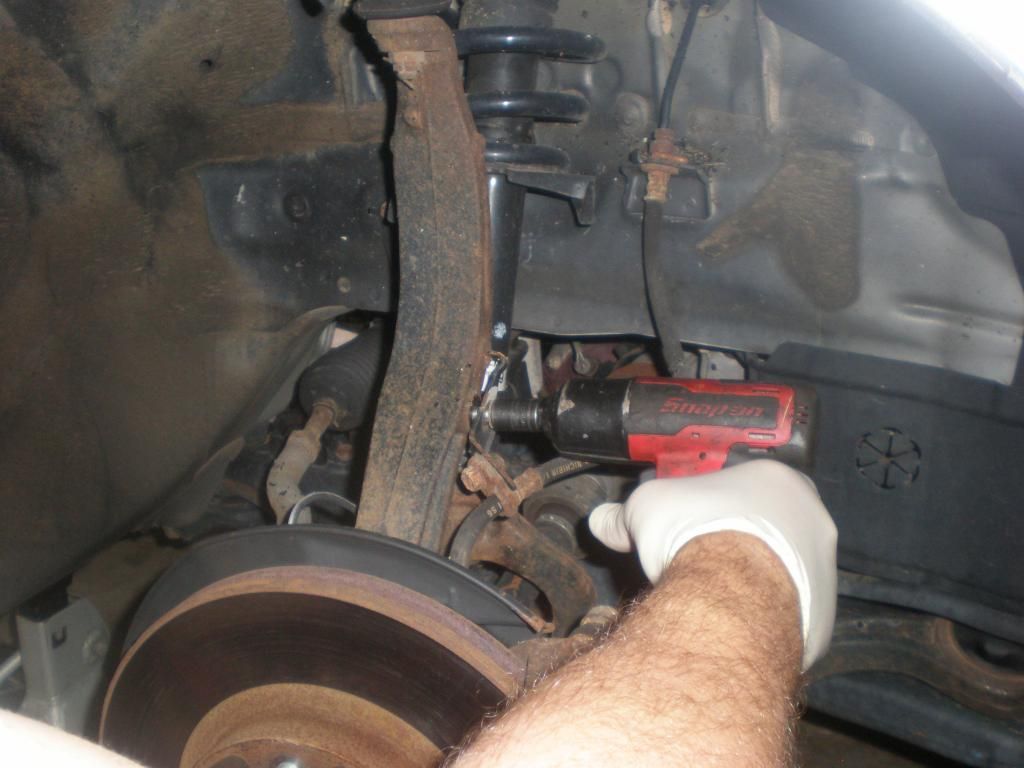
Removed the caliper.. Two X 17mm Bolts…
Hung and stowed the brake caliper.
Wouldn’t you know it, the assembly screws for the rotor were frozen on… Quick work with an impact driver and hammer…
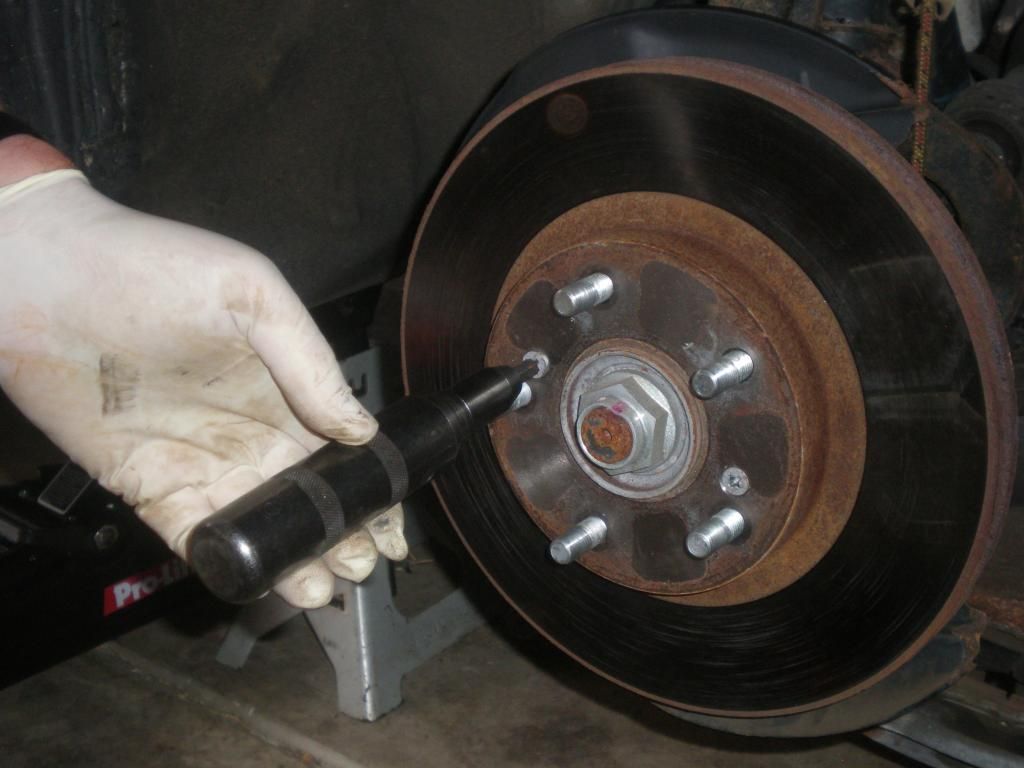
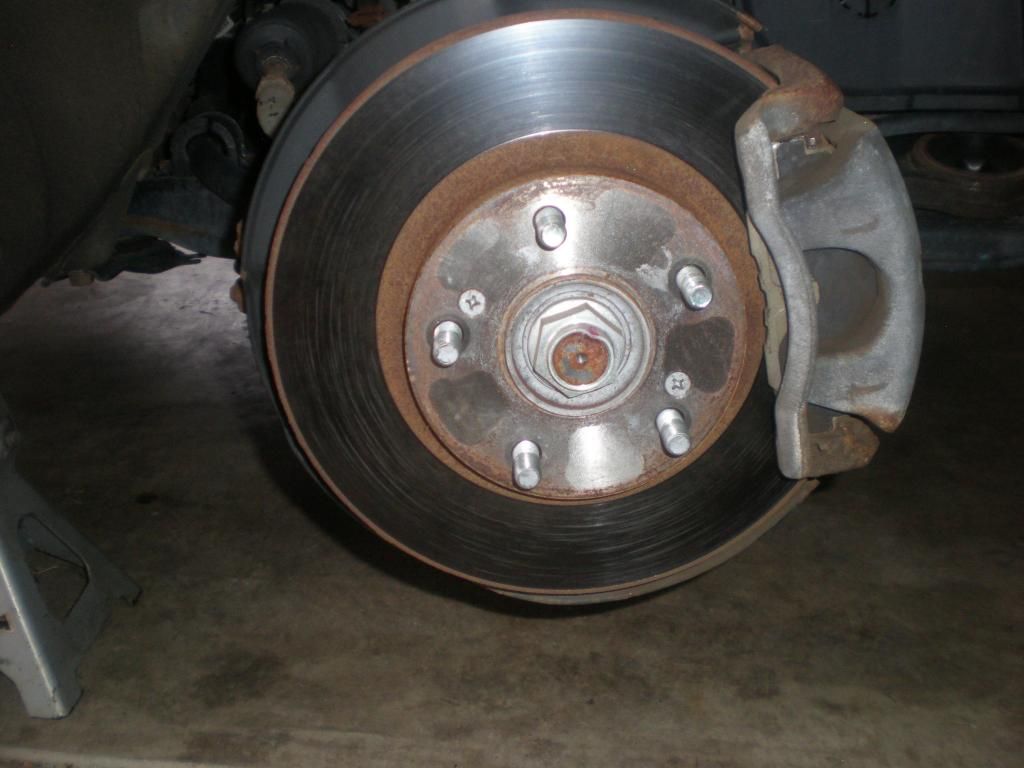
Rotor is removed…
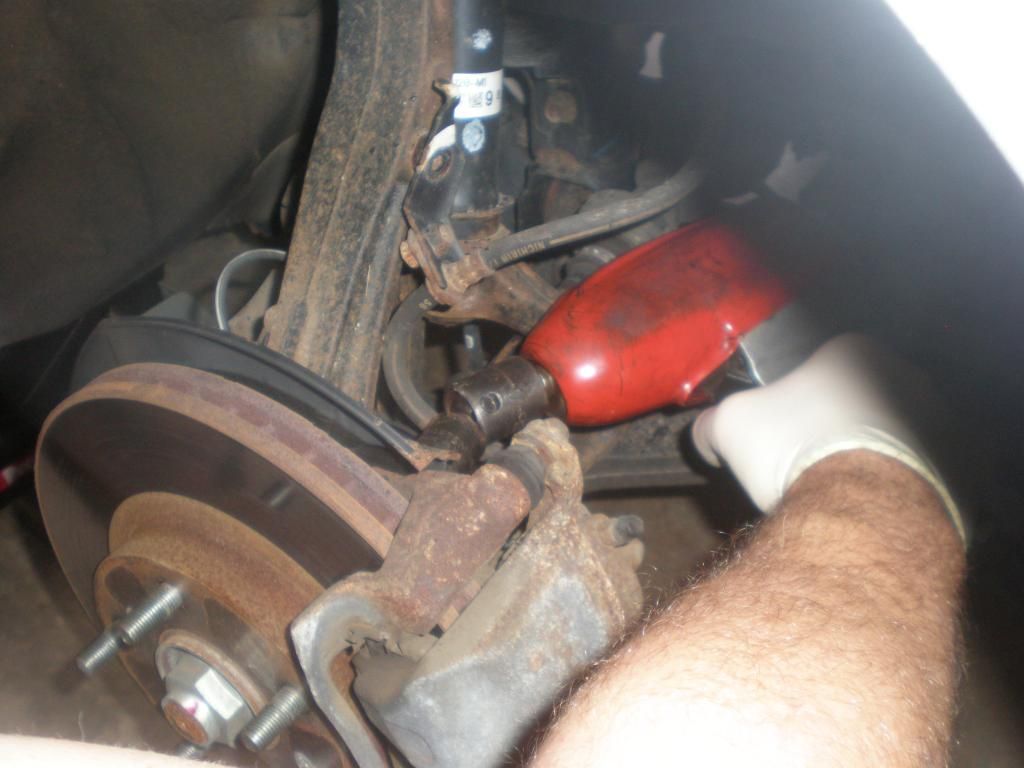
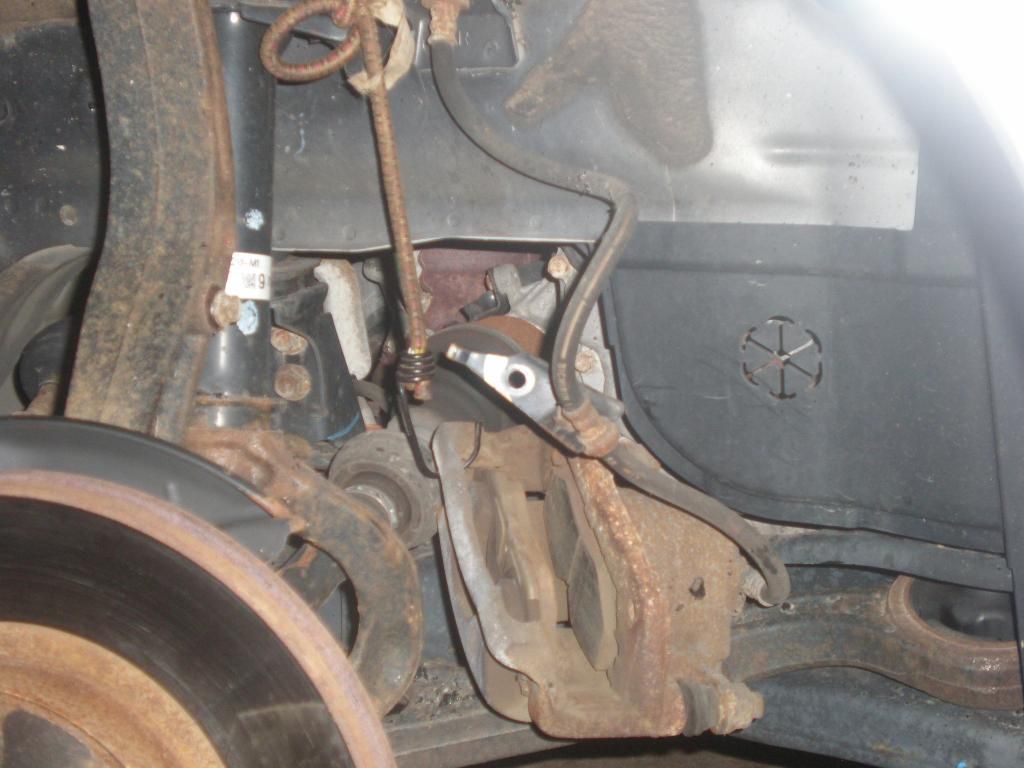
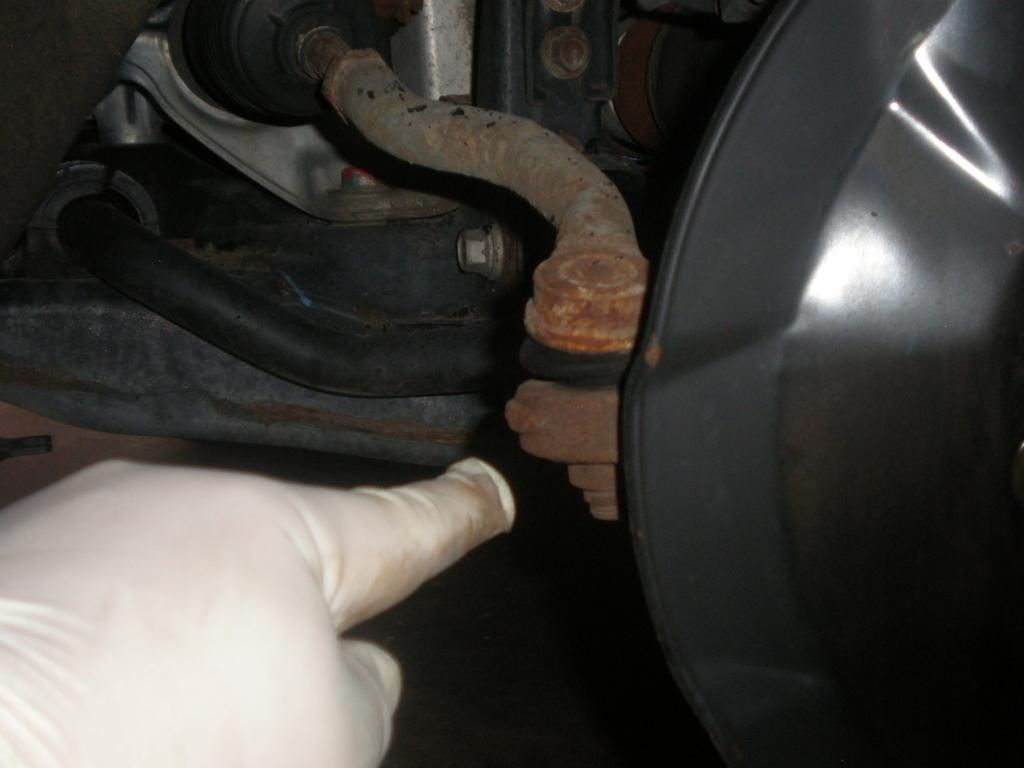
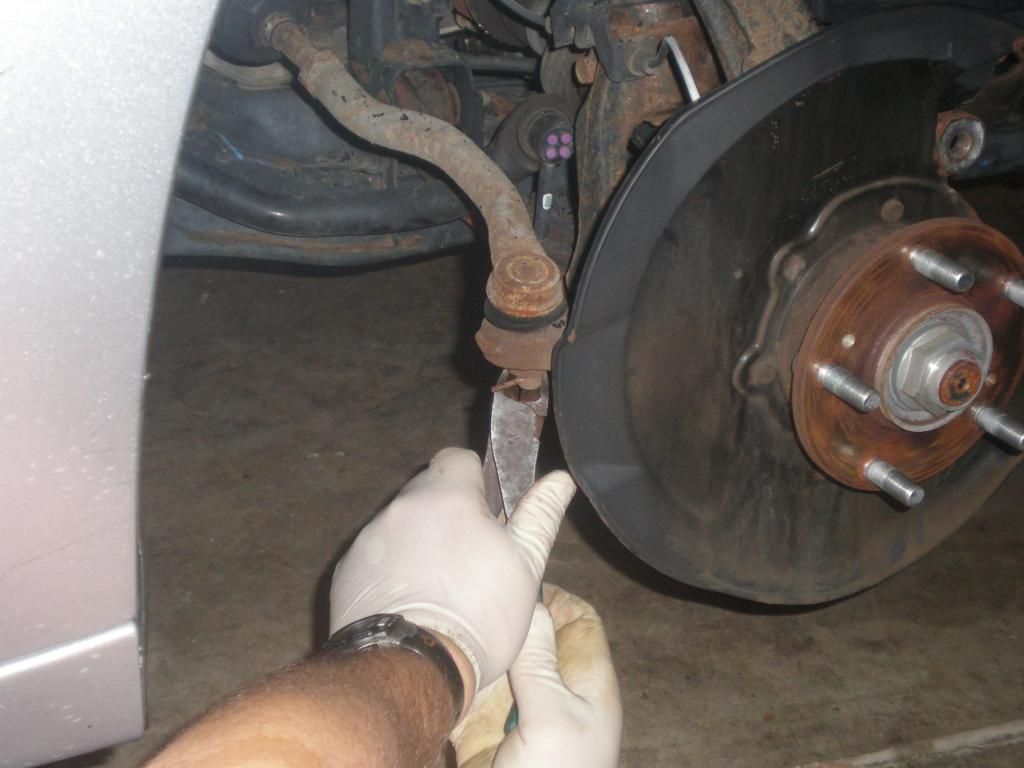
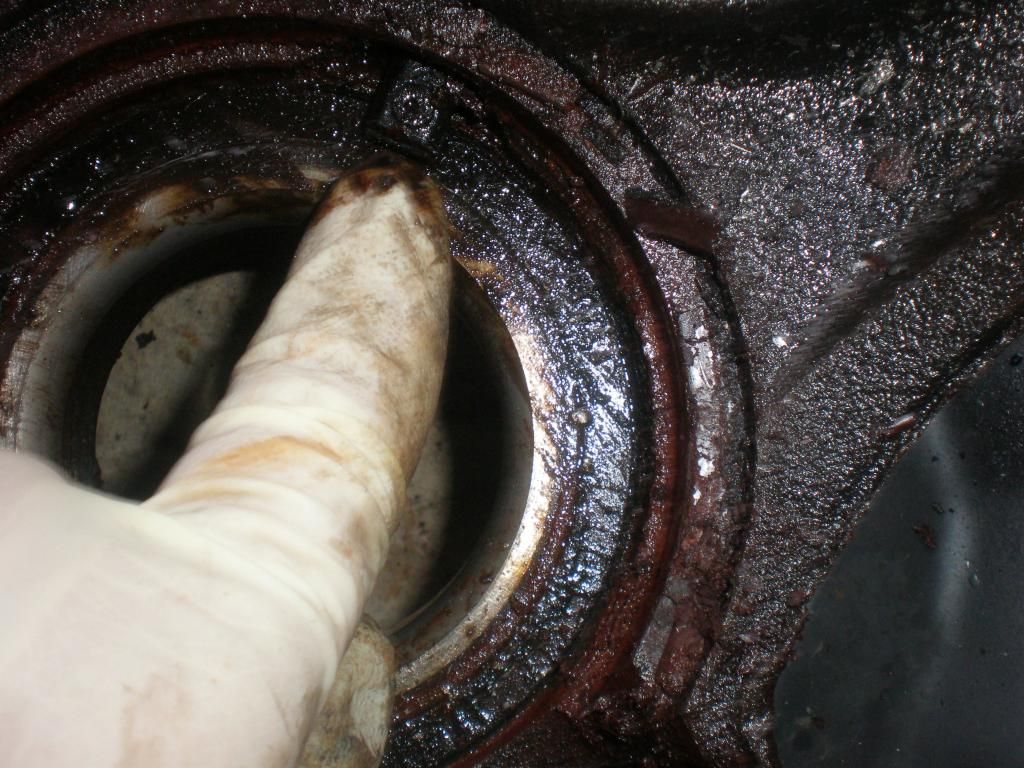
Next was removing the Tie Rod…. Removed the Cotter pin, then the 19mm nut. A quick beating of the knuckle loosened the tie rod end and was removed from the knuckle…
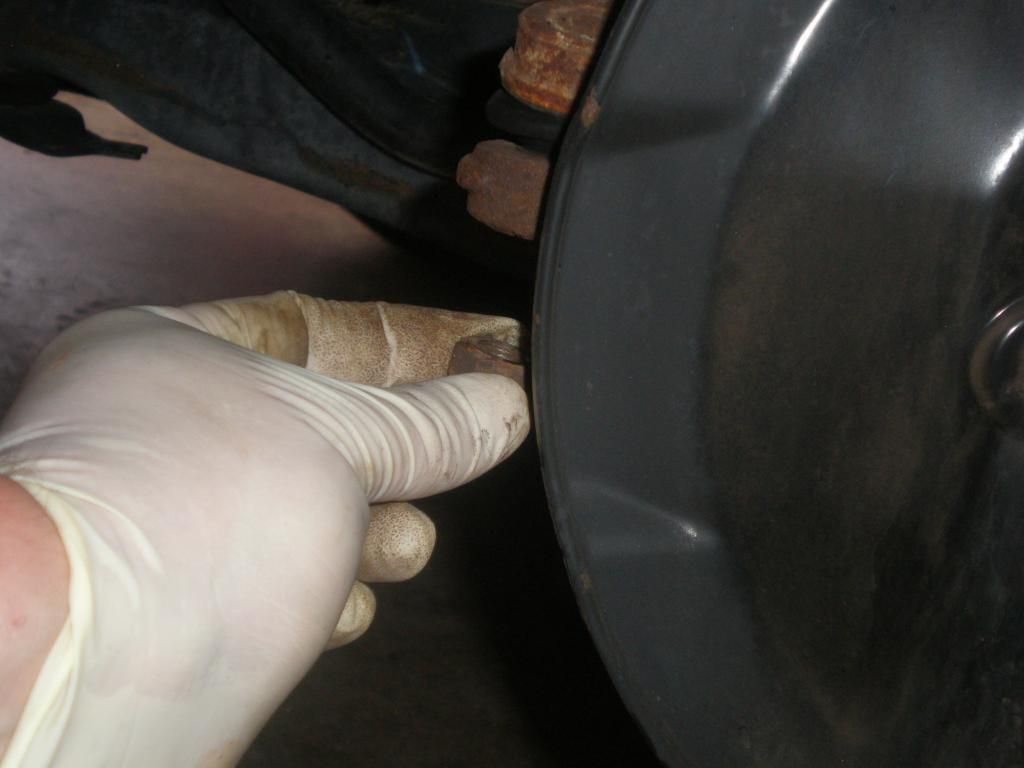
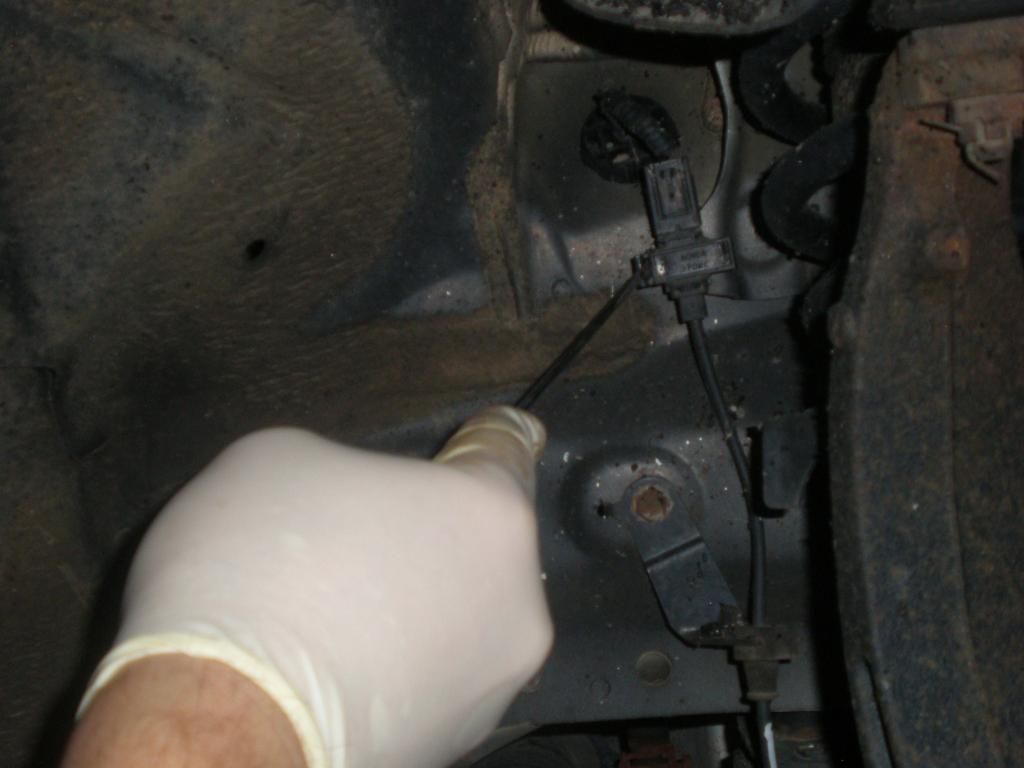
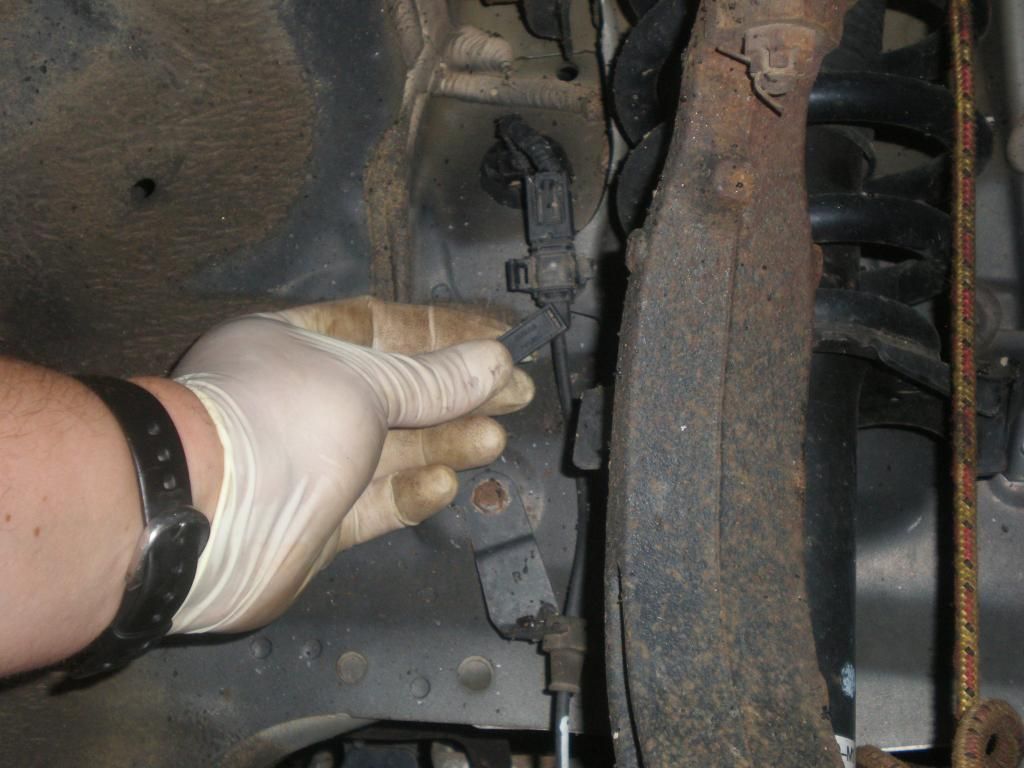
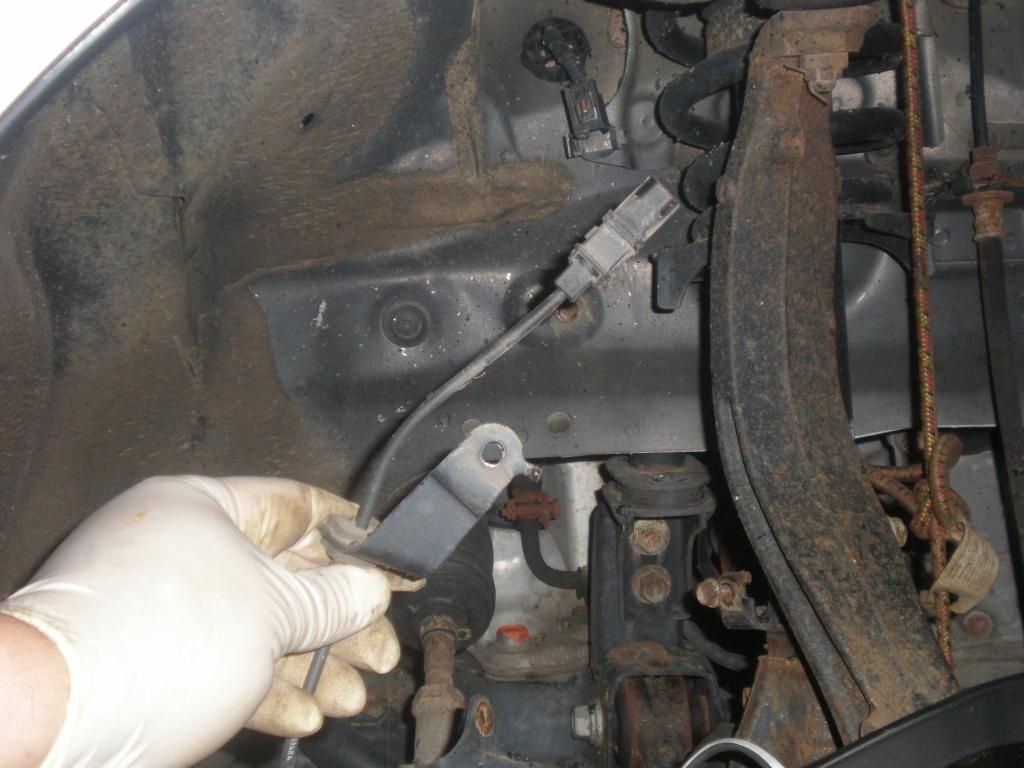
Next was to get the Speed sensor wiring out of the way… A quick clip here was removed and then 10mm bolts were removed from the wiring brackets… I kept it attached to the knuckle… Not worth it or even necessary to try to remove the sensor from the assembly… These are EXPENSIVE and are often frozen in place… Best just to leave alone…
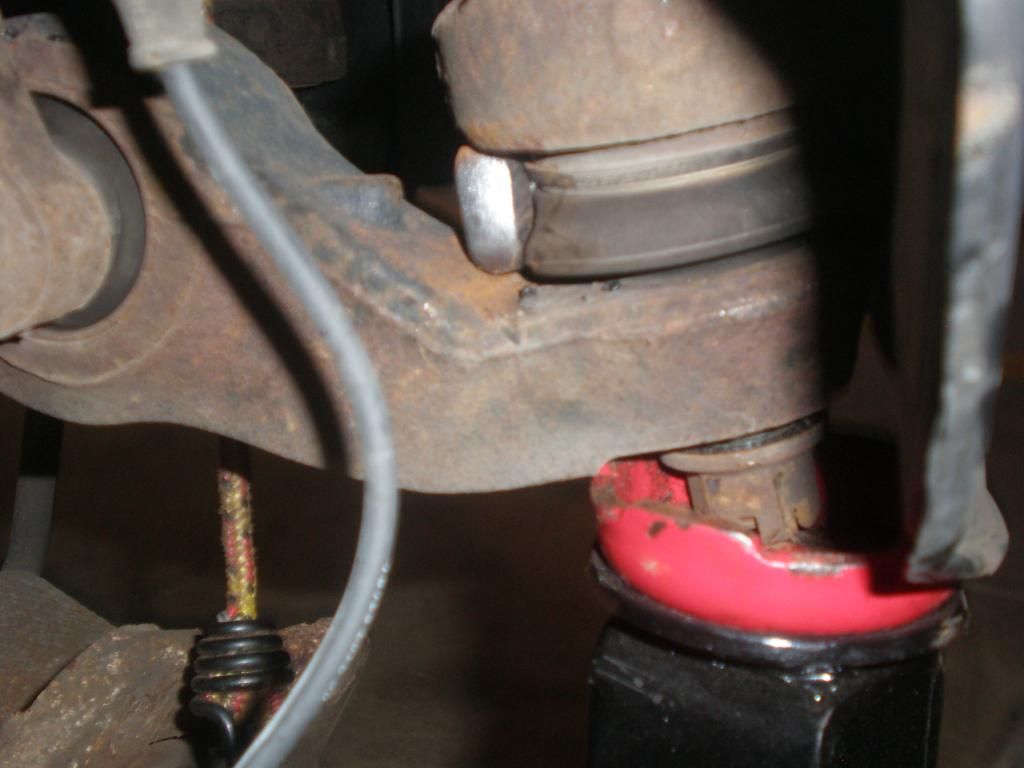
Next was removing the lower ball joint… These can be a real pain…. I have beat these to death on other Hondas with little success of getting them loose and don’t want to ruin it with a pickle fork… So I will show you a trick for Hondas that makes removing the lower ball joint totally simple and easy.
Remove the cotter pin and loosen the castellated nut slightly (19mm), Then jack up the lower ball joint using a small jack…
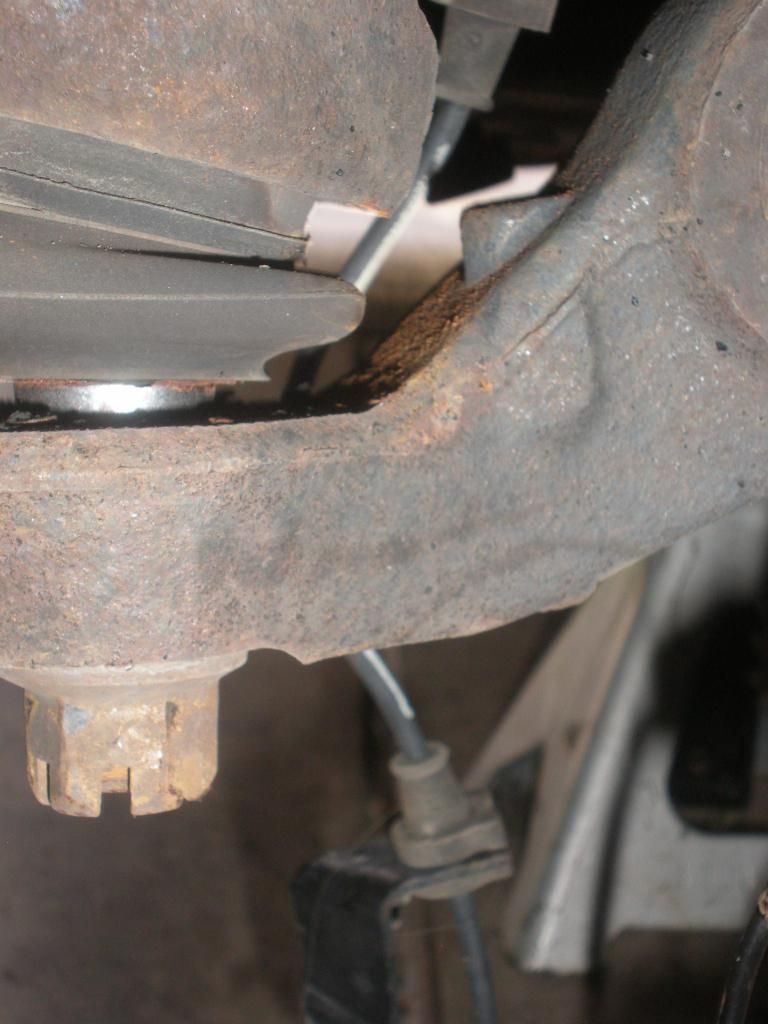
Get the jack it as high as you can go and insert a ½ drive Craftsman ratchet handle between the knuckle and the lower control assembly… There will be just enough space to insert it…
Then, simply lower the jack… The weight of the strut and spring will break the contact on the lower ball joint and it will pop out (as well as the wrench will just drop)…Easy breezy!!! Now the Lower ball joint is loose and you just unbolt the nut all the way….
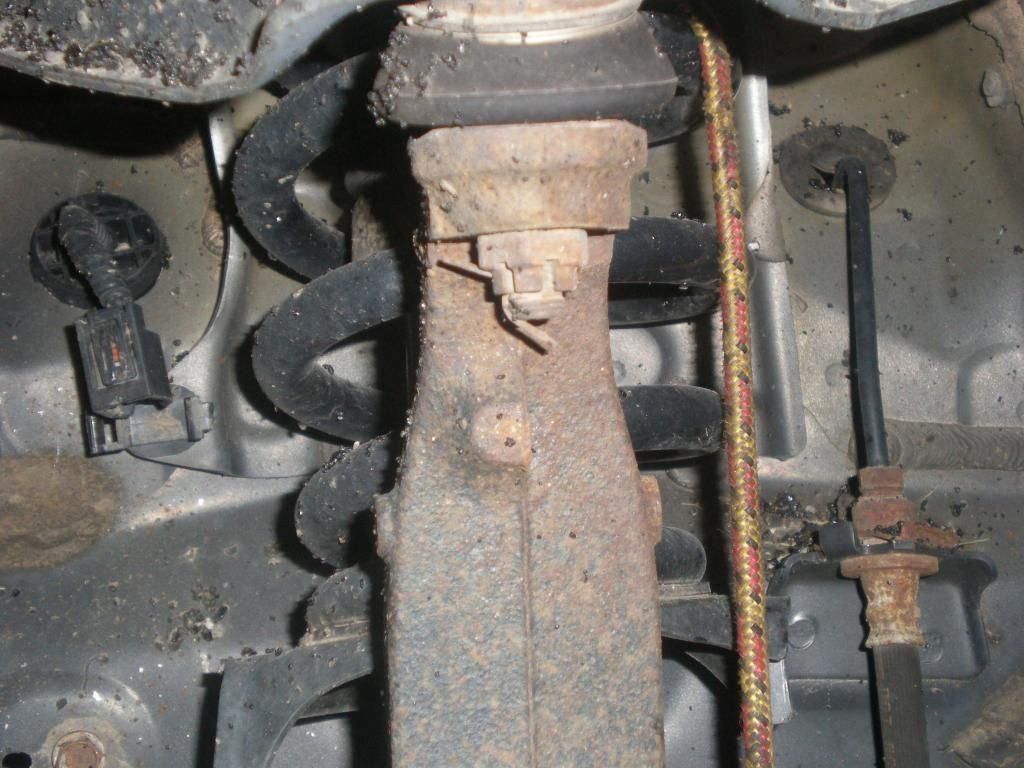
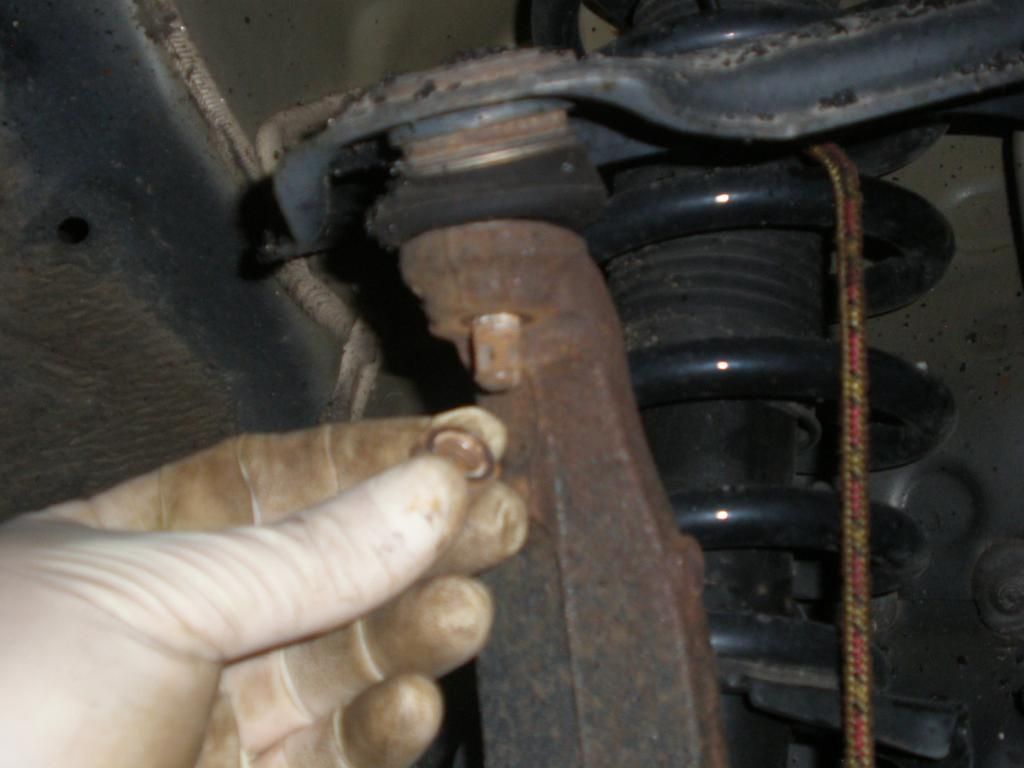
Then jack the assembly up again and move to the upper ball joint and remove the cotter pin and nut…
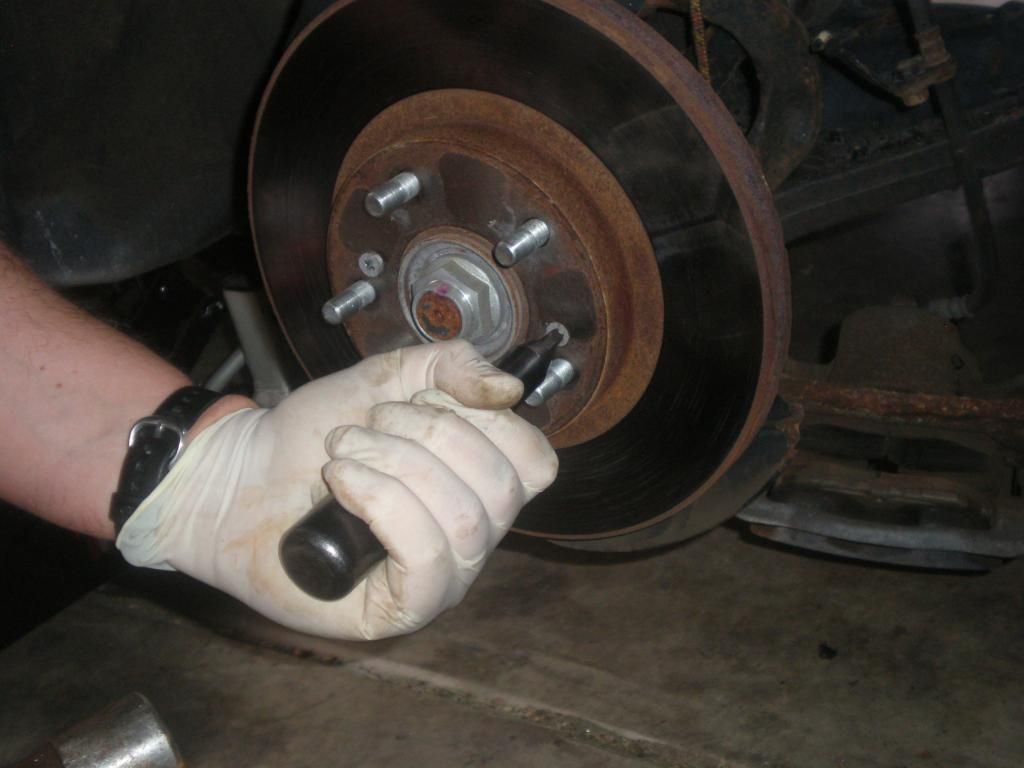
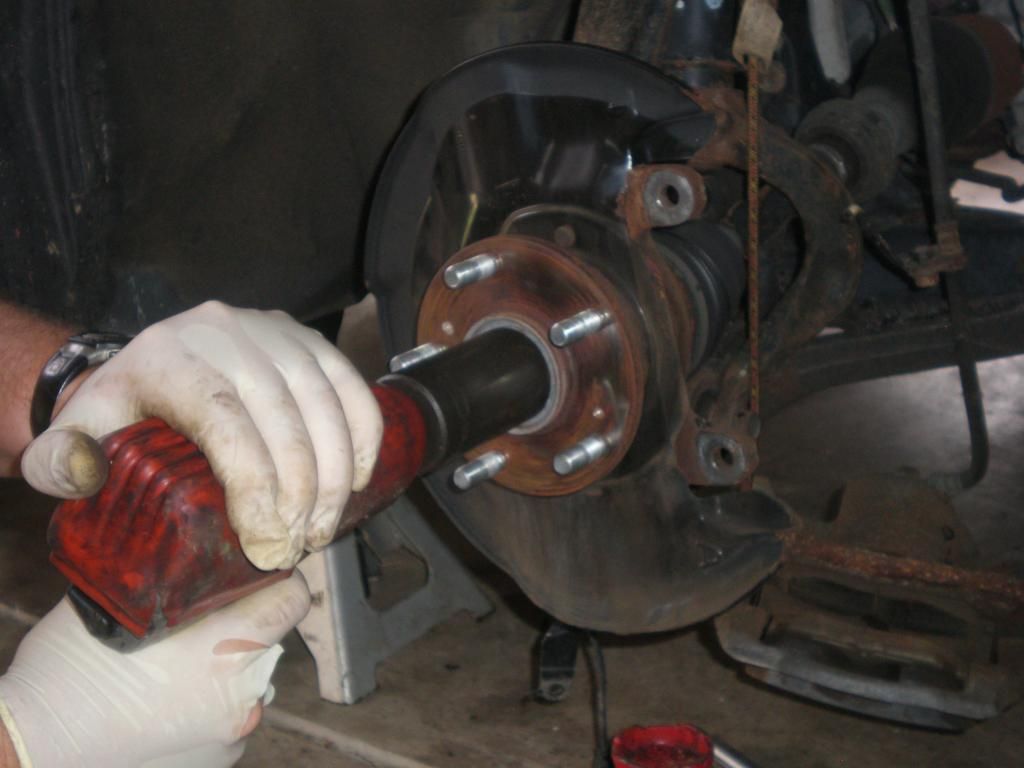
Then, using a 36mm Axle nut socket, remove the axle nut from the axle shaft…
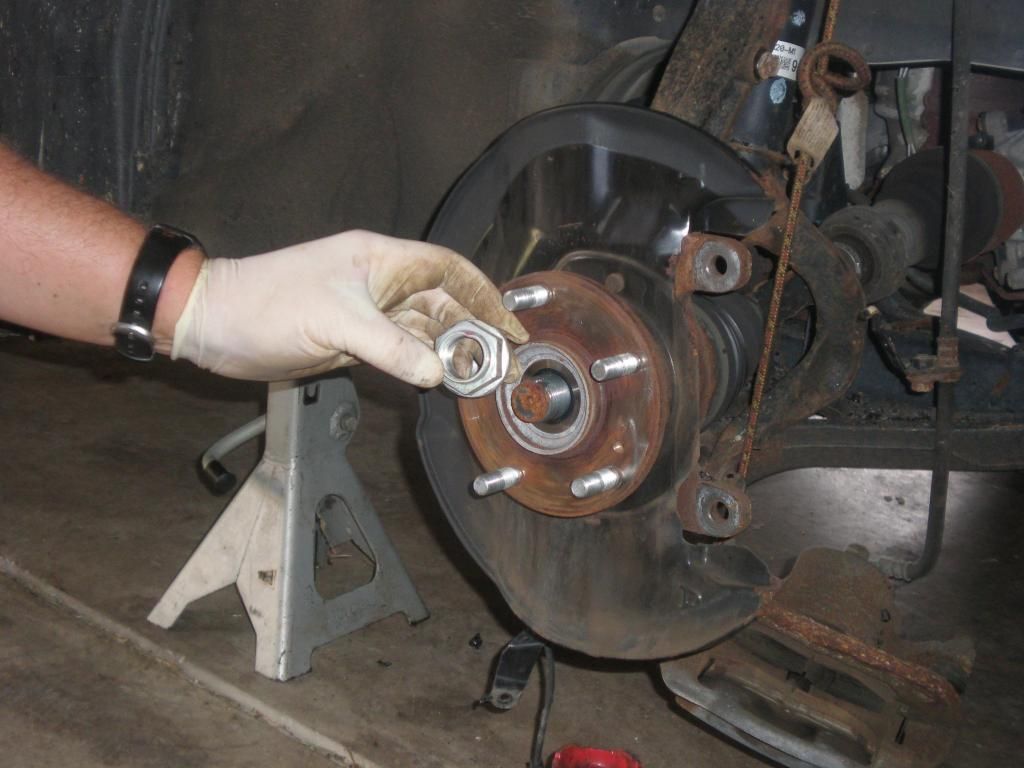
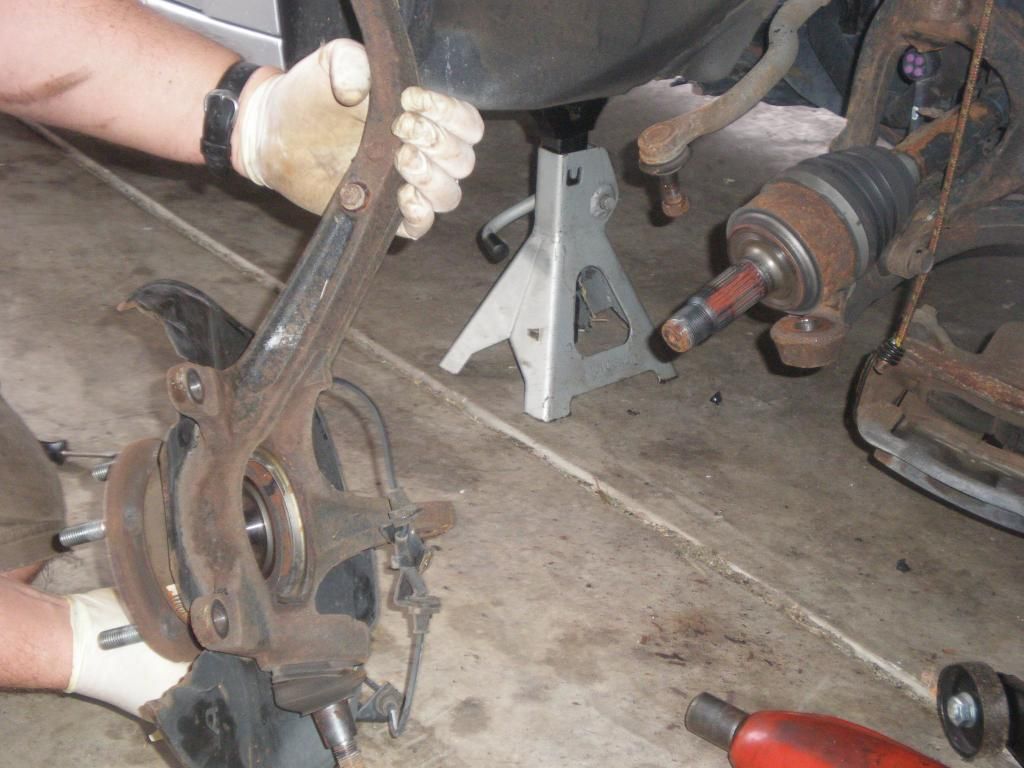
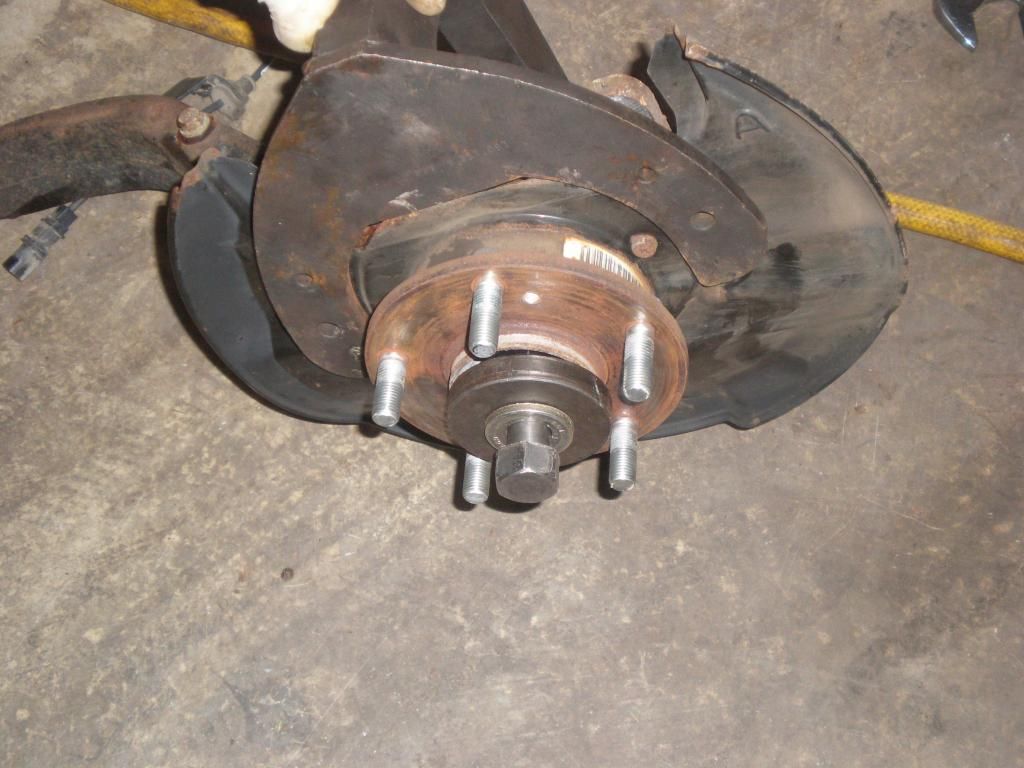
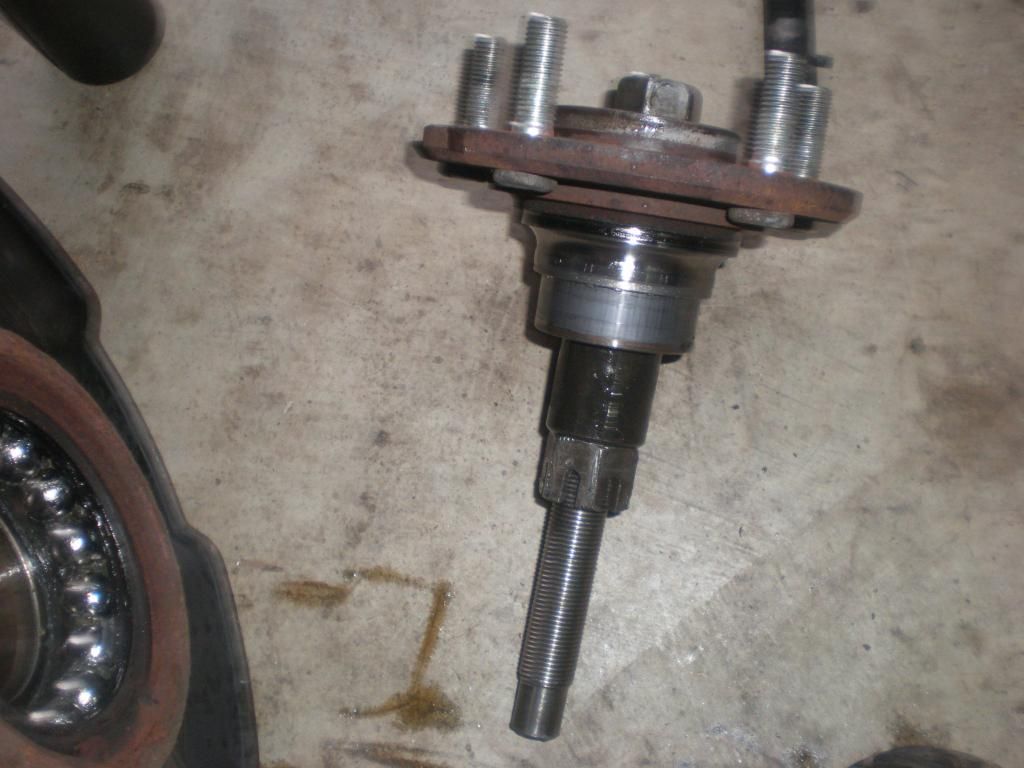
Now, remove the whole assembly….
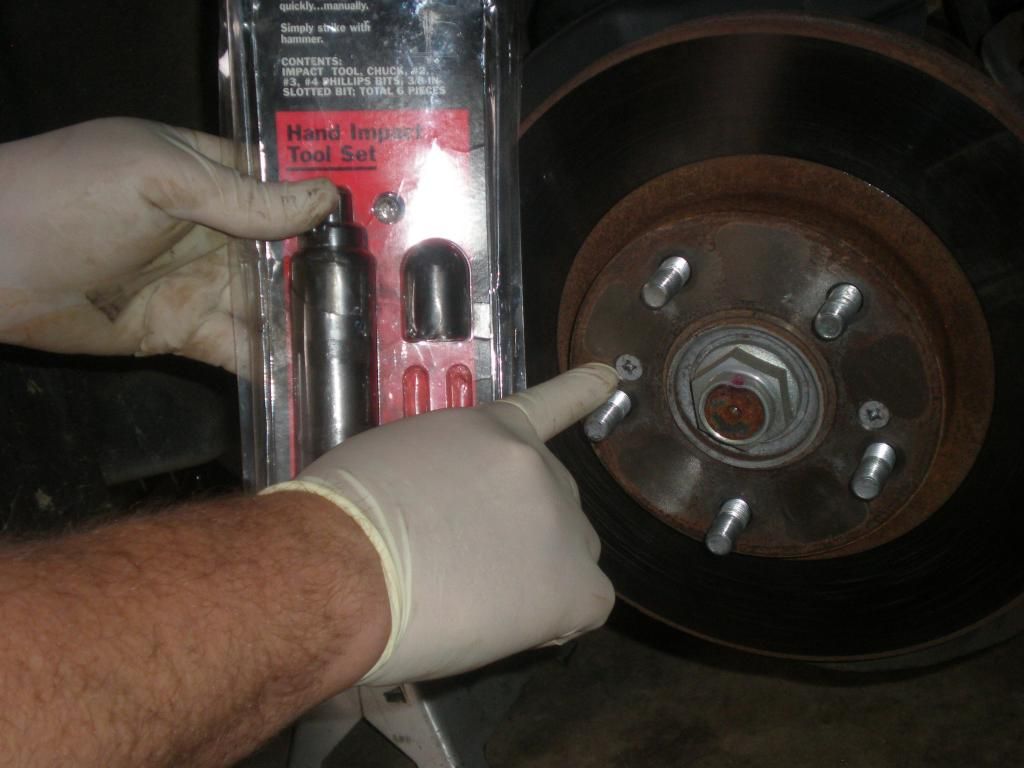
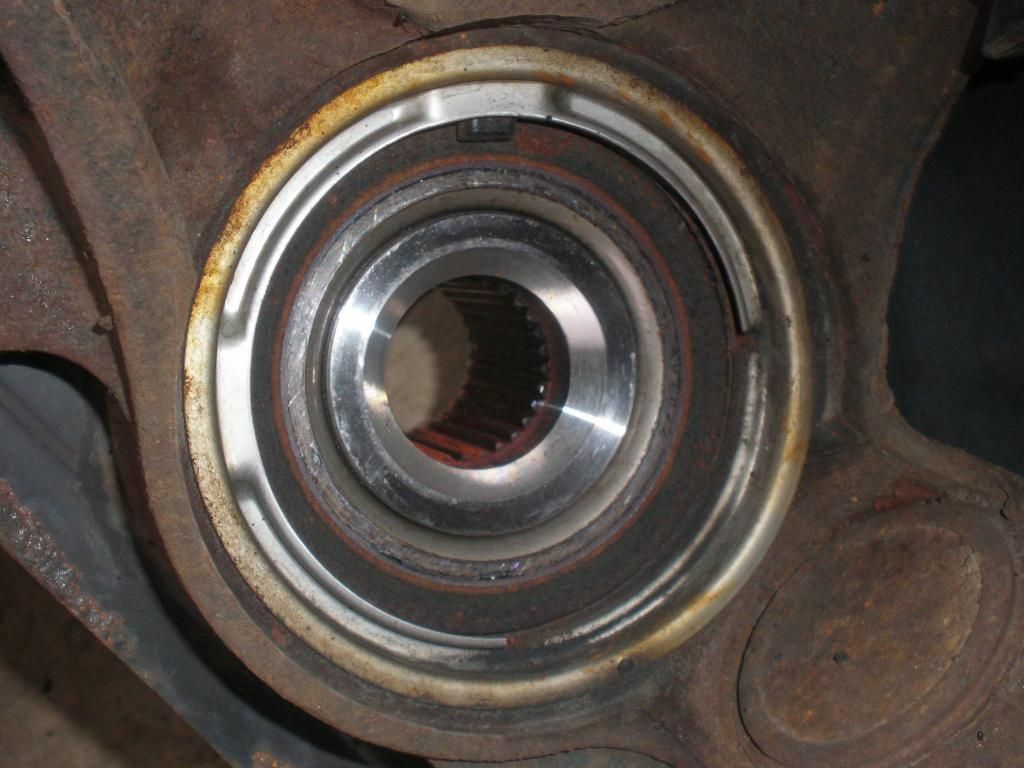
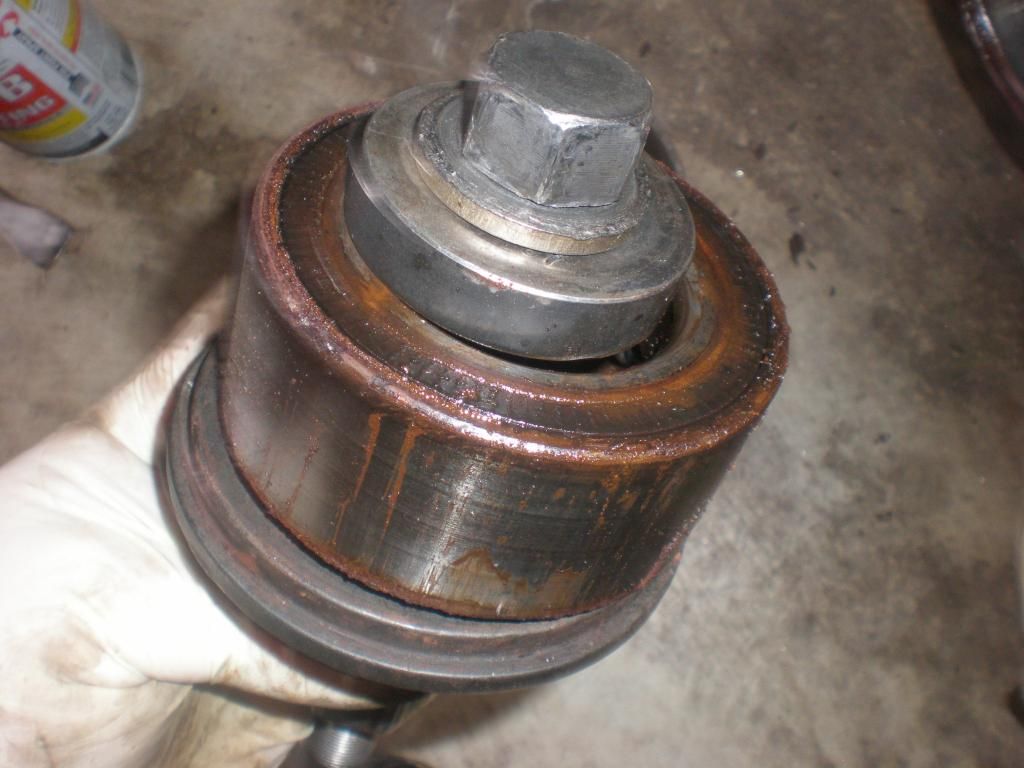
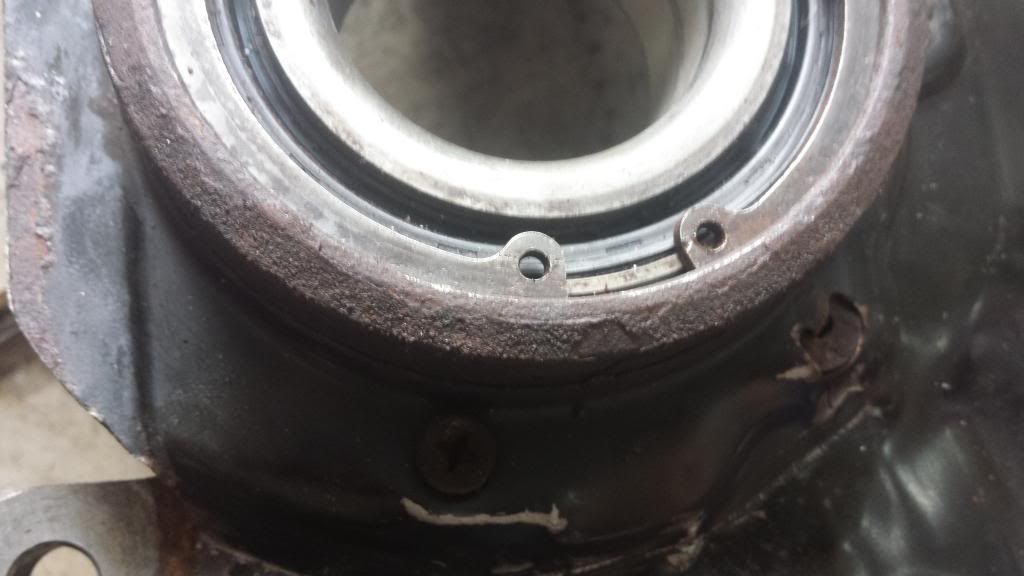
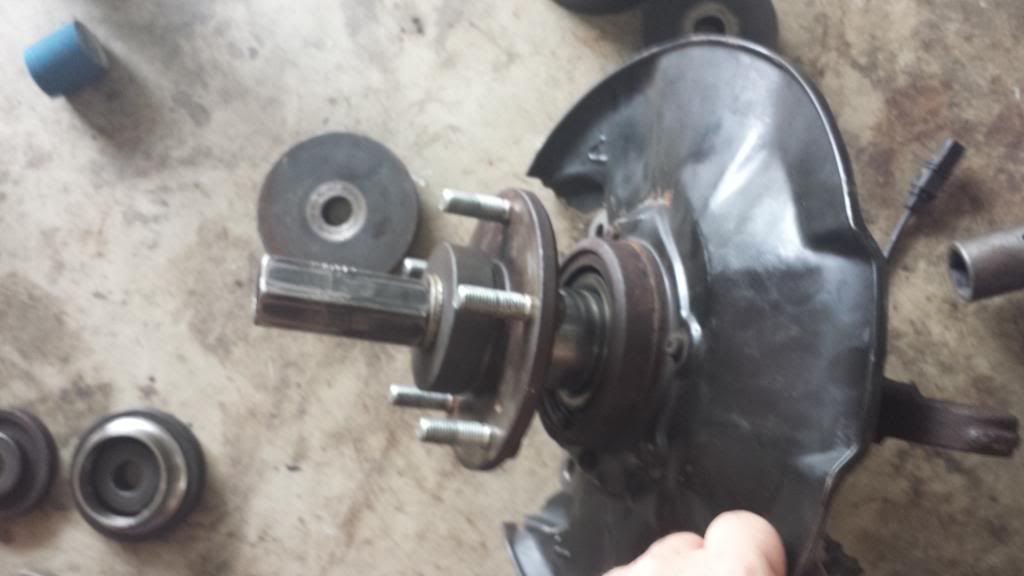
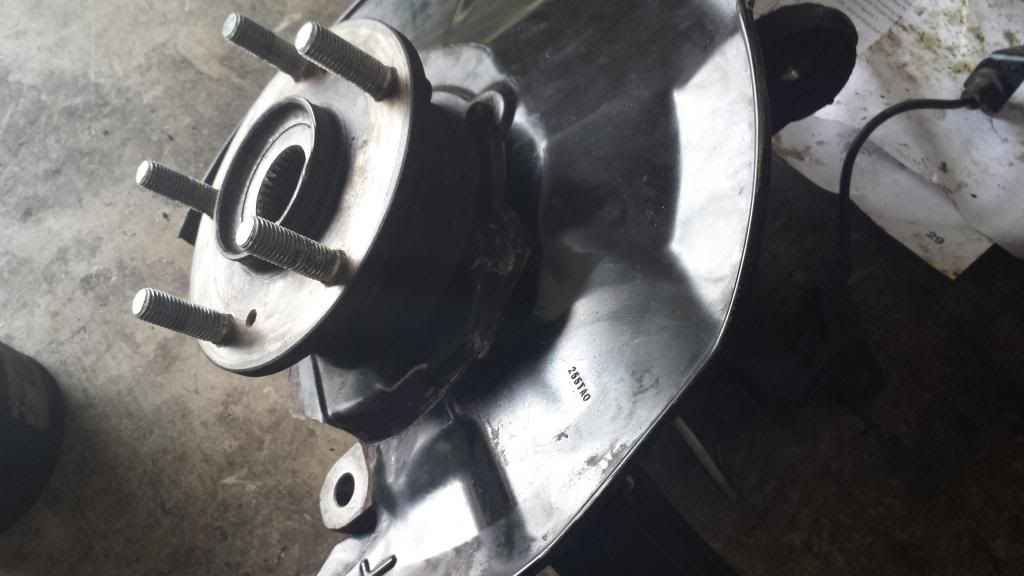
Here is the hub, note there is no place to remove the lug studs while it is still pressed in…
The back of the hub where the Axle shaft gets inserted…
Now the fun part begins. There are 4 distinct phases to replacing the bearings.
1- REMOVING THE HUB… This will be pressed out.
2- BEARING REMOVAL… It will have to be pressed out as well.
3- BEARING INSTALLATION… Press back in.
4- HUB INSTALLATION – Press the hub back into the new bearing…1. REMOVING THE HUB
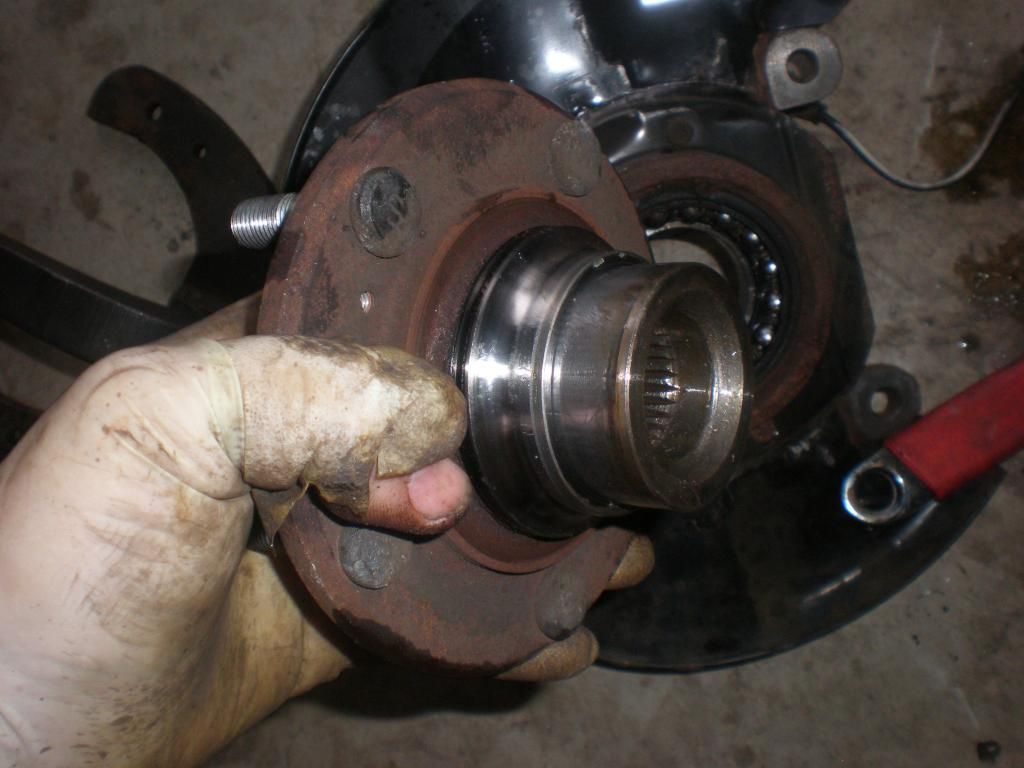
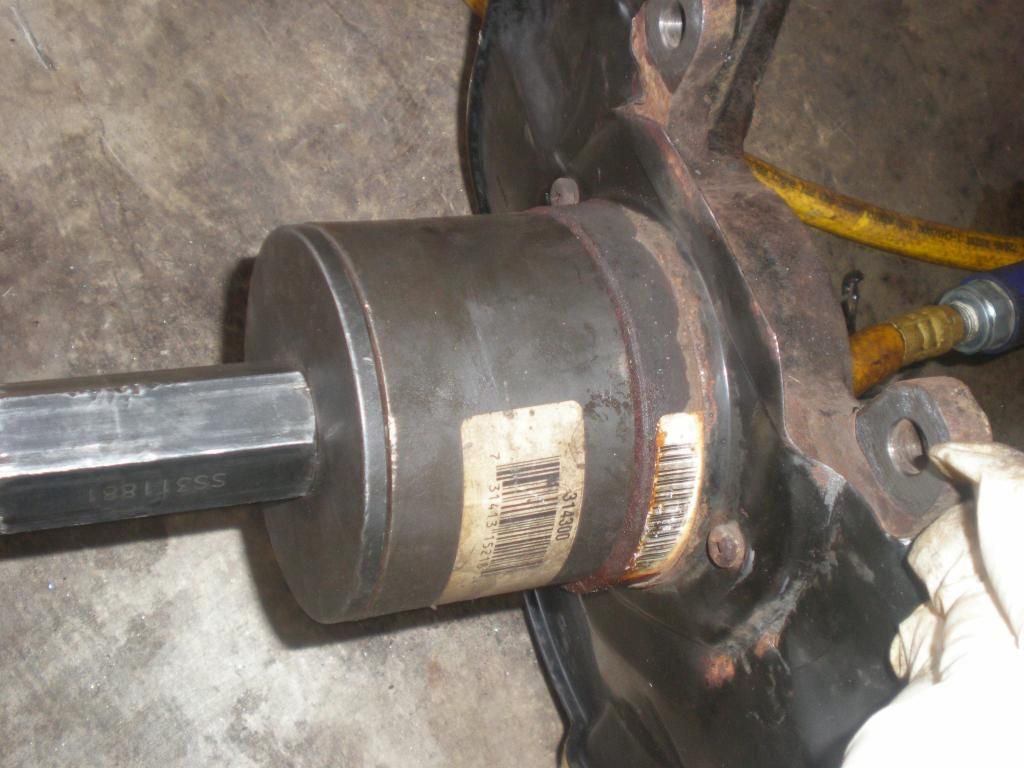
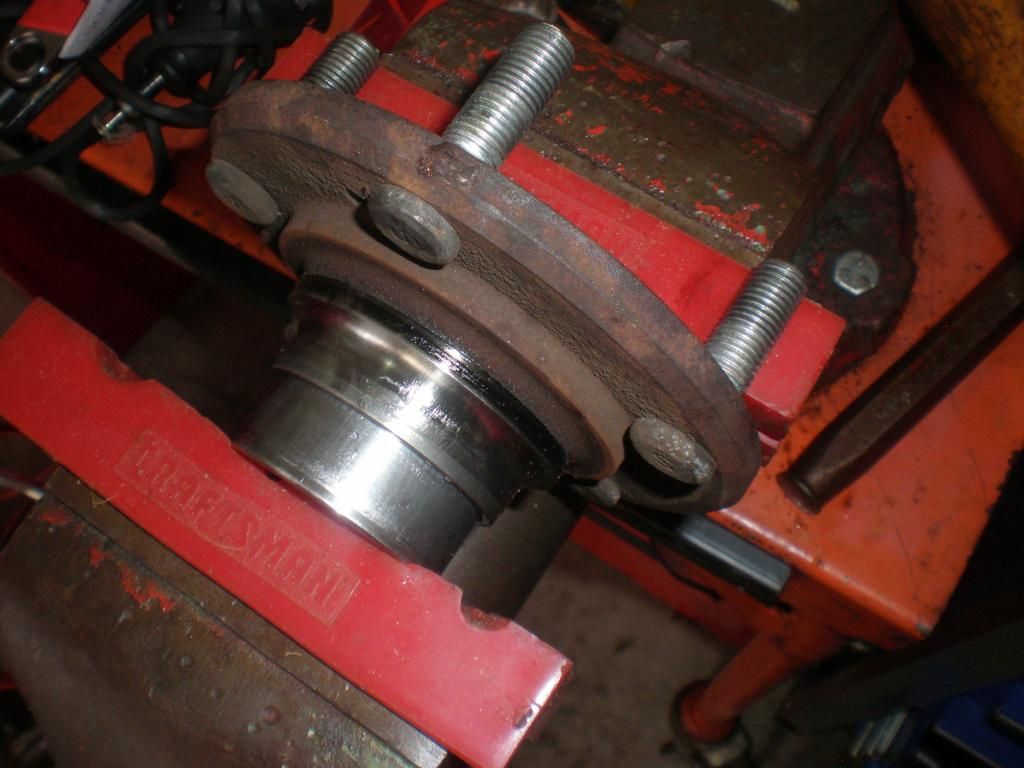
I use a Hub tamer kit to do this job… These are a bit pricey, but I got mine for around $60 at a Pawn shop… Check Craigslist, Pawn shops and flea markets for deals on these…. They are great…
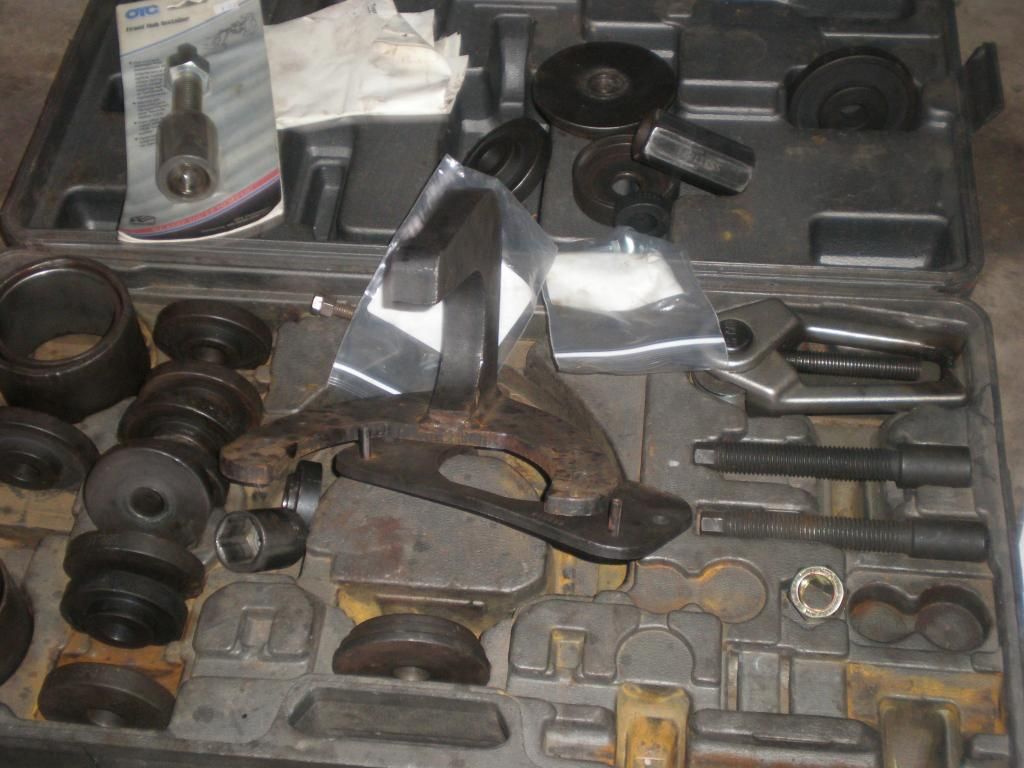
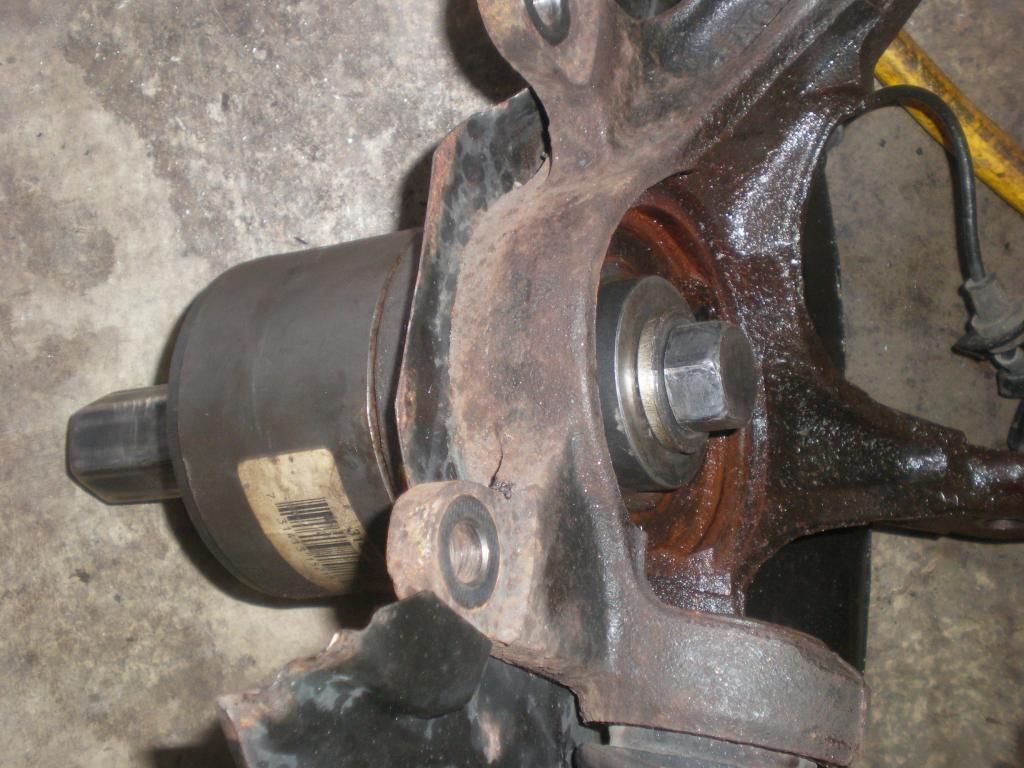
Configure Screw and adapters to attach to push the hub out…. Then apply an impact gun to run the bolt to push off the hub… An impact gun is an absolute necessity to use this tool
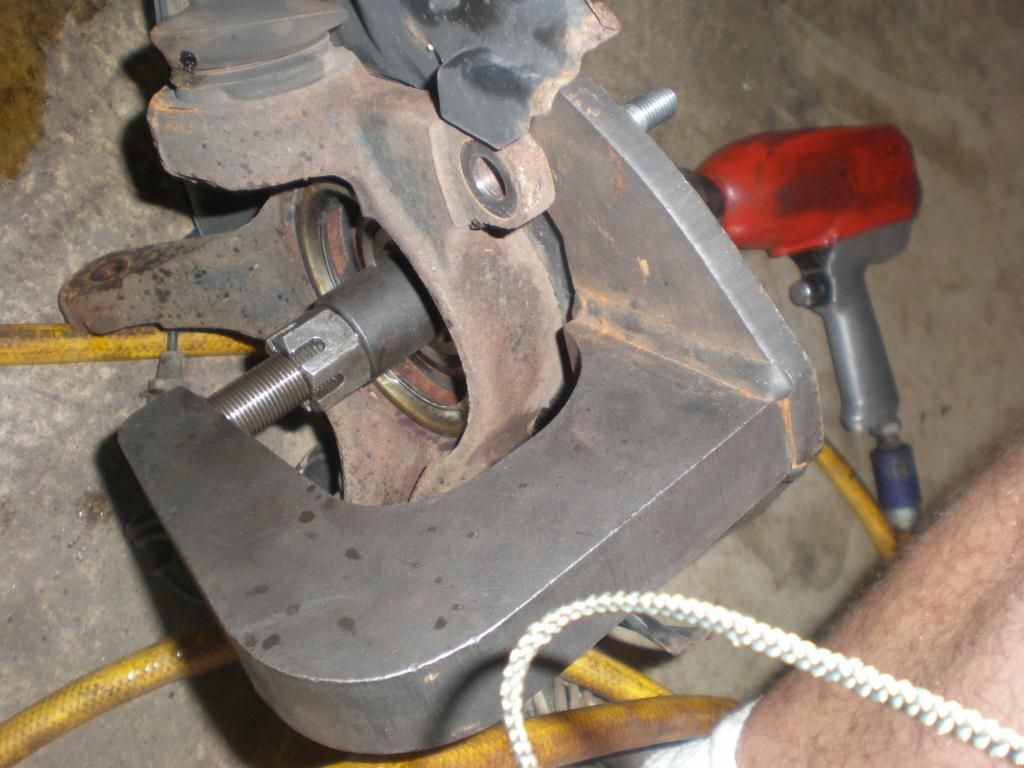
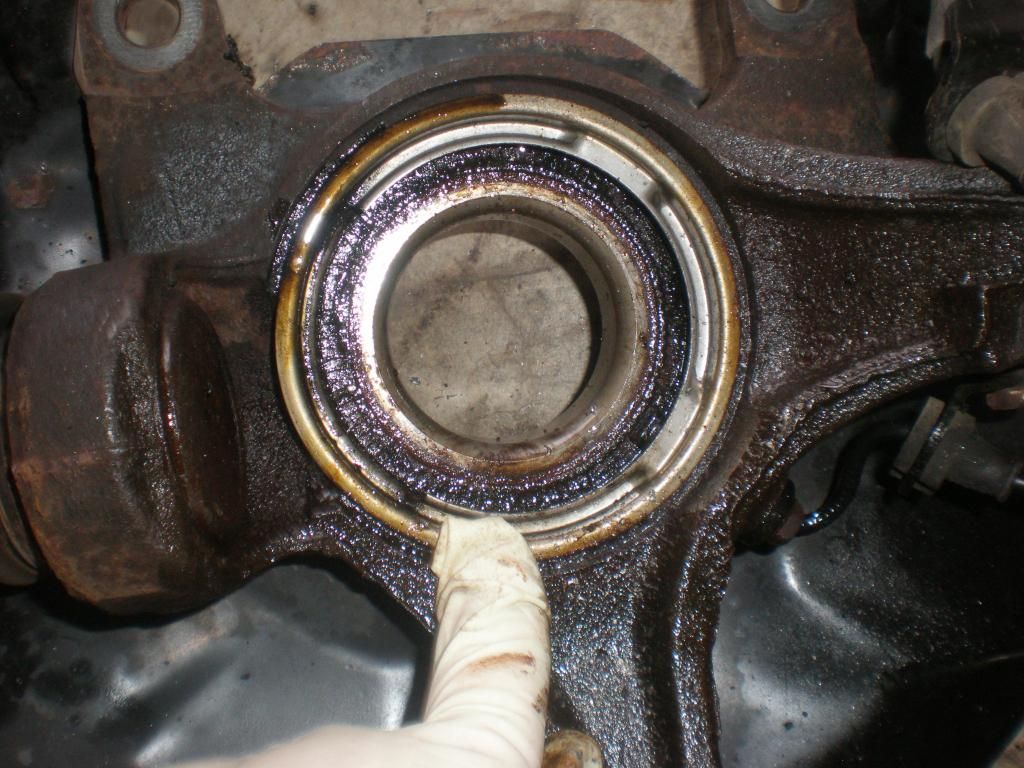
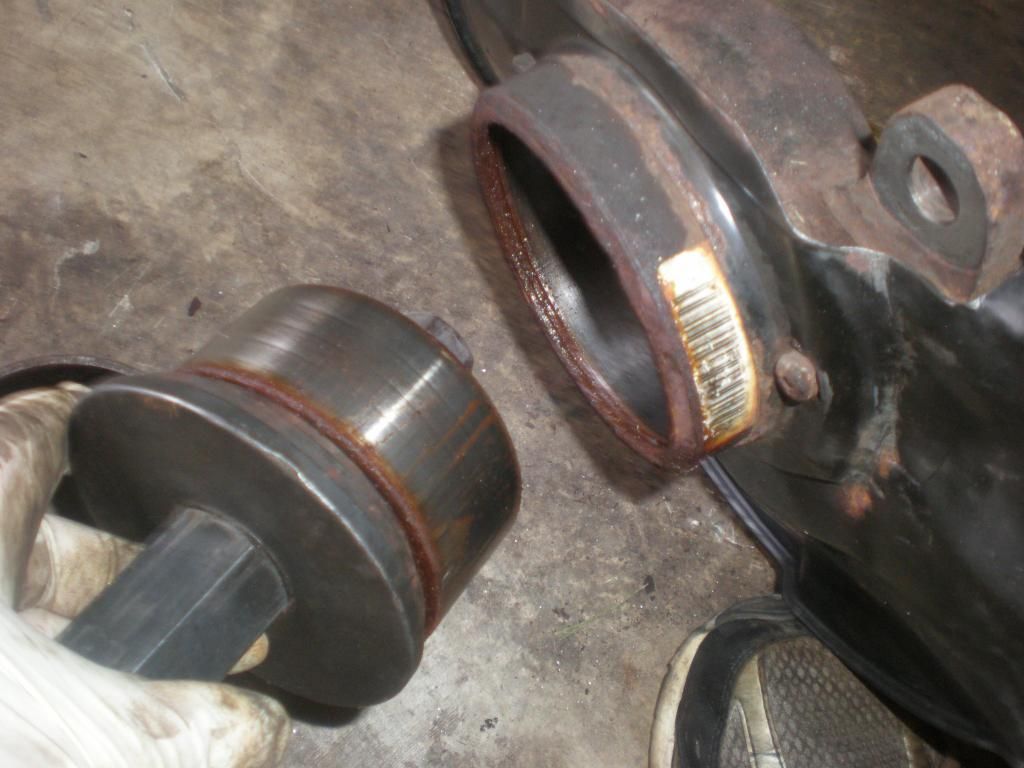
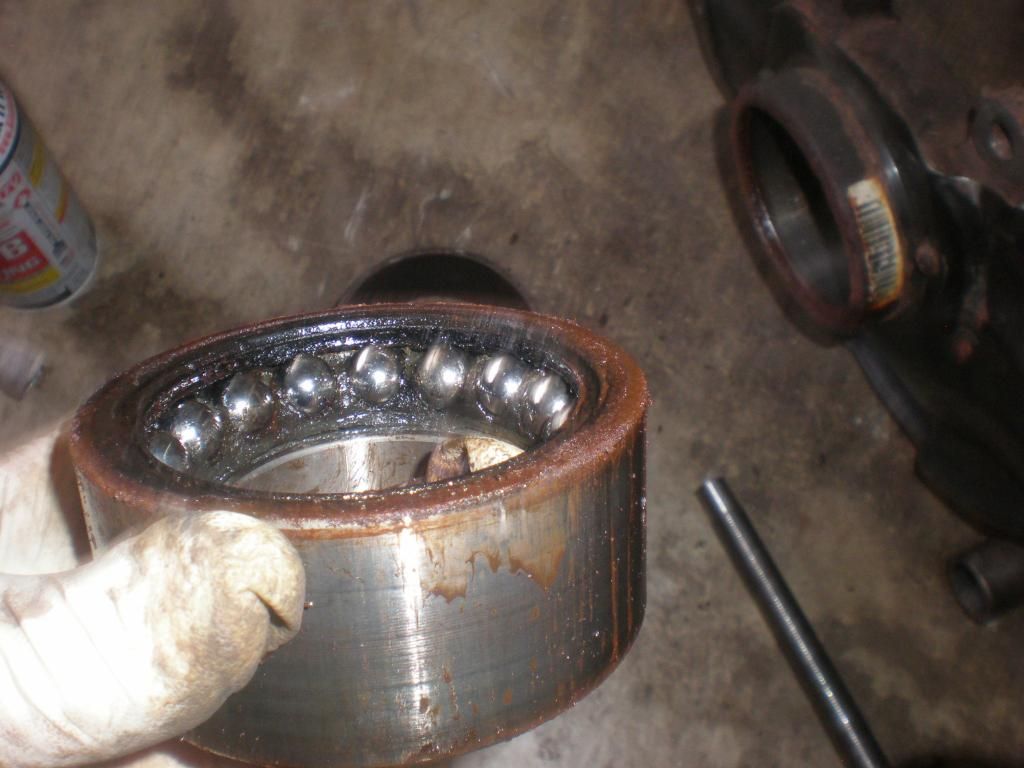
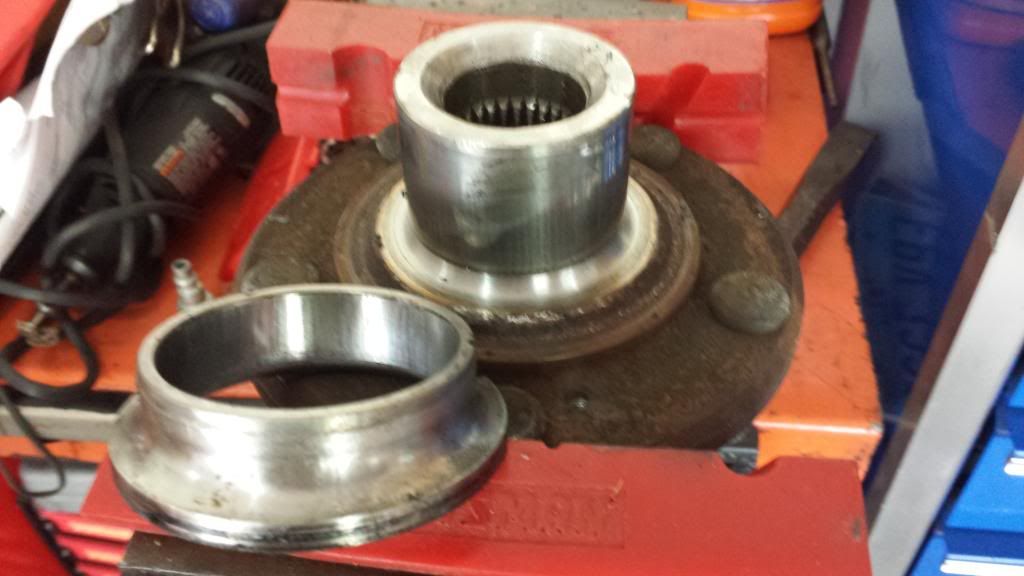
Hub removed… Note the race from the bearing is still attached… I will set aside and deal with this a little later….
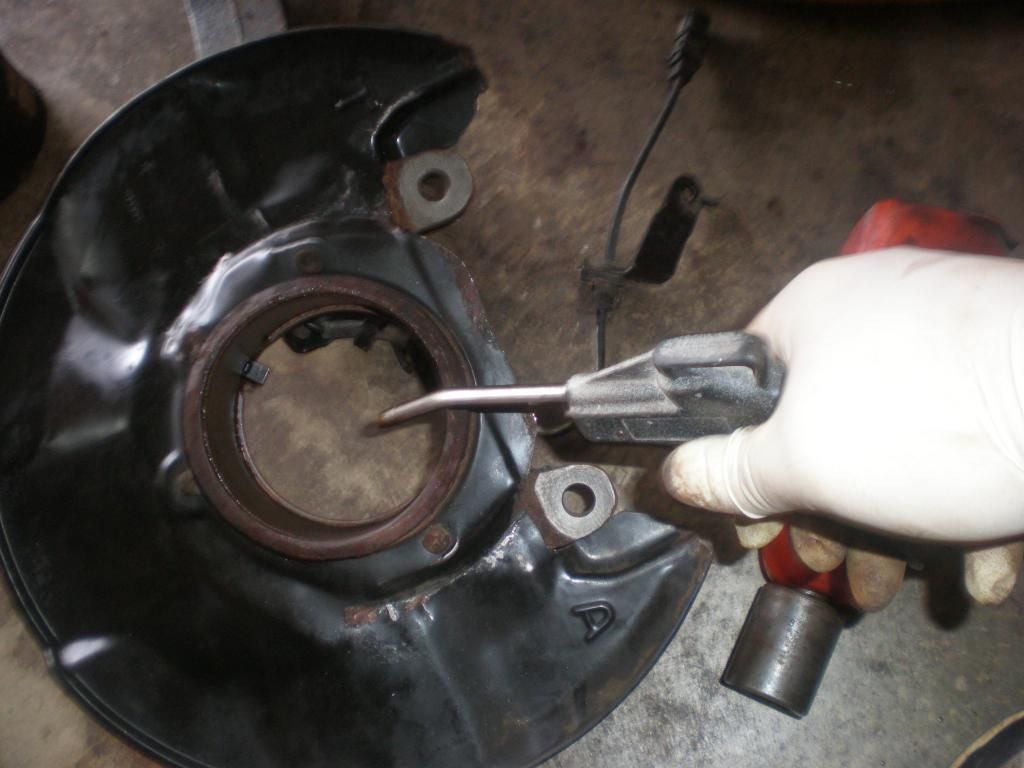
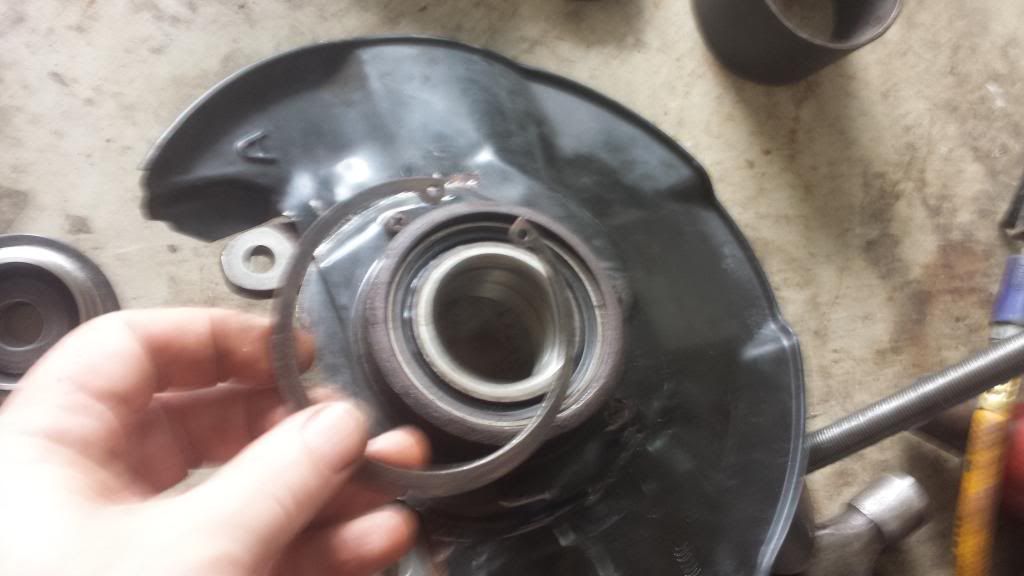
Here is what you are left with, a very rusty snap ring that needs to be removed… Use lots of lubricant and sometimes try to spin them to get them to loosen up so that you can use your snap ring pliers on it.. My Snap ring pliers ratchet locks in place when you close it, a great help… Then once you get the snap ring loosened, you can put a screwdriver behind it to help the removal process…
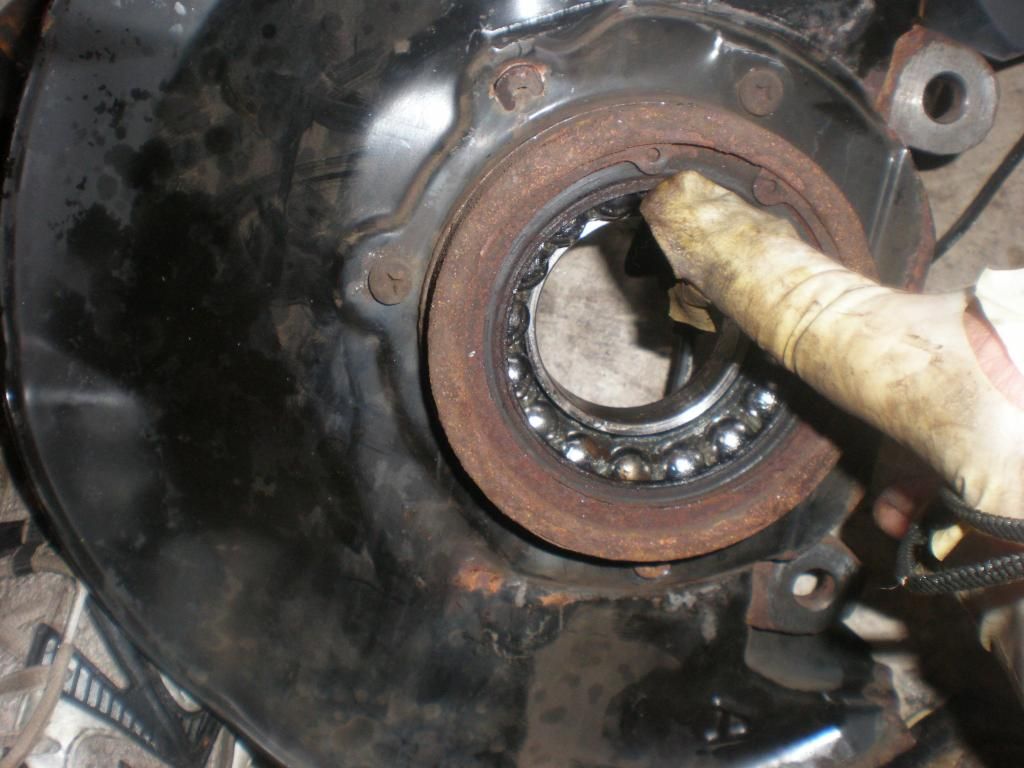
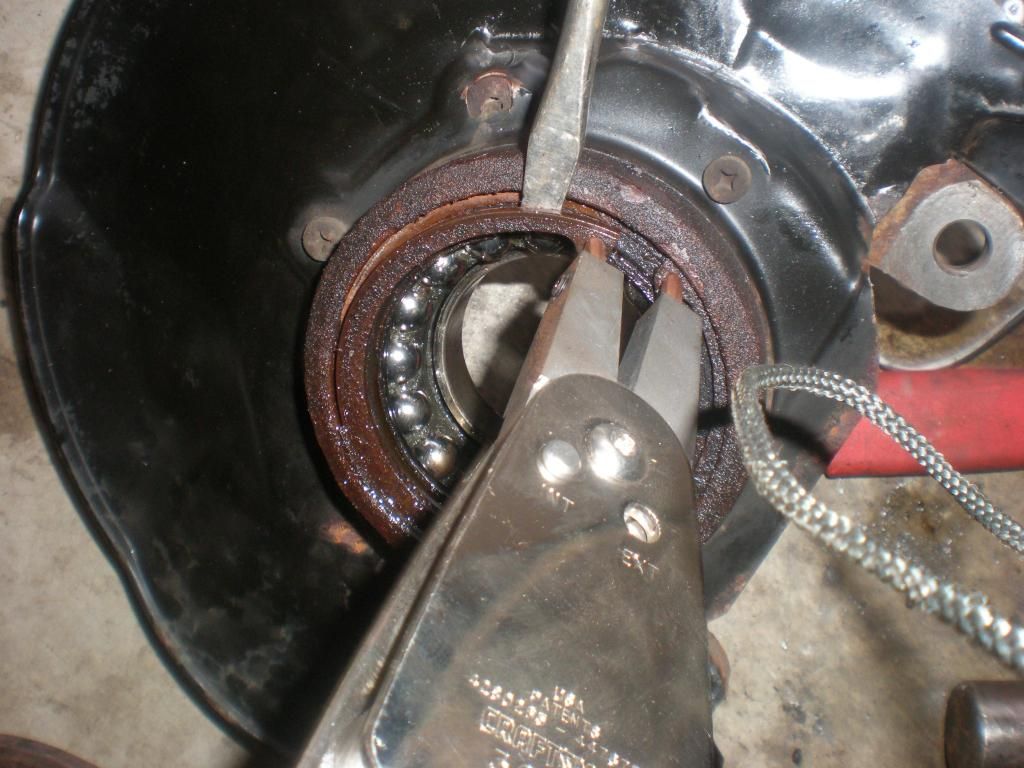
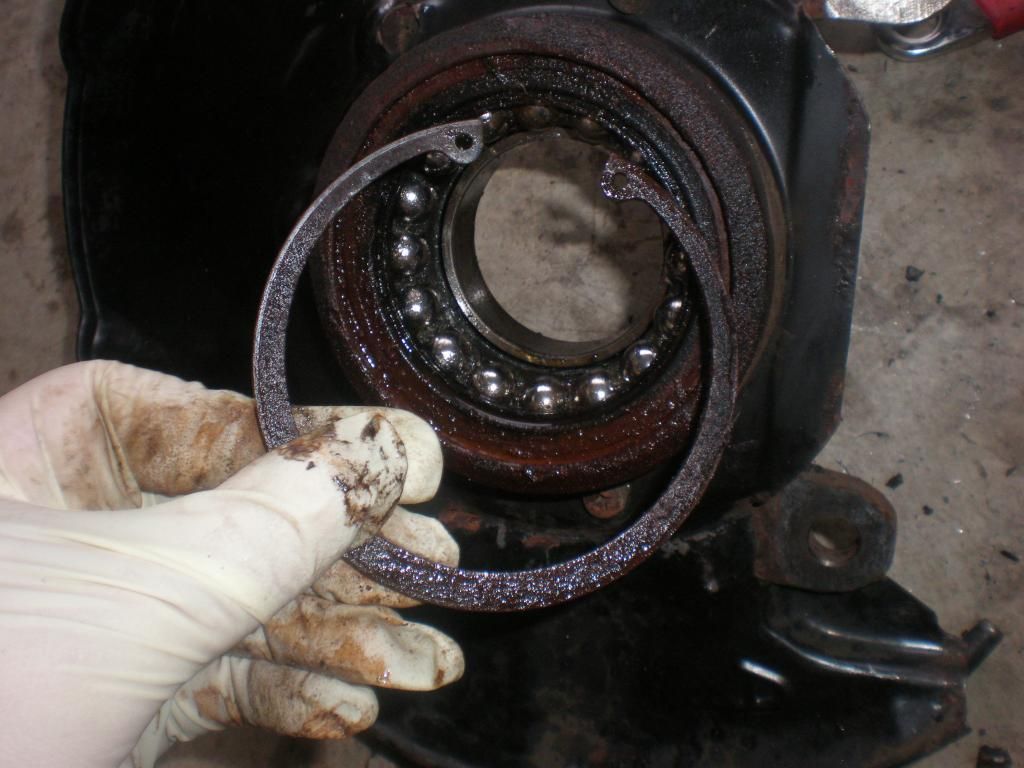
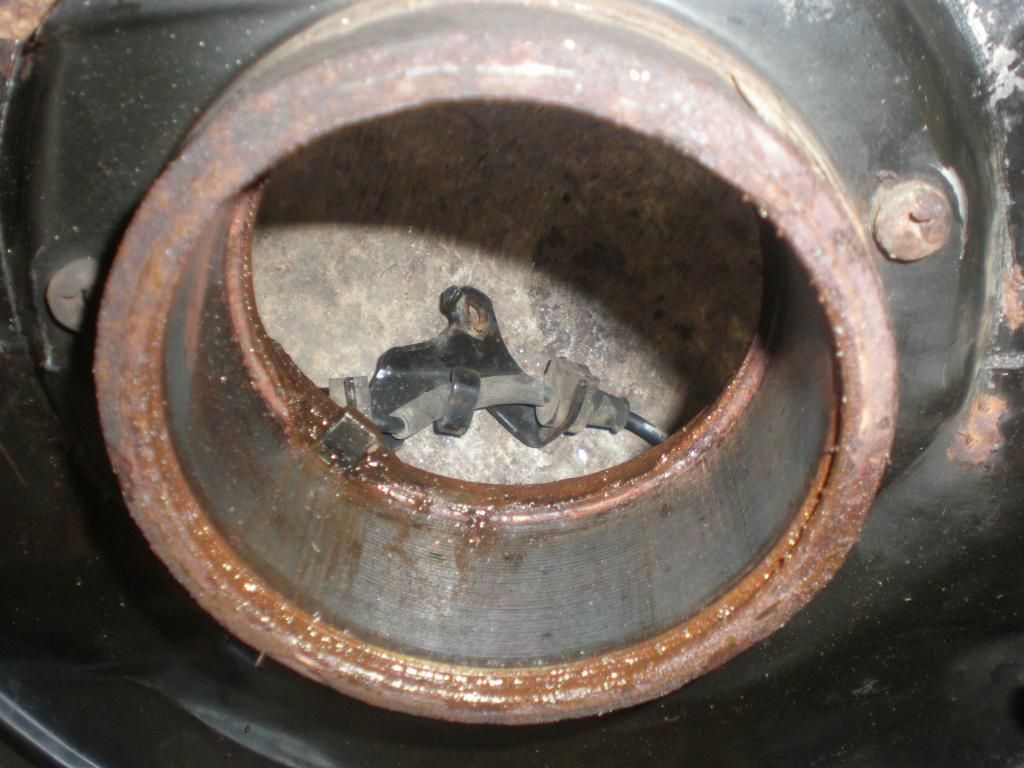
Next, flip the whole assembly over and remove the inside metal seal… Carefully pry up on these… They need not be destroyed to remove, and can be re-used… Just use lots of lube and take your time…
Now note the wheel speed sensor pickup… These Hondas have a toner ring (magnetic) in the bearing… The speed sensor picks up on the signals and uses it for your ABS…. NOTE!!! It is VERY IMPORTANT WHEN INSTALLING THE BEARING TO PUT THE MAGNETIC SIDE OF THE BEARING IN FIRST… IF YOU DO NOT DO THIS, YOUR ABS WILL NOT WORK… I will remind about this later…
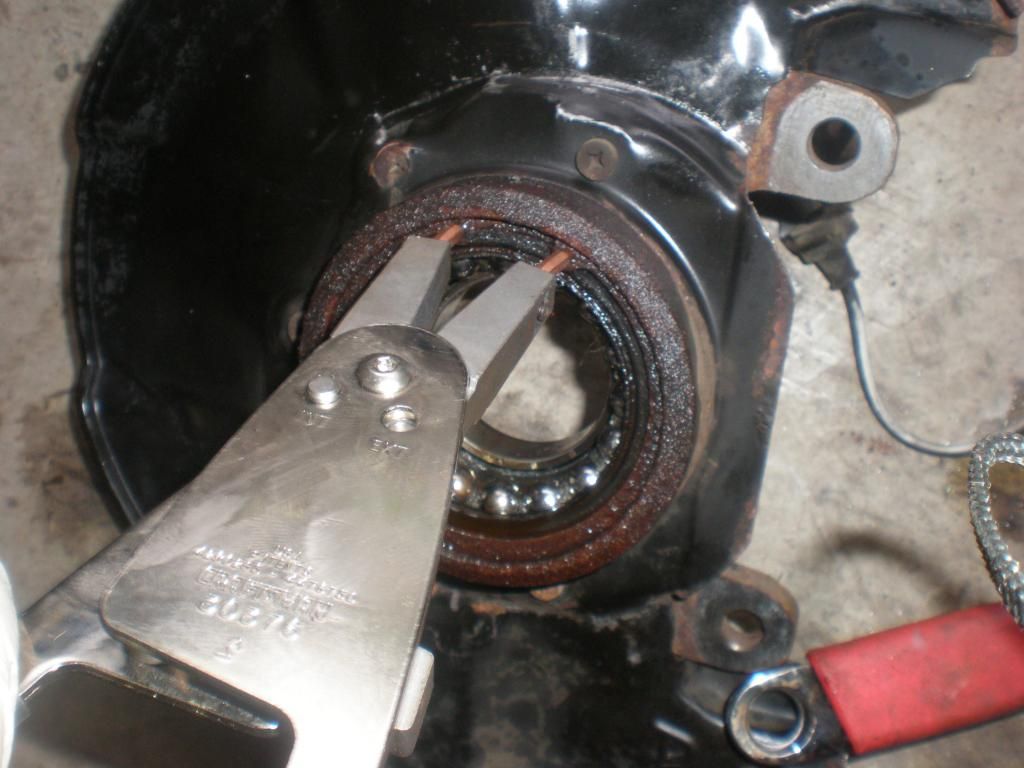
2. BEARING REMOVAL
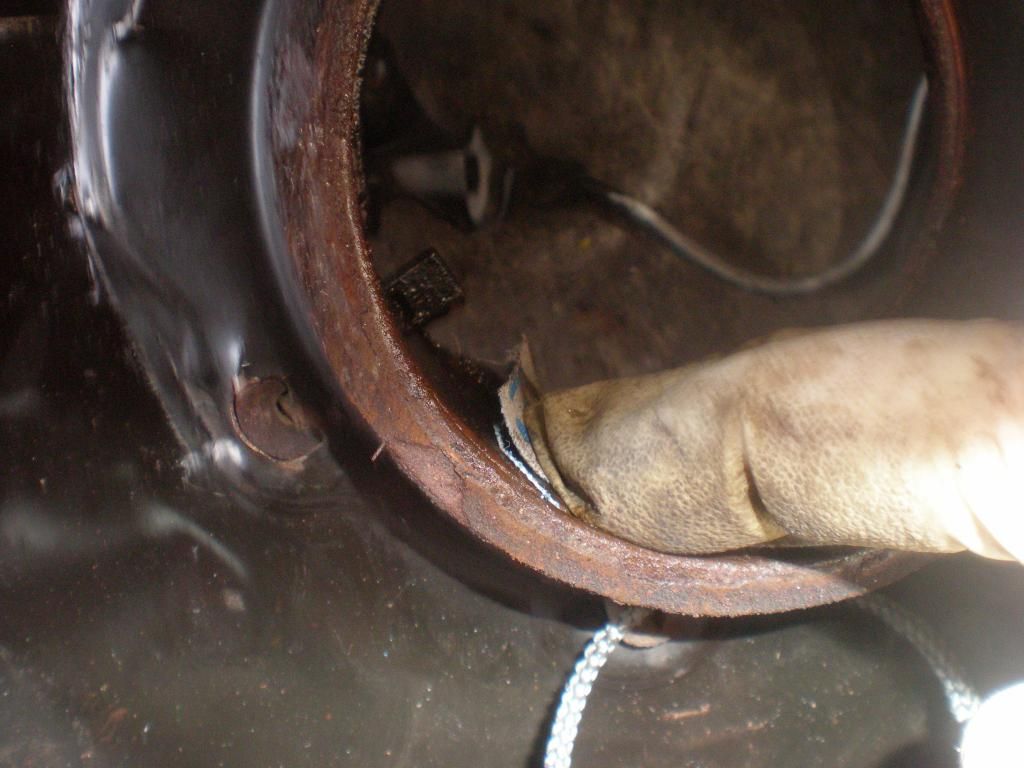
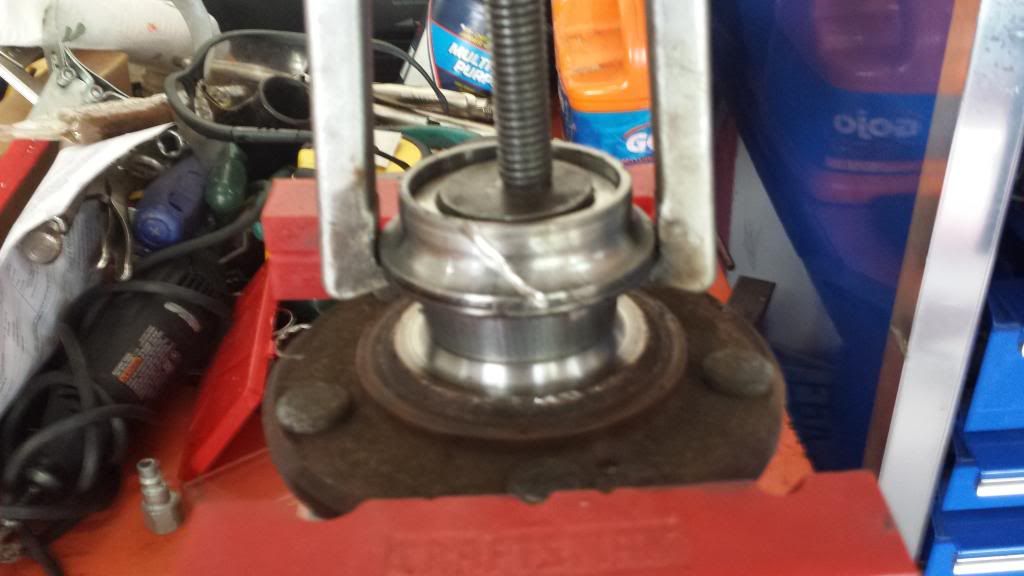
Now since you have an unobstructed path, set up the Hub tamer to push the bearing out the front…

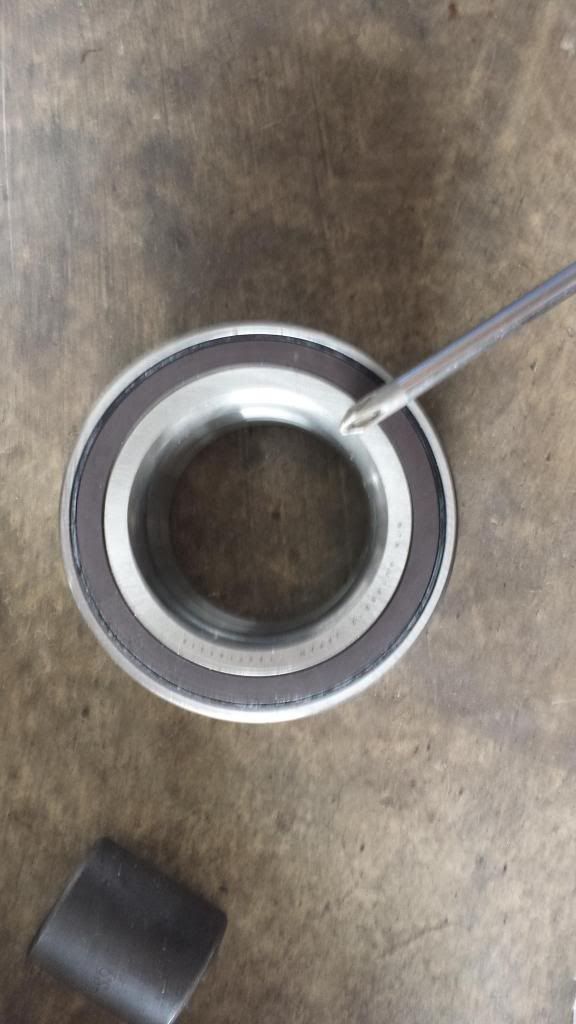
Out it comes… A nice rusty bearing….
I clean out the interior with a fine sandpaper and ensure I blow everything completely clean……
3. BEARING REINSTALLATION
Set up the Hub tamer to press the new bearing in. Note it has to be square as possible to go in… Some people use a little lube or anti-seize to help the bearing slide back in easier… I use a light coat of PB….
****ENSURE YOU INSTALL THE MAGNETIC SIDE OF THE BEARING IS FACING DOWN TOWARD THE PICKUP OF THE WHEEL SPEED SENSOR…. FAILURE TO DO THIS WILL RESULT IN YOUR ABS NOT WORKING AND WILL REQUIRE TO YOU REMOVE THE BEARING AND DO THIS ALL OVER AGAIN!!! *****
If you are concerned about which side is magnetic, take a small screwdriver to both sides… You will feel the magnet slight pull on the screwdriver… That is the magnetic side…
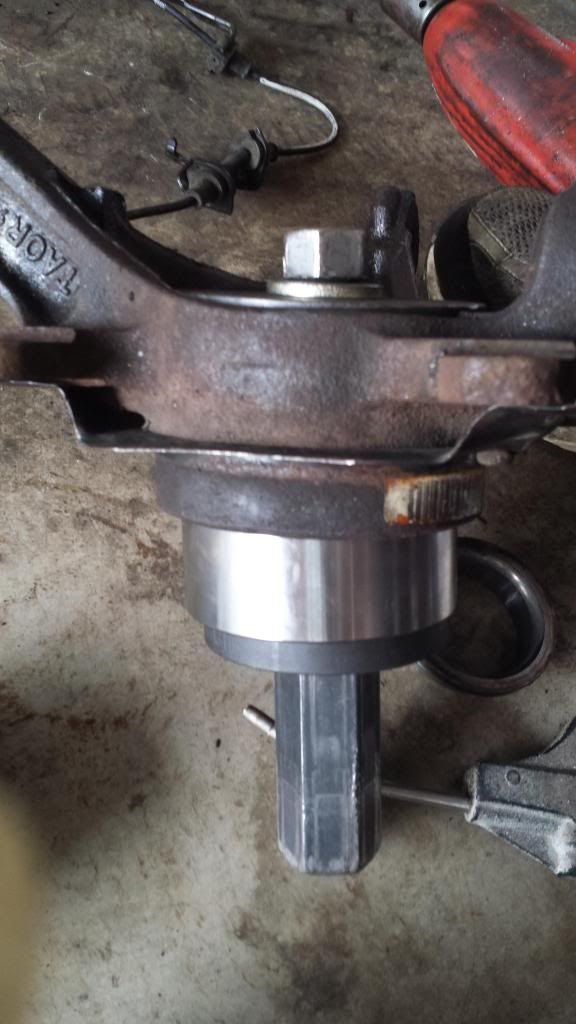
OK… Once it is pressed back in, ensure you push it all the way until it stops.. The impact gun noise will change when it can be pushed no more… Also, you will see the recess for the snap ring…. Reinstall the snap ring…

4. HUB REINSTALLATION
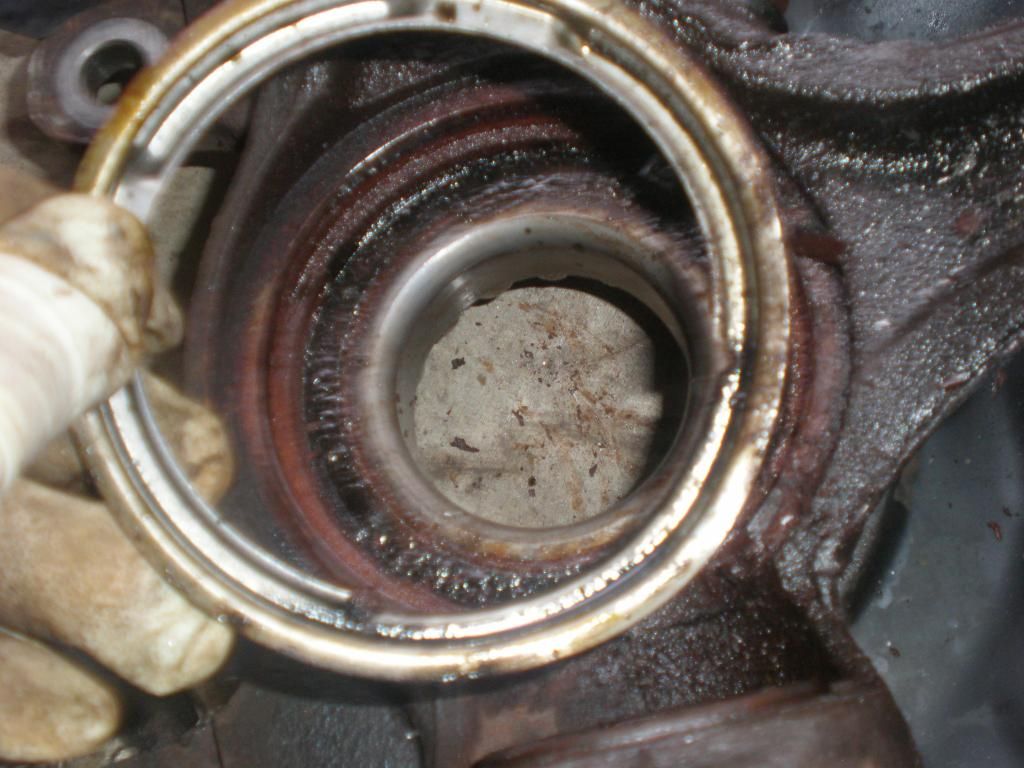
Remember the Hub we pulled and how the race was stuck on there… Well now is the time to remove that race… I put the hub in a vise and use a cutoff wheel to cut a small slit… ETCG cuts the slit all the way through and cracks the race for easy removal… I do it a bit different….
I have found that a small slit will slightly weaken and heat up (expand) the race enough to start working a chisel in between the race and the back of the hub. A few whacks with a hammer and there is enough space to put a puller on the race and pull it right off the hub… This way saves you from nicking your hub… Takes a bit longer, but does not scar the hub….. (also, sorry for crappy pics, camera battery died and I had to switch to cellphone)

Now with the race removed, check that you have reinstalled the snap ring and metal seal around the new bearing. Next, set up the Hub tamer to install the hub.
Then take the assembly back to the car and re-install. I insert the axle shaft and lower ball joint at the same time, then the nut on the lower ball joint. Then I jack the assembly up and re-attach the upper ball joint.
Then tighten the Hub nut and stake it for security..
Re-Install the Tie rod, Rotor, Caliper, Speed sensor wiring brackets and brake line bracket.
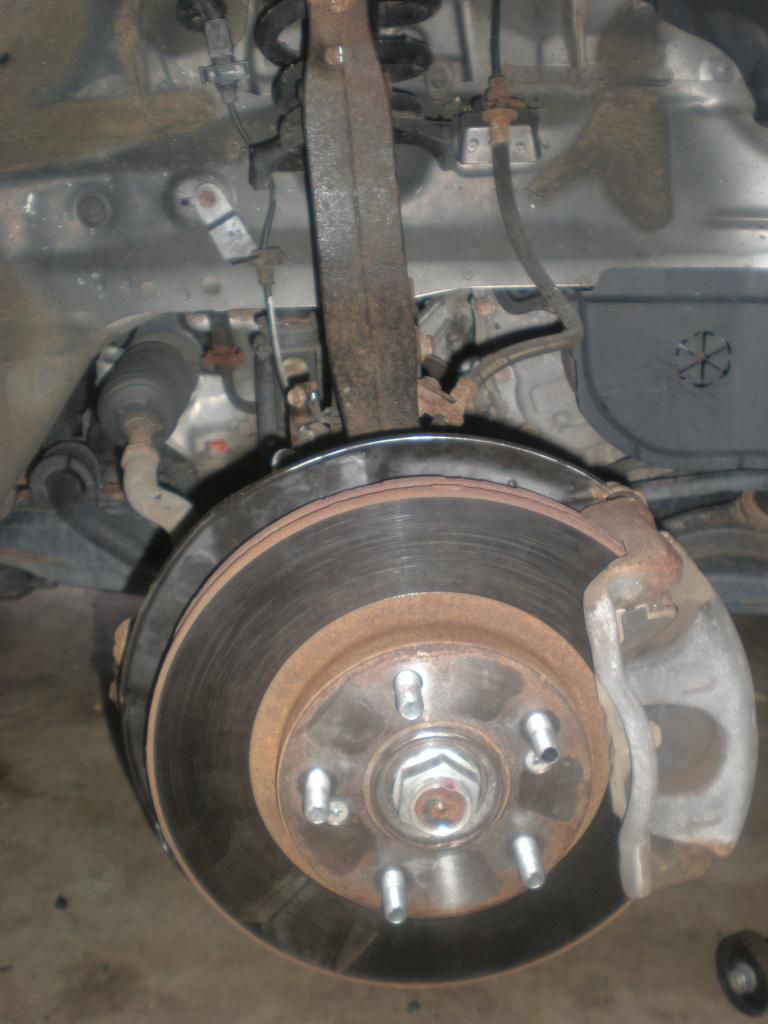
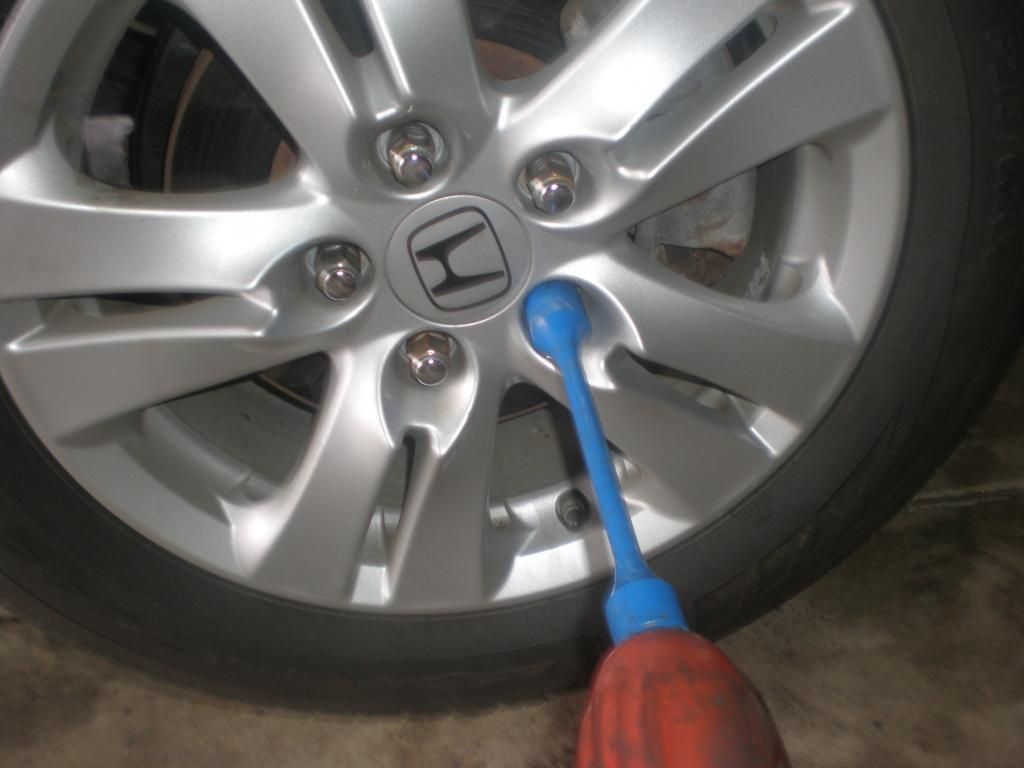
Torque wheel lug nuts to 80 ft. lbs..
Drop car and take for a test run

All total, it took me around 2.5 hours to do this… I went slow, had lunch and also took pics..
Hope you enjoy… Cheers!
-Karl
- You must be logged in to reply to this topic.